Yarn Wrapped Candles

thanksgiving-crafts
My trusty supply of yarn has come through with another super simple 5 minute craft for fall – yarn wrapped LED candles!
thanksgiving-crafts
I’m in love with these battery operated candles. If you’re like me, you probably have a few sitting around at home. Well, why not give them a little fall makeover? Since there’s no flame, you don’t have to worry about a fire hazard with the yarn (please don’t try this on real candles!).
thanksgiving-crafts
I used some yarn I had leftover from the fall yarn wreath I made last year. You can customize the look of these however you want – from the color, to where you place the yarn on the candle, to how wide you make the bands.
thanksgiving-crafts

Supplies for Yarn Wrapped Candles


  • LED pillar candles
  • Yarn in your choice of colors
  • Hot glue gun
  • Scissors
thanksgiving-crafts

How to Make Yarn Wrapped Candles

1. Put a dab of hot glue on the candle where you want to start wrapping the yarn and press the end of the yarn into it.
thanksgiving-crafts

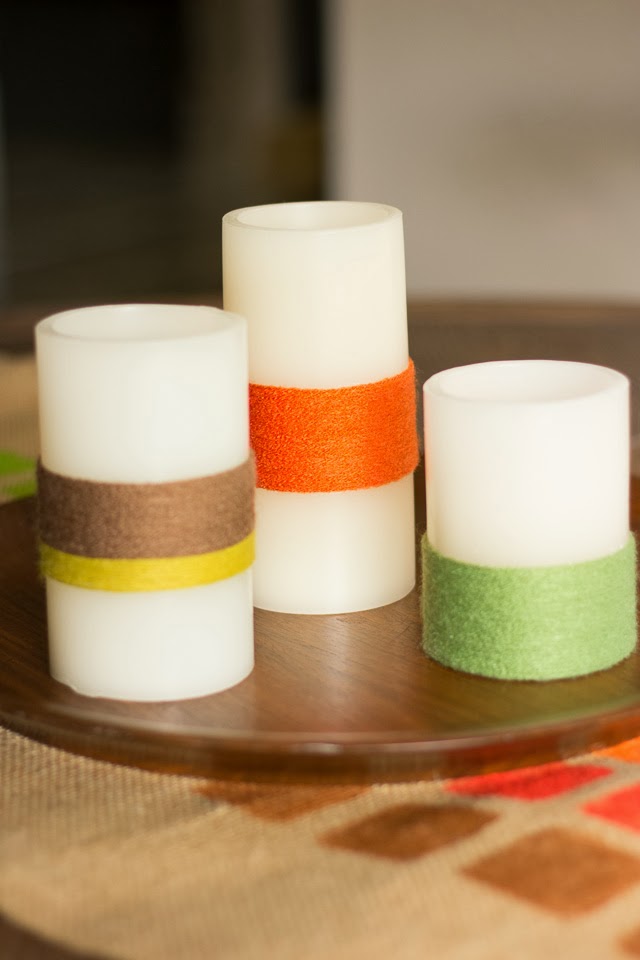
2. Start wrapping the yarn around the candle, pulling taut and using your thumb to push the yarn rows close together so there are no gaps in between rows.

thanksgiving-crafts

3. When you have the yarn band as wide as you want it, cut the yarn and adhere with another dab of hot glue (this can be the back side of the candle, so it is OK if a little of the glue shows). Repeat with another color if you want.

thanksgiving-crafts

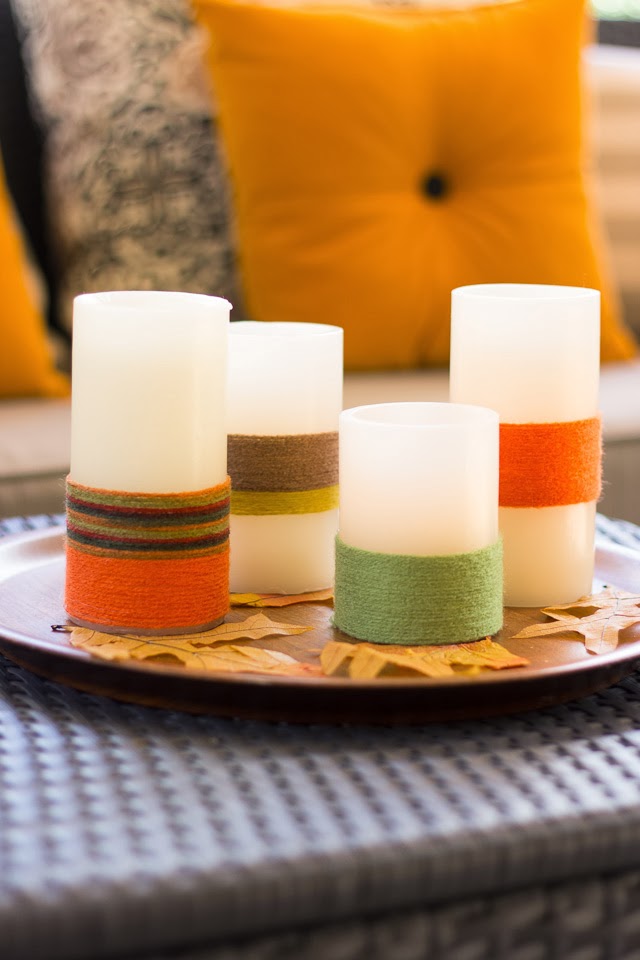
It literally takes just a few minutes to wrap the yarn around the candles and give them a whole new look for fall. These would be fun on a mantel, as a table centerpiece, or on your outdoor patio (just don’t keep them out in the sun during the day or they will lose their shape).

Want other easy fall crafts to make with the rest of your yarn? Don’t miss my yarn pumpkin garland and yarn wrapped branches!

TDC Before and After

Similar Posts

Leave a Reply

Your email address will not be published. Required fields are marked *