Skip to content
Instagram
Facebook
Twitter
Pinterest
About
Blog
Contact
Home Decor
Expand
Wreaths
Wall Art
Tabletop Decor
Storage Solutions
Accents
Dollar Tree Crafts
Holiday
Expand
valentine’s day
St. Patrick’s Day
Fiesta
Easter
mother’s day
father’s day
4th of July
Summer
Back to School
Fall
Halloween
Thanksgiving
Christmas
New Years
Birthday Parties
Charcuterie Boards
Kids
Expand
Kids Crafts
Holiday Crafts
Room Decor
Fun Activities
Fave Supplies
Expand
Dollar Tree Supplies
Balloons
Paper
Pom-Poms
Flowers
Paint
Yarn
Our Home
Search
Search
Toggle Menu
Thanksgiving
Charcuterie Boards
Fiesta
Valentine's Day
St. Patrick's Day
Easter
Mother's Day
Father's Day
4th of July
Summer
Back to School
Fall
Halloween
Thanksgiving
Christmas
New Years
Birthday Parties
Thanksgiving
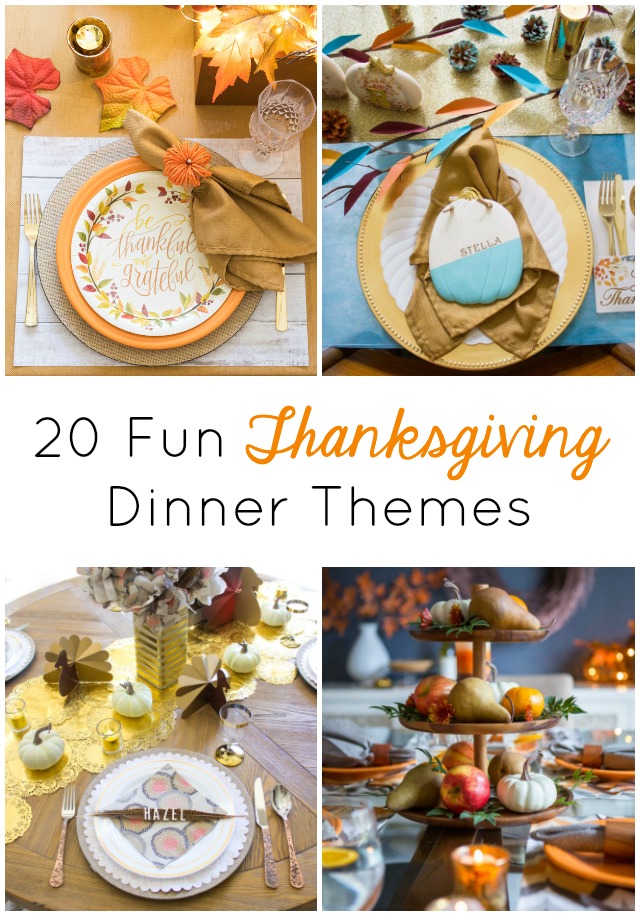
20 Thanksgiving Dinner Themes to Try This Year!
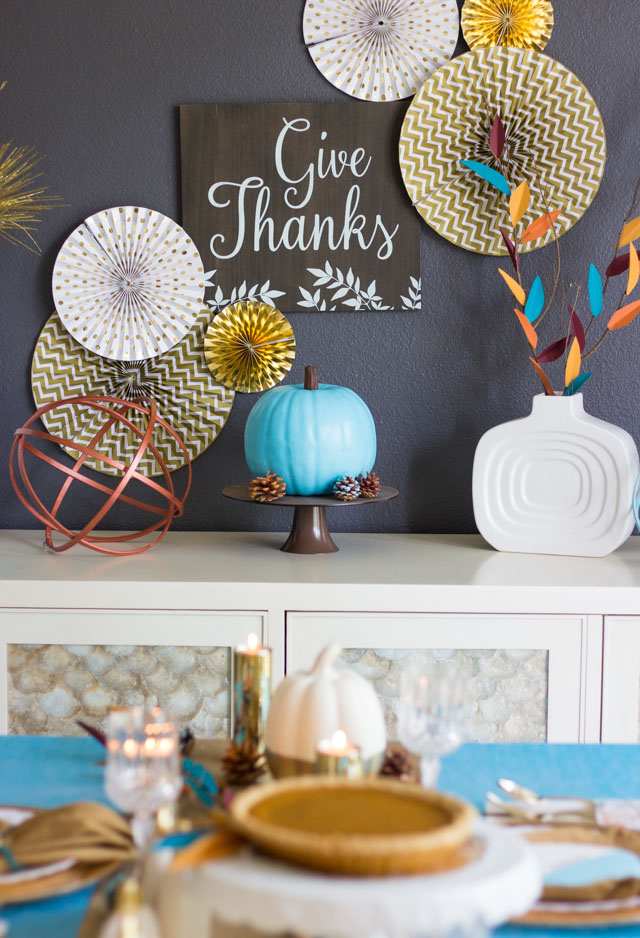
Modern Thanksgiving Table Decor Ideas
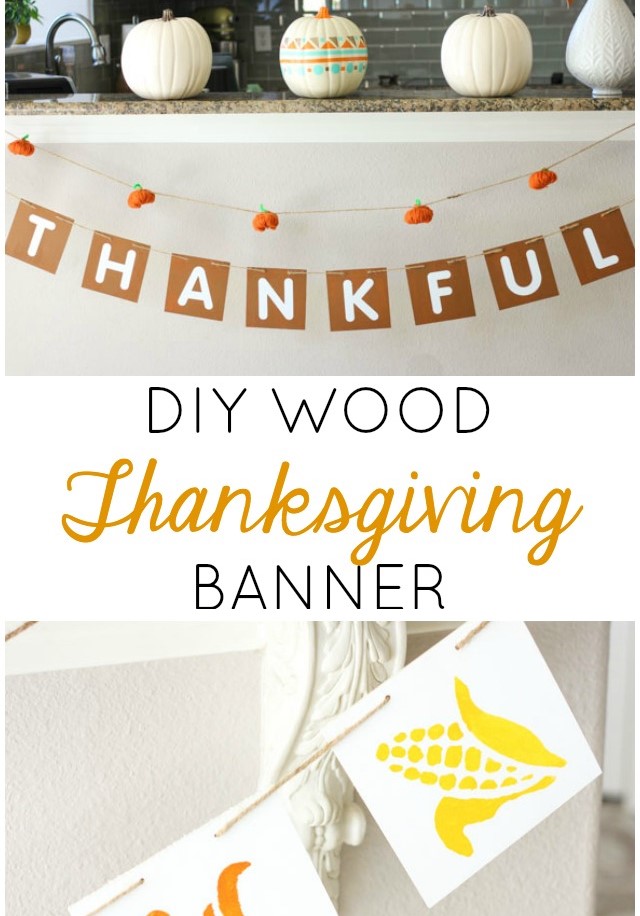
Thankful Garland for Thanksgiving
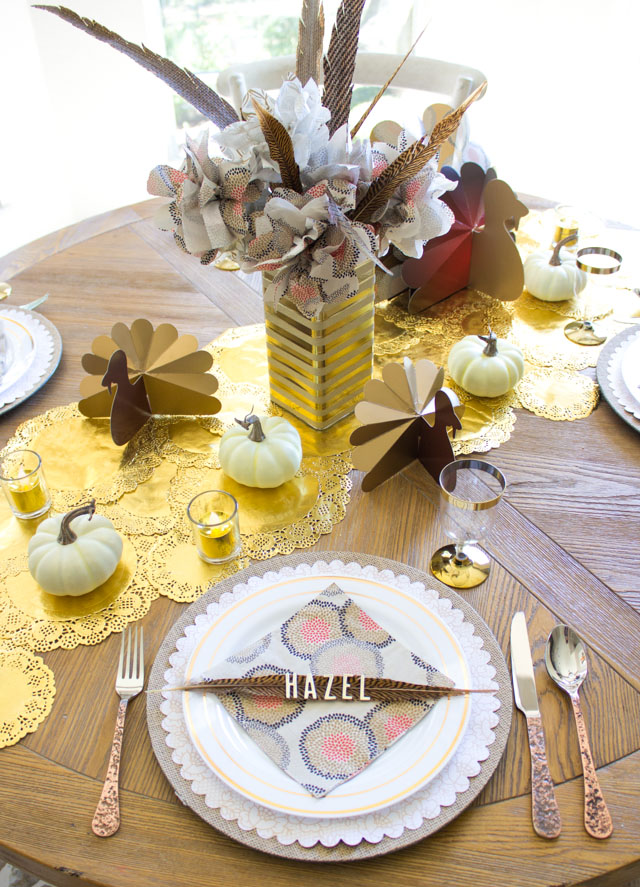
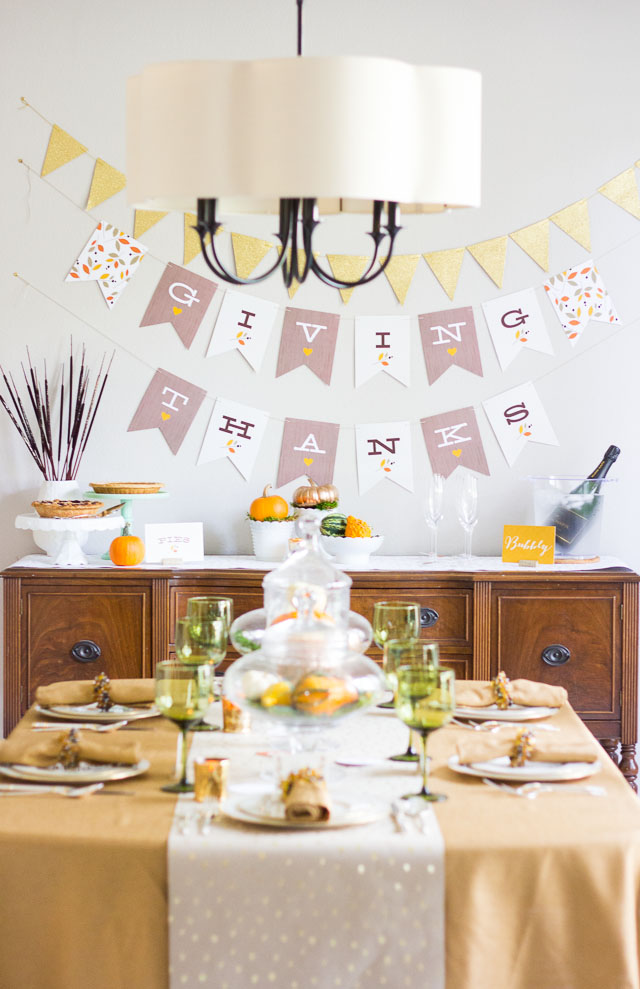
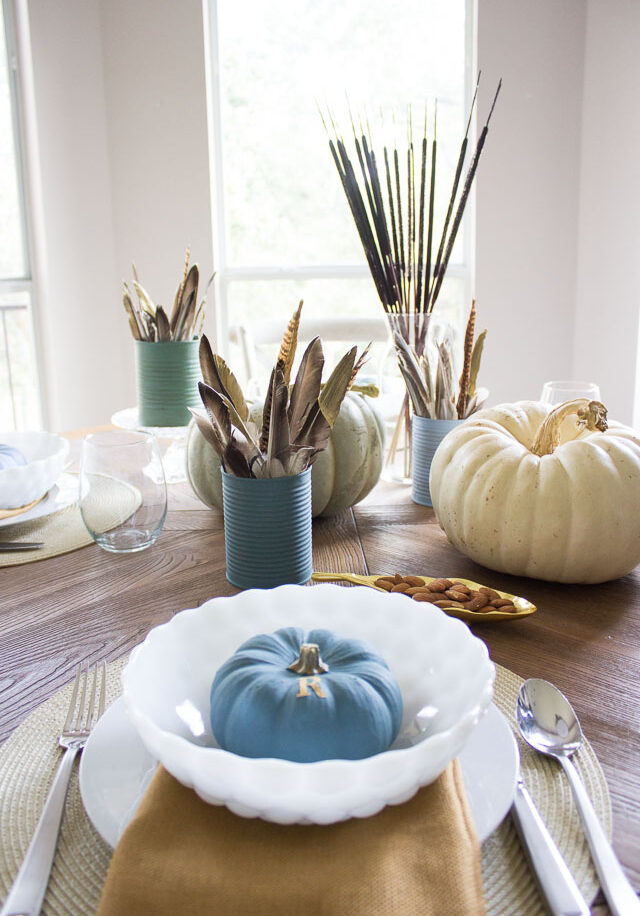
A Simple and Elegant Thanksgiving Table
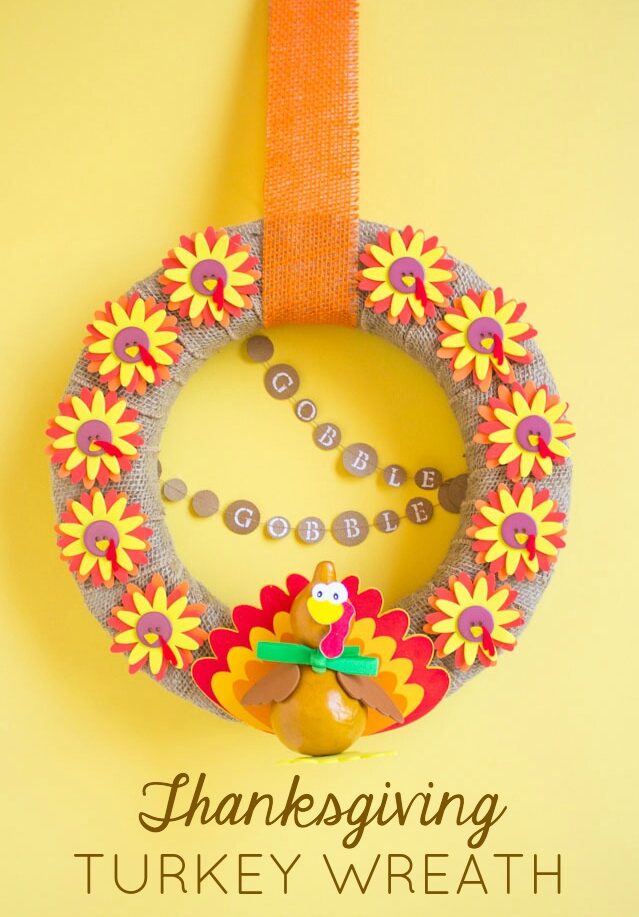
Gobble Gobble! Thanksgiving Turkey Wreath
Thanksgiving Dinner Decorating Ideas with Minted
5 Thanksgiving Table Ideas Using Thrift Store Items!
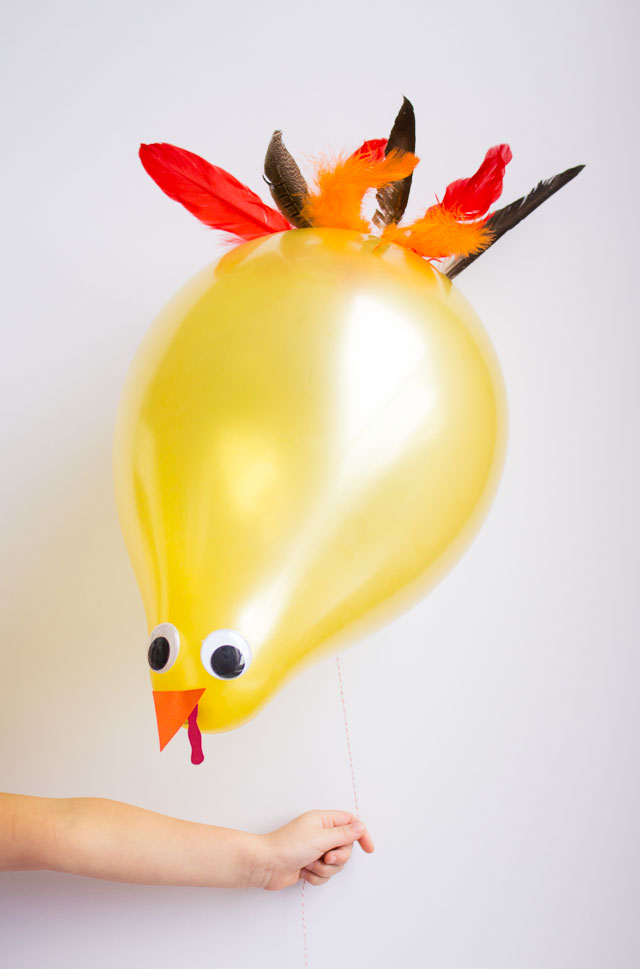
Thanksgiving Turkey Balloons
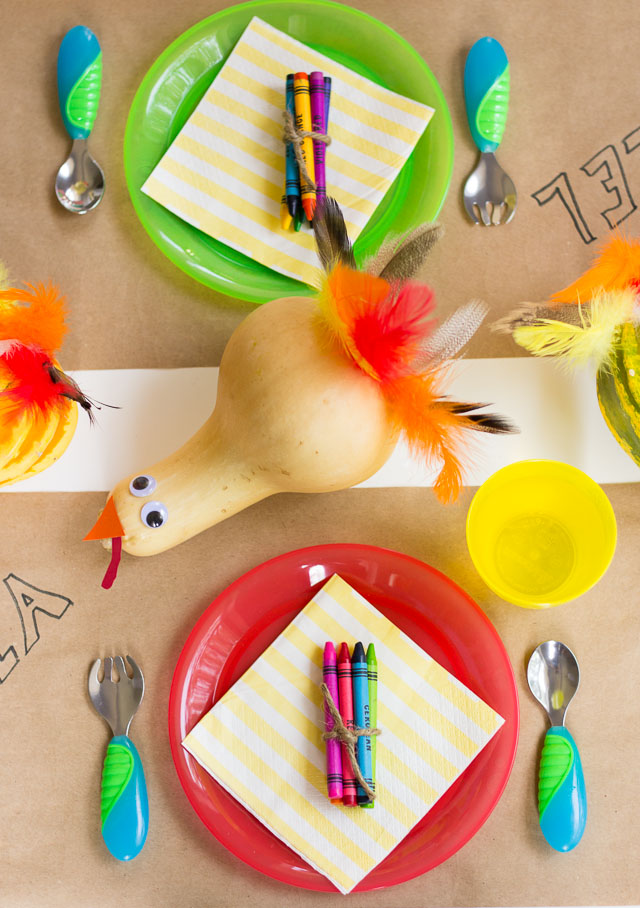
Thanksgiving Kids Table with Gourd Turkeys
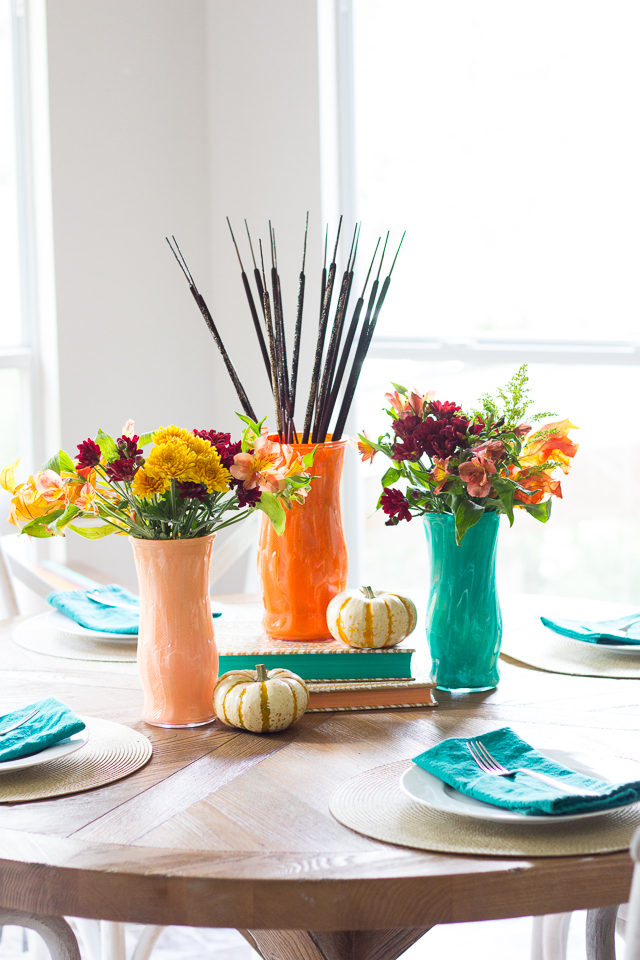
DIY Feather Centerpiece for Thanksgiving Table
The Easiest Fall Leaf Wreath
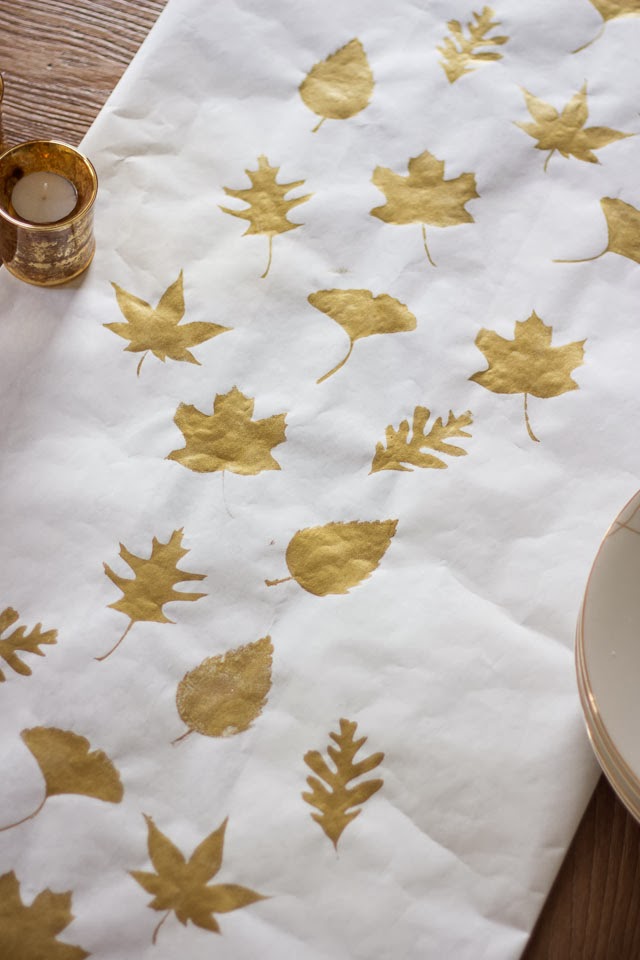
Thanksgiving Table Runner
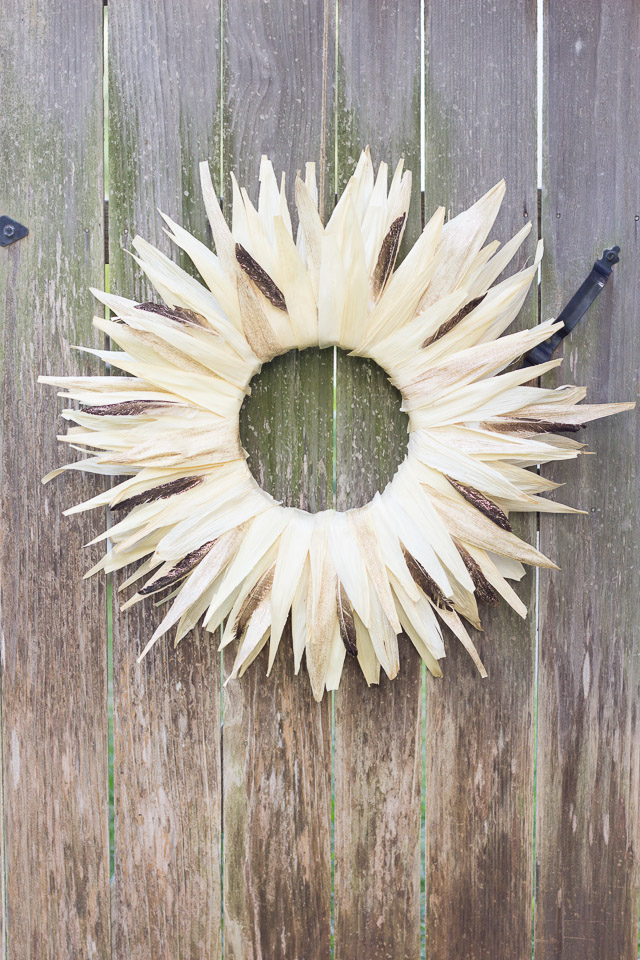
The Prettiest Fall Corn Husk Wreath!
Home
About
Blog
Home Decor
Toggle child menu
Expand
Wreaths
Wall Art
Tabletop Decor
Storage Solutions
Accents
Dollar Tree Crafts
Holiday
Toggle child menu
Expand
valentine’s day
St. Patrick’s Day
Fiesta
Easter
mother’s day
father’s day
4th of July
Summer
Back to School
Fall
Halloween
Thanksgiving
Christmas
New Years
Birthday Parties
Charcuterie Boards
Kids
Toggle child menu
Expand
Kids Crafts
Holiday Crafts
Room Decor
Fun Activities
Fave Supplies
Toggle child menu
Expand
Dollar Tree Supplies
Balloons
Paper
Pom-Poms
Flowers
Paint
Yarn
Our Home
Design Improvised Studio
Toggle Menu Close
Search for:
Search