DIY Pom Pom Trim Notebooks
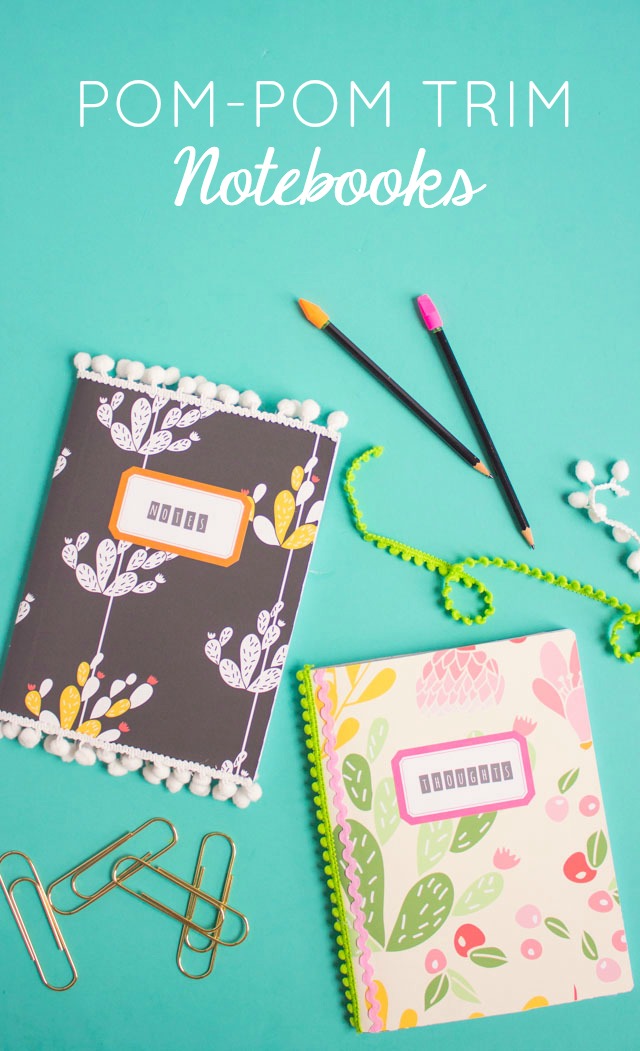
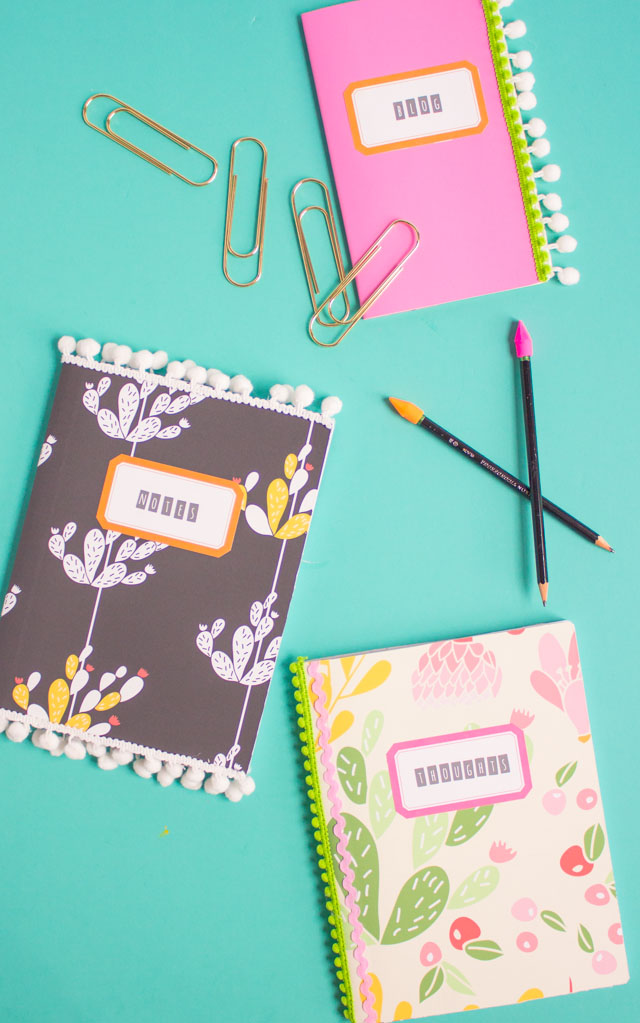
DIY Pom-Pom Trim Notebooks
Every year when I go school shopping with my girls I always stock up on composition notebooks for myself. I love their size and sturdiness and you can’t beat their price tag in back-to-school sales! But I’m not crazy about their basic black-and-white covers, so I thought I would jazz them up a bit with some pretty peel-and-stick wallpaper and pom-pom trim. Because, pom poms make everything better, right?!
This is a simple way to cover any of your notebooks and other school books (the wallpaper is removable). I always love a project that makes use of odds and ends that I already have on hand like my ribbon scraps. Always save your ribbon – it comes in handy for so many things!
I also had some small pieces of this fun cactus wallpaper left over from my medicine cabinet makeover. Designed by my friend Audrey of This Little Street, they were too pretty to throw away and I’m so glad I found another use for them!

This post contains affiliate links. See our full disclosure.
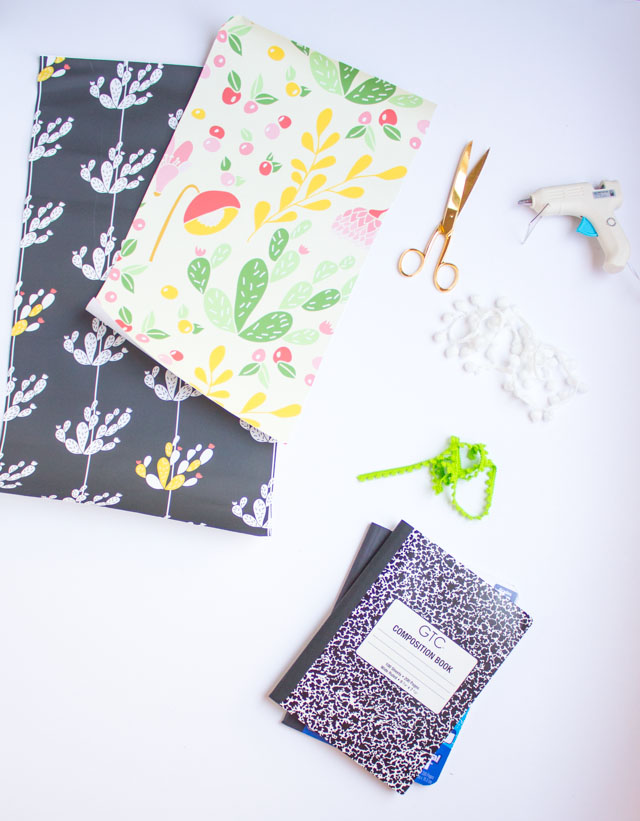
Supplies for Pom-Pom Trim Notebooks
- Composition notebooks
- Peel and stick wallpaper or vinyl scraps (I used this beautiful wallpaper!)
- Pom pom trim or ric rac
- Hot glue
- Scissors
- Craft knife (optional)
How to Make Pom-Pom Trim Notebooks
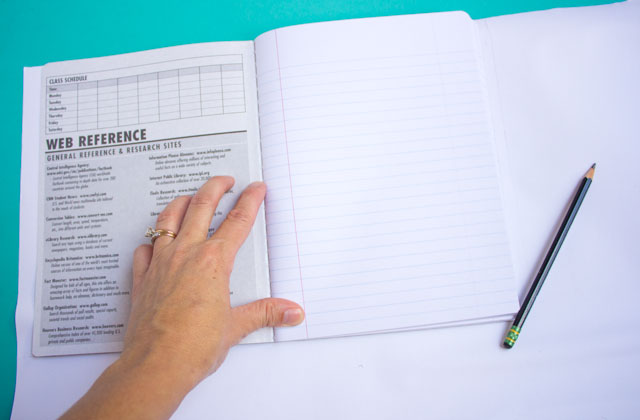
Step 1. Trace around wallpaper
Turn your removeable wallpaper or vinyl over and open your composition notebook to trace around it. I traced the top and bottom of the notebook exactly, but allowed for an extra 1/2 inch of wallpaper on each of the sides to ensure there was enough paper to wrap around the binding of the notebook when it is closed shut.
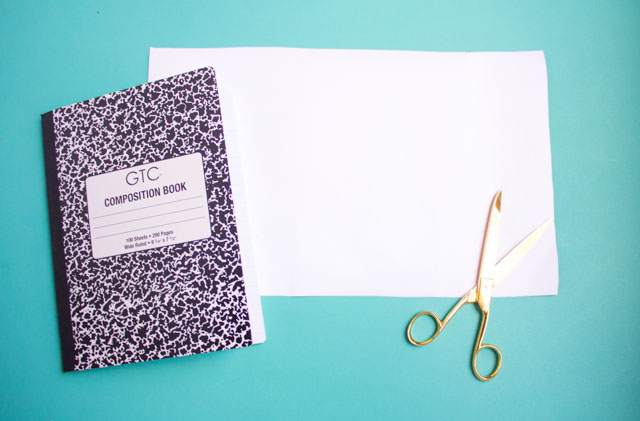
Step 2. Cut out wallpaper
Cut out your paper along the lines you traced.
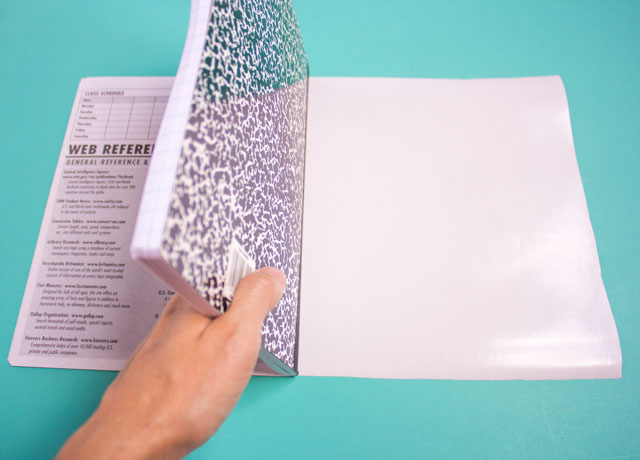
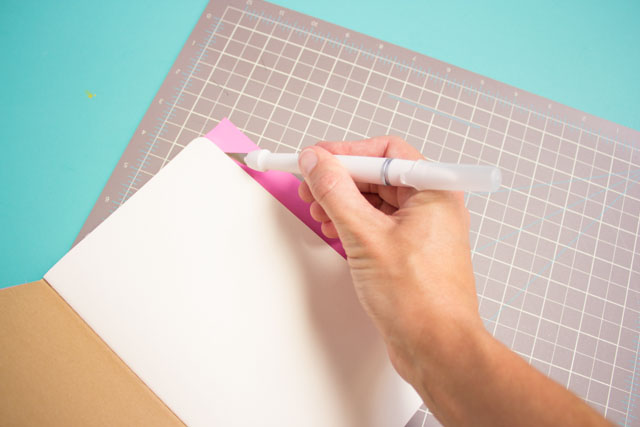
Step 3: Smooth wallpaper over notebook
Peel off the backing from the wallpaper or vinyl and carefully position your notebook over it by first sticking down the front cover and then the back.
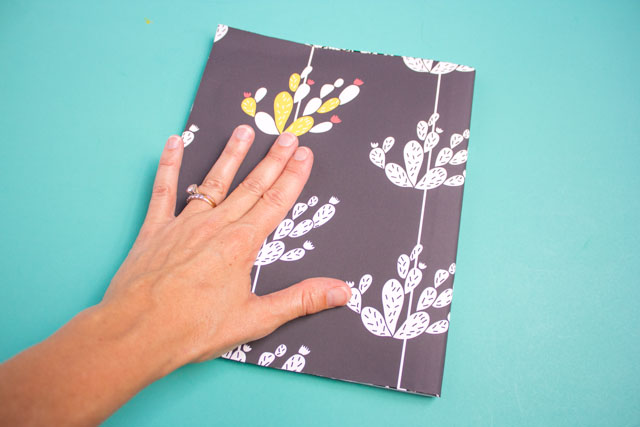
Step 4: Remove any air bubbles
Use your hands to smooth out any air bubbles. If you ended up positioning the paper crooked, don’t worry, you can peel it off and reposition it! Also, don’t worry if there is a little notebook showing through on the top and bottom edges, your pom pom trim will cover this.
Step 5: Trim excess paper
Use a pair of scissors to carefully trim any excess paper.
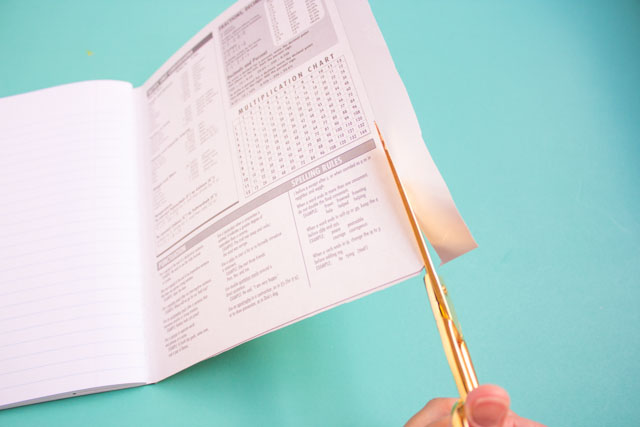
You can also use a craft knife and a cutting mat for a more precise cut if you want!
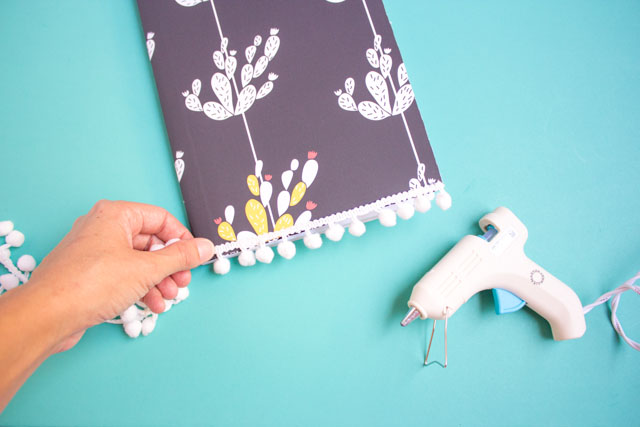
Step 6: Glue on pom-pom trim
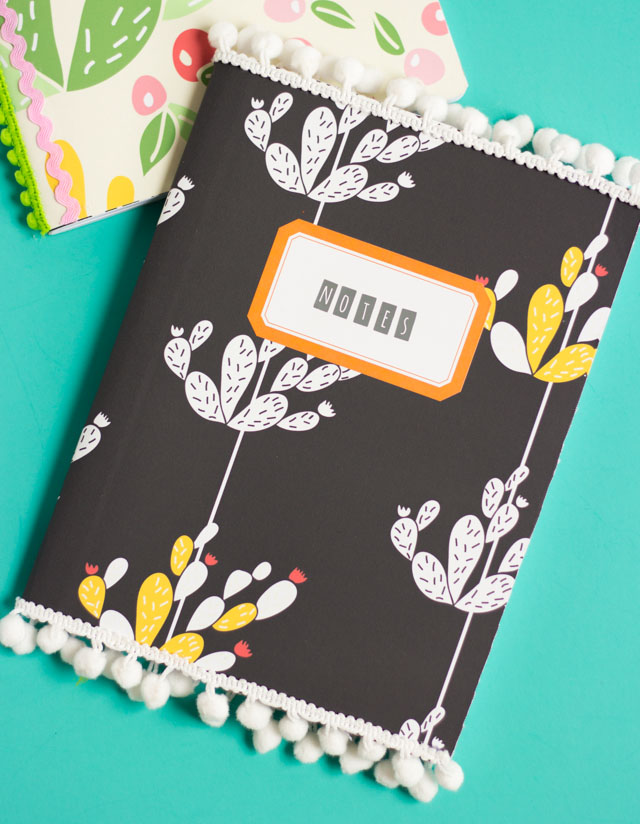
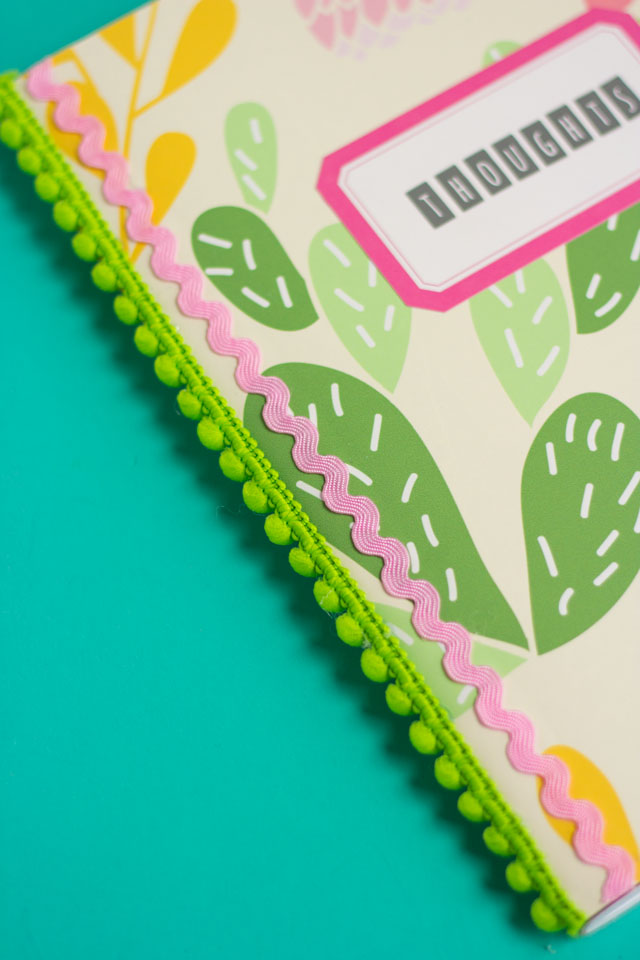
Finish your notebook by hot gluing on some pom pom trim or ric rac around the edges! This is a great opportunity to disguise any imperfections – my kind of craft!
Step 7: Personalize notebook
If you want, you can embellish your notebook with labels and stickers to make it extra pretty and professional looking!
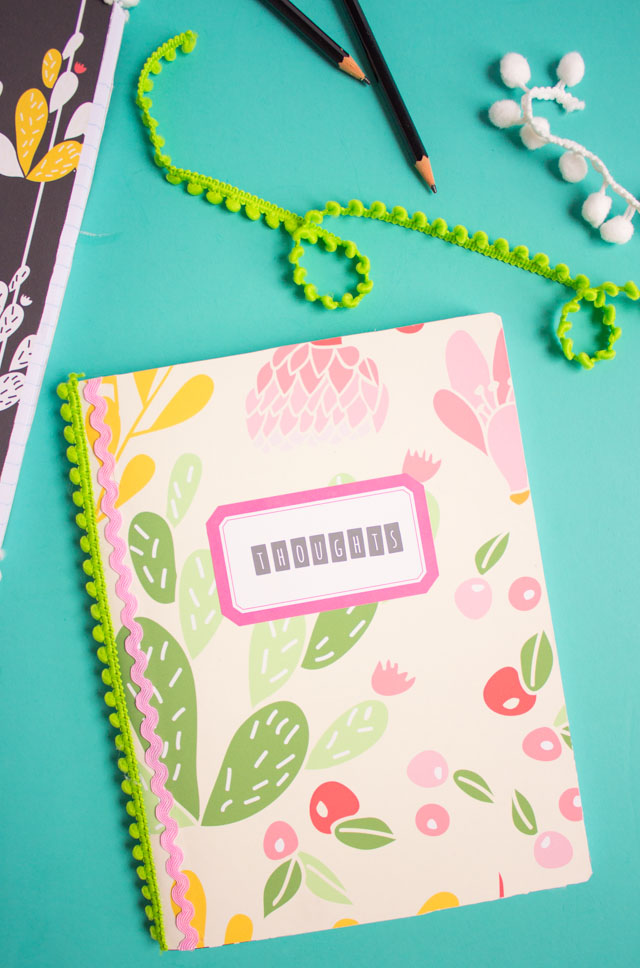
I’m excited to fill my new notebooks will all sorts of new blog ideas and plans! You’d never guess these started out as 50 cent composition notebooks from the grocery store!


What fun creative ways to jazz up a notebook Loved it.