How to Turn a Photo into Canvas Wall Art
How to Turn a Photo into Canvas Wall Art

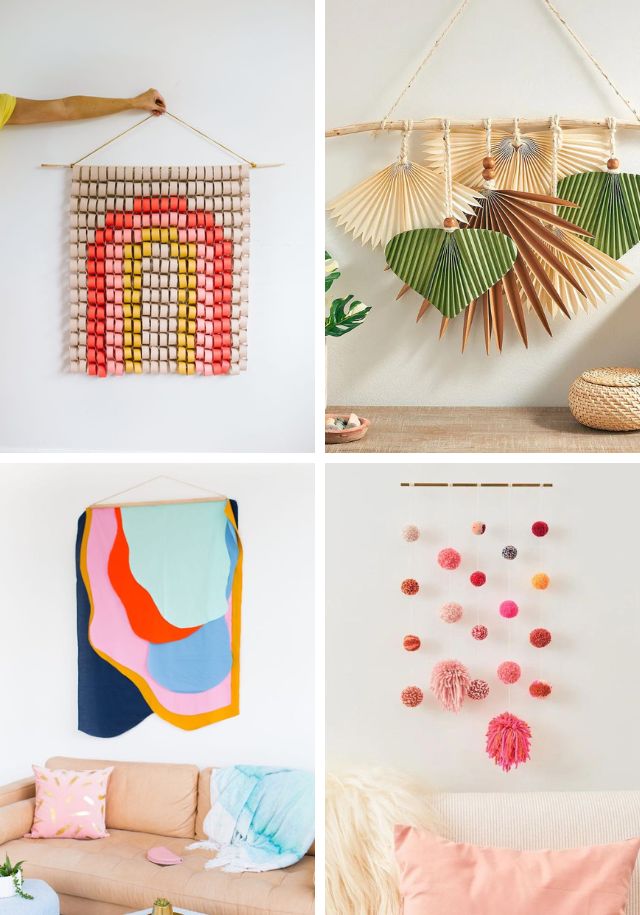
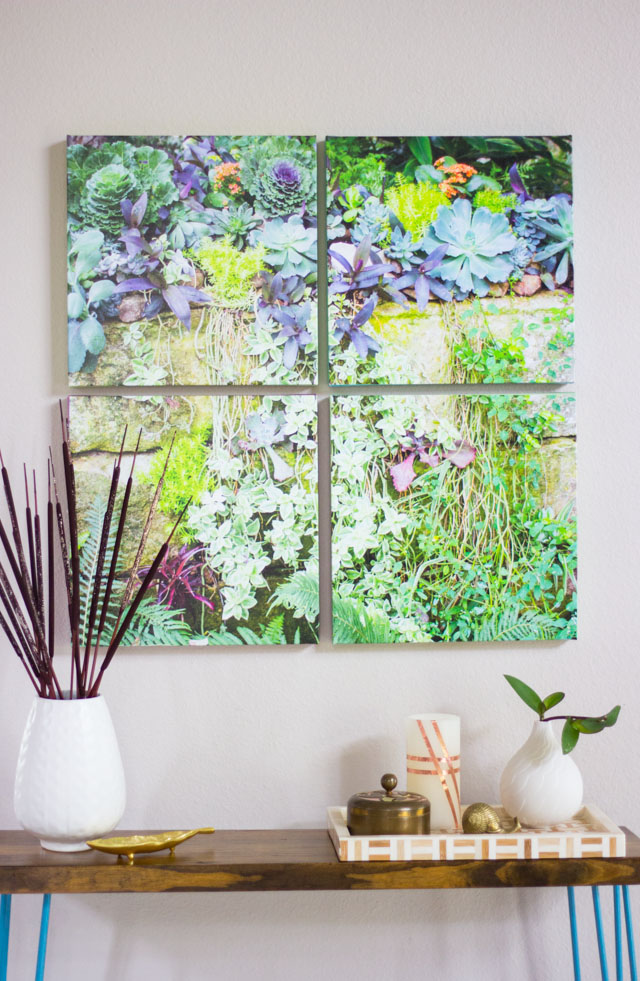
I think DIY wall art is the best kind of wall art – and our home is filled with it! The latest addition? Our new succulent photo art in the foyer using stretched canvas prints from SnapBox!

It makes such a difference to have a colorful piece of art and a small console table in our foyer after 2 years of it being just a blank wall! We had struggled with what to put in the space, and I completely owe my husband Ross for this idea. He build the console table using a piece of wood left over from his man cave and a pair of cool hairpin legs that we painted a bright blue.
He also came up with the idea of turning a photo from a recent trip to the San Antonio Botanical Garden into a piece of art (thanks Ross!). They have an amazing succulent wall there that is a prime photo taking spot, and we decided to use this shot I had taken of the wall:

SnapBox made it easy to transform the succulent photo into canvas wall art complete with fun colored borders. Read on to see how!

How to Turn a Photo into Canvas Photo Art
1. Pick your photo

2. Crop image into four equal squares
If you want to turn a single photo into a grid of 4 (or more) canvases like we did, use the photo editing software to crop the image into four equal squares. We didn’t have a tool that automatically segmented the photo into 4, so we had to eyeball it to line up the quadrants as close as we could.

3. Upload photos to SnapBox
Now for the fun part! Head to SnapBox, choose their gallery wrapped canvases, and upload your photos. You can choose from 24 sizes of canvases ranging from 6″x9″ all the way to 36″x”54″! We measured our wall and chose four 14″x14″ square canvases to fit the space.

4. Pick a custom wrap color
I love SnapBox’s uploading tool because it shows you a mockup of how your canvas will look, and you can even select a custom wrap color for the canvas border. How cool is that?! I chose 4 coordinating colors for the borders that complimented the colors in the succulents:

I love how the borders add another touch of unexpected color to the already colorful art!
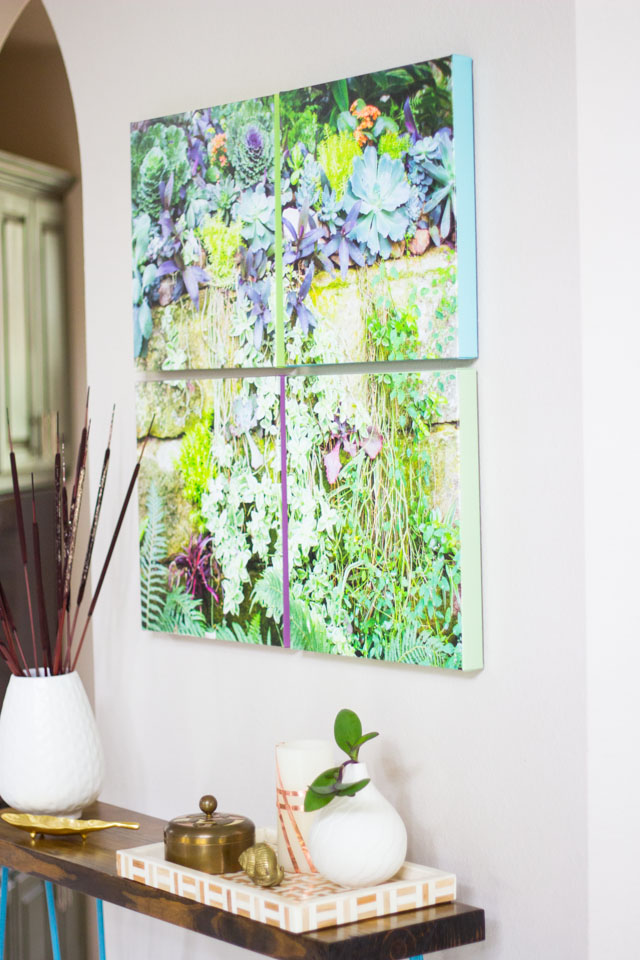
We replicated the blue in the canvas borders for the table leg color (yay for even more color!).

I’m so happy to finally have our entryway decorated, and it feels especially good that we created the decor ourselves. 😉

I’ve been really impressed with SnapBox’s products – in addition to these canvases, I’ve also made a gallery wall of my balloon projects using their Fotobit frames, and custom throw pillows from my daughters’ art projects (I just bought a few of their pillows for Christmas presents). Be sure to check out these tutorials for more photo art inspiration!
Love personalized decor?
Check out how you can turn your child’s artwork into pillows!
This post is sponsored by SnapBox. All content and opinions are my own.