How to Decorate Notebooks with Vinyl
How to Decorate Notebooks with Vinyl
Did you know you can decorate notebooks with vinyl to make them look amazing? With Stella starting Kindergarten in a few short weeks, we are in full back-to-school mode around here. We’ve been marking the days off on the calendar, picking out a special backpack, and making our school supply list – from boxes of crayons, to composition notebooks, to name labels to stick on everything.
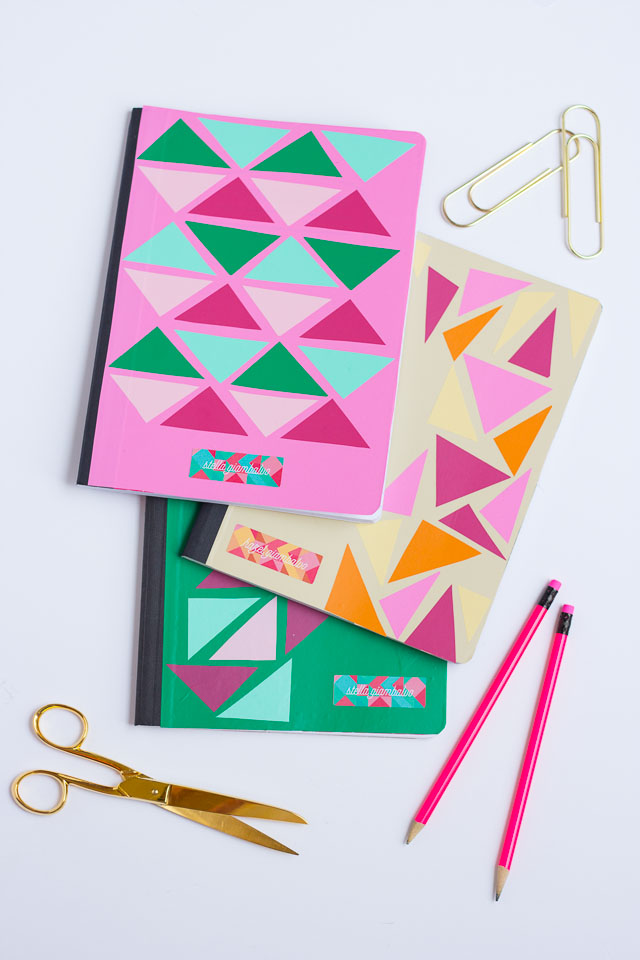
Minted has the coolest custom name labels in a variety of designs and photo options and asked if I would try them out for my girls. I loved these geometric name labels so much I decided to decorate notebooks to match!

These colorful labels designed by Olivia Raufman (all of Minted’s designs are created by independent artists!) come in a range of colors and are coated so they are dishwasher-safe and waterproof. You can personalize them with your child’s name and contact information and stick them on anything from a notebook, to a lunch box, to sports equipment.

As for the notebooks, I’ve always been one to add a DIY touch to my school supplies. I used to color some pretty elaborate designs on my paper bag book covers back in the day. 😉 This is a modern approach to the book cover – using colorful pieces of removable vinyl! Much more fun than the typical composition notebook cover, right?

This project doesn’t require any special tools beyond vinyl and a pair of scissors, and is easy enough for young kids to do! Stella even made her own – read on for the full tutorial.
Supplies for Vinyl Decorated Notebooks
- Composition notebooks
- Vinyl in various colors (Expressions Vinyl has every color imaginable – I used their removable indoor vinyl in carnation pink, soft pink, lipstick, mint, green, persimmon, maize, and buff)
- Scissors
- Minted kids labels for that extra personalized touch!

How to Make Vinyl Decorated Notebooks
Step 1. Cover notebooks with a sheet of vinyl
I covered my composition notebooks with a single piece of vinyl by tracing around the notebook cover and cutting out the vinyl to fit the front of the notebook. You’ll want to choose an opaque vinyl for this so that the print on the composition notebook doesn’t show through.

Step 2. Smooth vinyl flat
Once you’ve cut out the vinyl piece, peel off the back and align it carefully onto the front cover. This part is a bit tricky – start from the top and smooth out any air bubbles as you go. I used a bone folder (a credit card would work too) to do this. If needed, you can carefully reposition the vinyl if it goes on crooked on your first attempt!

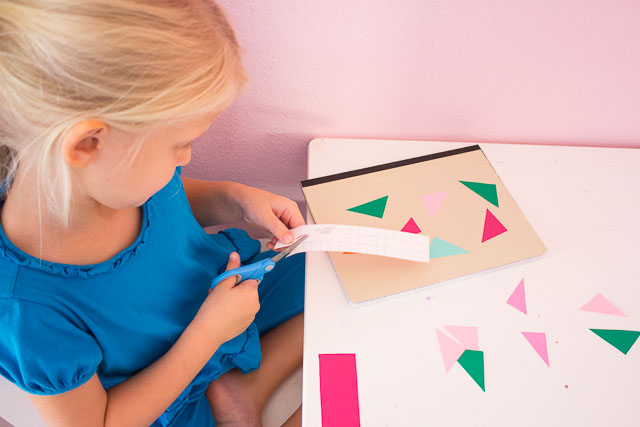
Step 3. Cut out triangles
Now you’re ready to decorate! You can cut simple triangles like me or go nuts with any shape or design you want. If you have a Silhouette or Cricut cutting machine the options are endless! For me and my trusty scissors, triangles were the way to go. I started by cutting out similar sized strips (the gridlines on the back of the vinyl make this easy) and then I cut at an angle to make triangles.

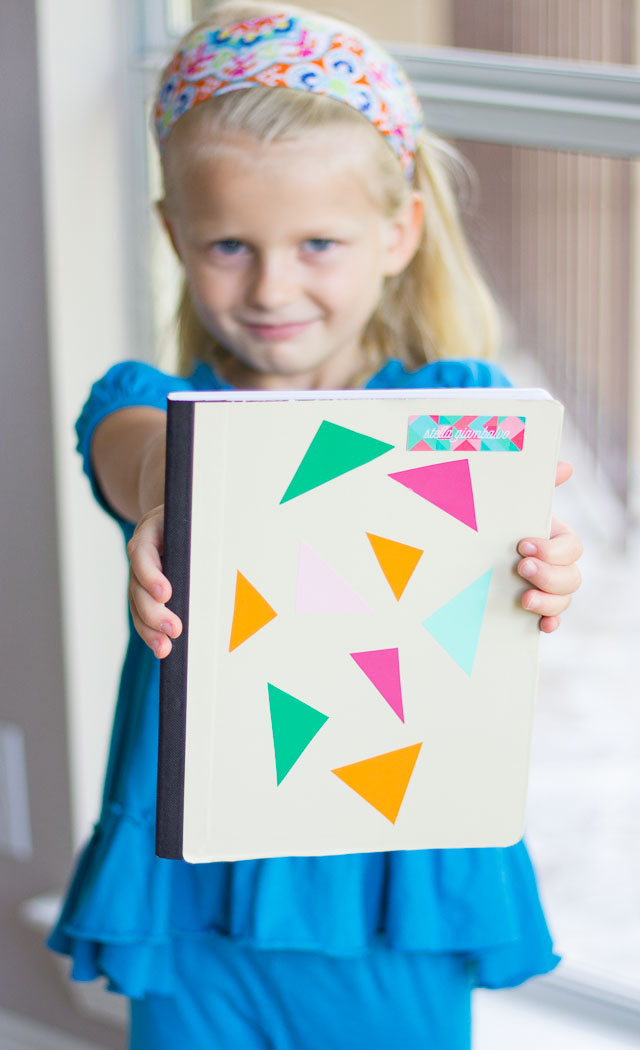
Step 3: Create a pattern with the triangles
Layout your triangles in any design you want, peel of the backing, and stick in place! If you mess up, just peel off and reposition.

I think these would be the perfect back-to-school craft to do with your child – they just take minutes to make and they’ll have the coolest notebooks around!

Stella had fun making her own and wanted to put it in her backpack right away. At least one of us is ready for Kindergarten. I’m not ready!!

Like this notebook makeover?
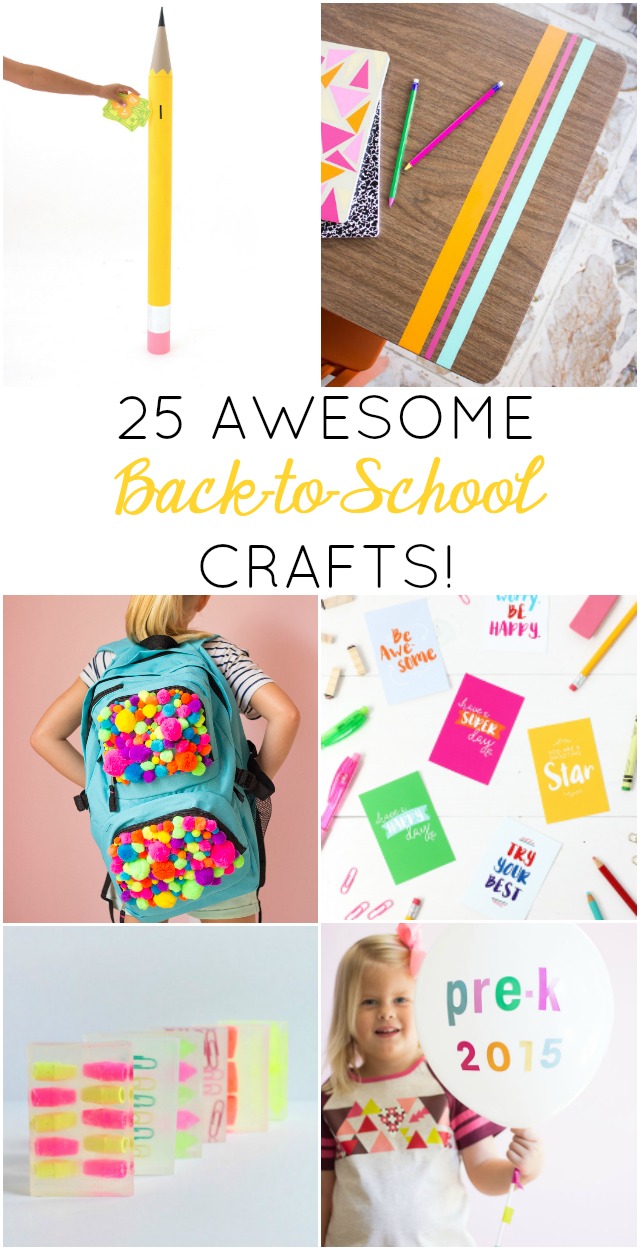
Then don’t miss all these fun back to school crafts!