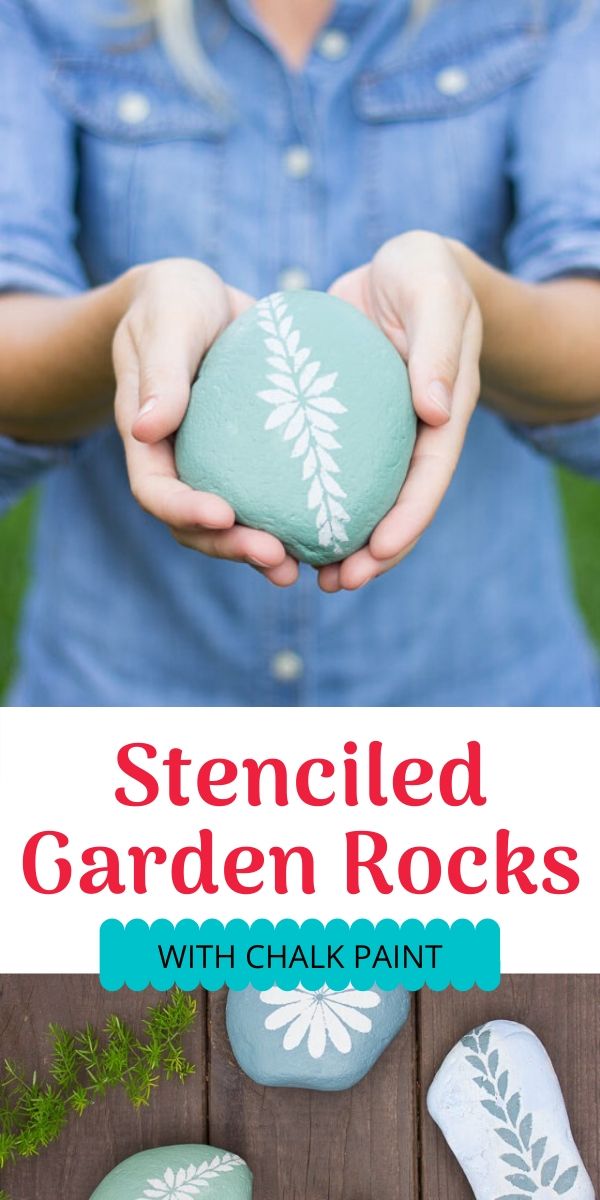
Chalk Paint Stenciled Garden Rocks

DIY Stenciled Garden Rocks
Introducing my DIY stenciled garden rocks! I’m out in the backyard again today with a quintessential summer craft – rock art painting. I wanted to give this traditional kids’ summer camp idea a little grown-up twist with the help of Martha Stewart Vintage Decor paint and this set of botanical stencils. Now I know why this activity has been around for ages – it’s just plain fun!

You’ll want nice smooth river rocks for this rock art project. I had been eyeing my neighbors rocks in their landscaping and they were nice enough to let me come over and do some rock hunting for this post!

These rocks would add a pretty touch to your garden, nestled alongside a potted plant, or even brought indoors to use as a paperweight, doorstop, or coffee table decor! The muted chalky Vintage Decor paint and wax I finished them with gives them a sophisticated look. Here’s what you’ll need to make easy rock art:
Supplies for Stenciled Garden Rocks
- Large flat river rocks (each of these was about the size of my hand)
- Martha Stewart Vintage Decor Stencil Set
- Martha Stewart Vintage Decor Paint (or similar chalk paint)
- Stenciling brush
- Small brush or foam brush for stenciling
- Martha Stewart Vintage Decor Clear Wax
- Painter’s tape

How to Make Easy Rock Art
Step 1: Apply base coat of paint
Wash your rocks thoroughly and allow to dry completely. Cover with one coat of Vintage Decor (or similar chalk) paint. I painted the top side of the rock, let it dry to the touch, and then turned over and painted the bottom side. One even coat should be enough to cover the rock completely – this paint goes on so great!

Step 2: Stencil on design
Find the smoothest surface of the rock and tape your stencil to the rock using painter’s tape. I found it was easiest to cut out the stencil to make it better fit the rock. Even the smoothest of rocks aren’t completely flat, so you’ll need to use your hand to hold the stencil flush with the rock while you stencil. You can also use more flexible adhesive stencils for this project. They would form to the rock better than stiffer plastic stencils. Use just a small amount of paint on your brush (dab off excess before stenciling) and use an up and down blotting motion. This will prevent paint from seeping under the stencil.

Step 3. Remove stencil
Carefully peel off your stencil to reveal your pretty design!

Step 4: Finish with a coat of wax
Once the paint is dry, you can apply a coat or two of Vintage Decor wax with a cloth. This protects the paint on the rock and gives it a nice sheen.

These are so pretty I want to paint more! I wonder if my neighbors would mind if I steal some more rocks from their yard? 😉
Like these stenciled garden rocks?
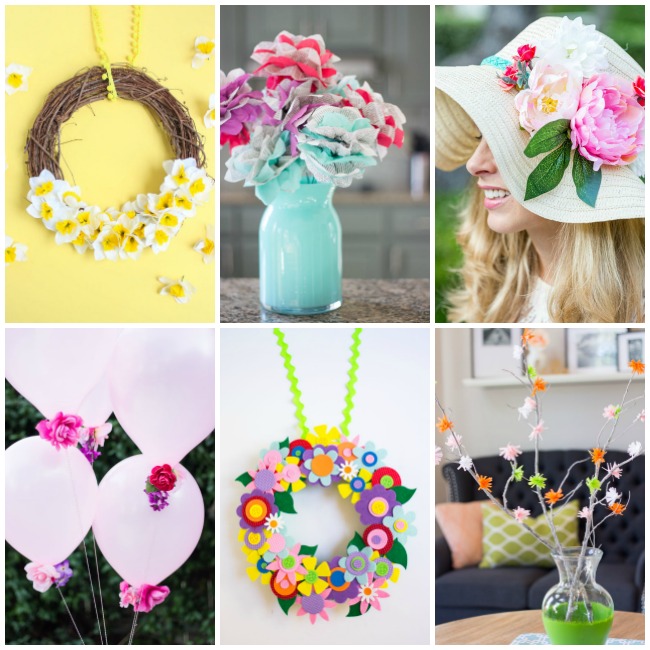
Then you might like these DIY Flower Craft Ideas!
This is post is sponsored by Martha Stewart Living Omnimedia as part of the #12MonthsofMartha program. All content and opinions are my own.

Hi, I love your painted rocks, in my fav color. Did you cut your stencils yourself? If not, where did you purchase?
The stencils are from Martha Stewart!
So lovely!