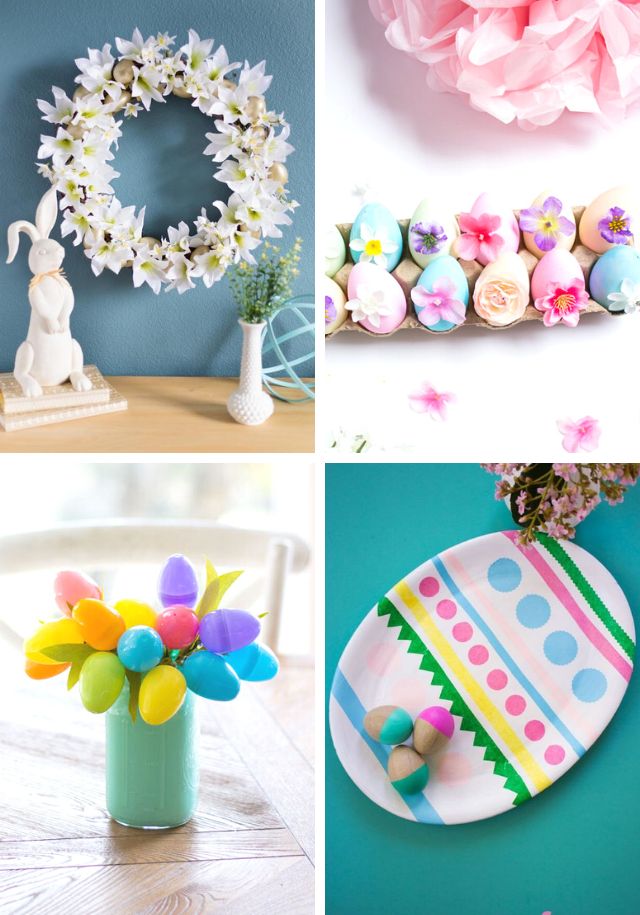
DIY Stenciled Easter Eggs
Stenciled Easter Eggs
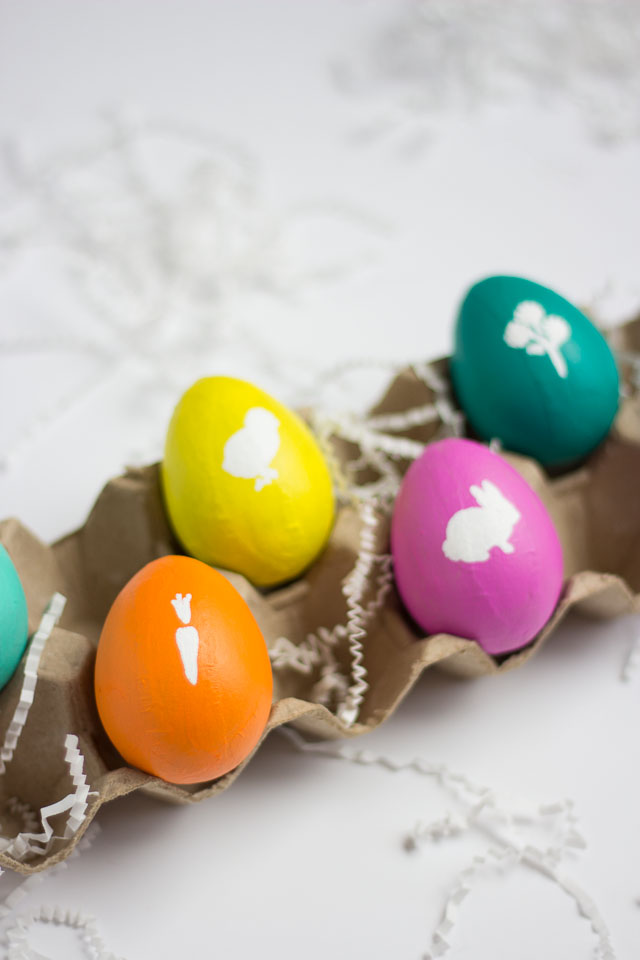
My latest 12 Months of Martha box came with the prettiest palette of vibrant paint colors and a super cute set of adhesive holiday stencils that I used to make these eggs. I used paper mache eggs for these. I’m all about skipping the hardboiled eggs for ones that will last for many Easters to come!
This post includes affiliate links. See my full disclosure.
Supplies for Stenciled Silhouette Easter Eggs
- Paper mache eggs
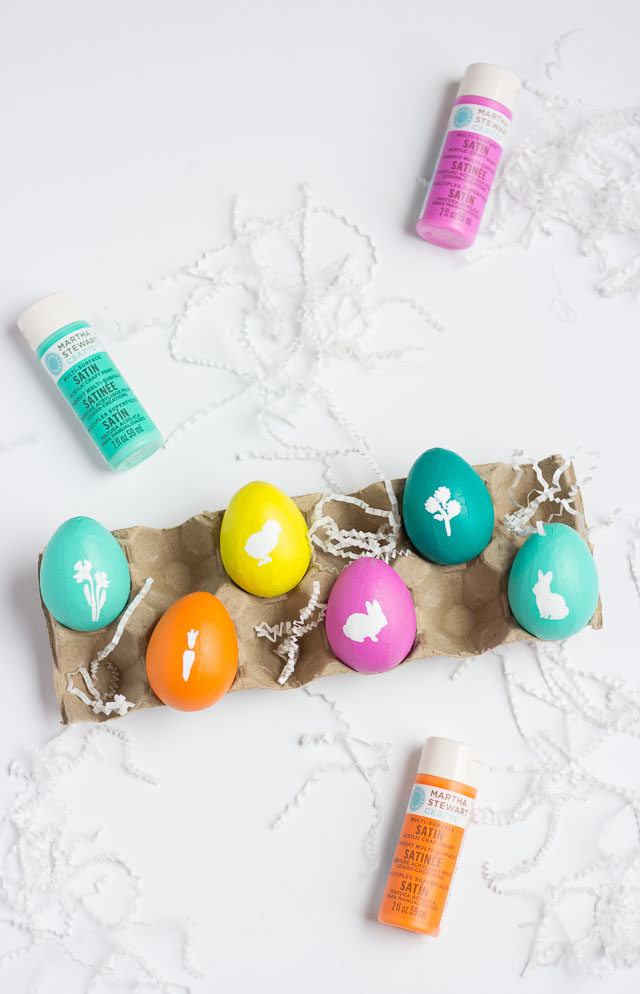
- Martha Stewart multi-surface acrylic paints (I used these colors: Diving Board, Emerald City, Mermaid Teal, Pumpkin, Magenta Rose, and Meyer Lemon)
- Martha Stewart adhesive holiday stencils
- Foam brush

How to Make Stenciled Silhouette Easter Eggs
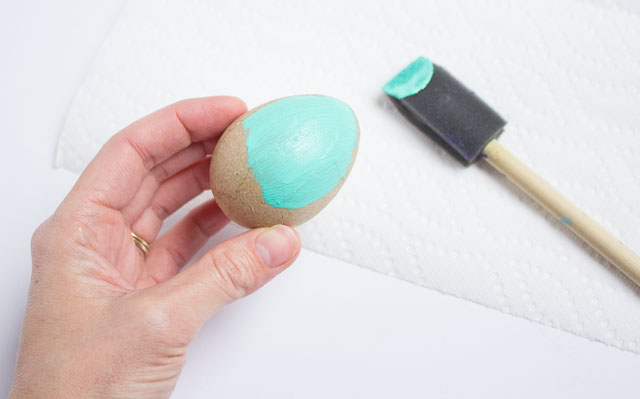
Step 1: Paint egg
Use your brush to paint each egg with a coat of craft paint. Let it dry and add a second coat.
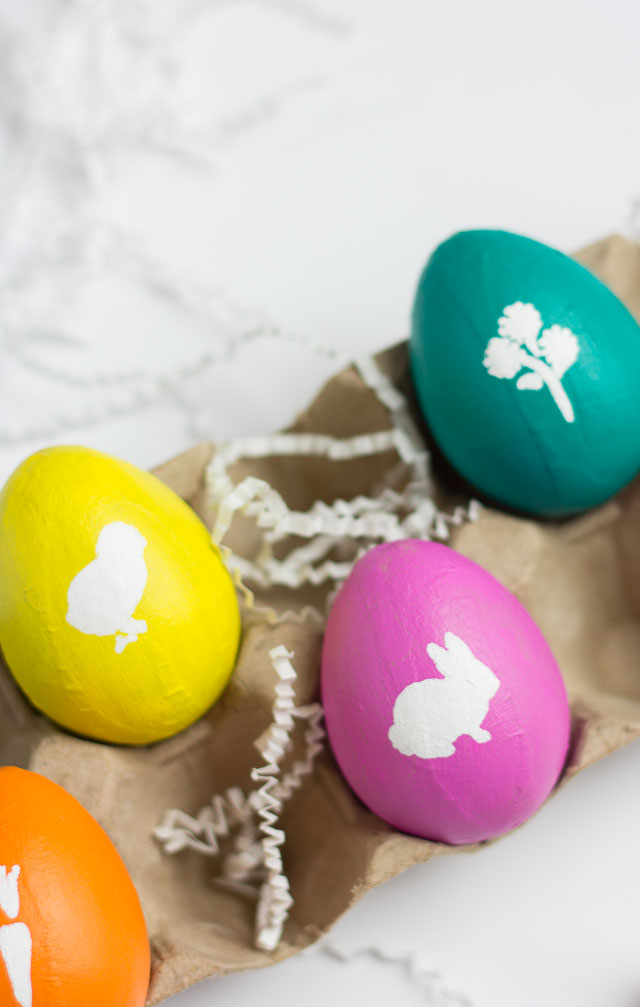
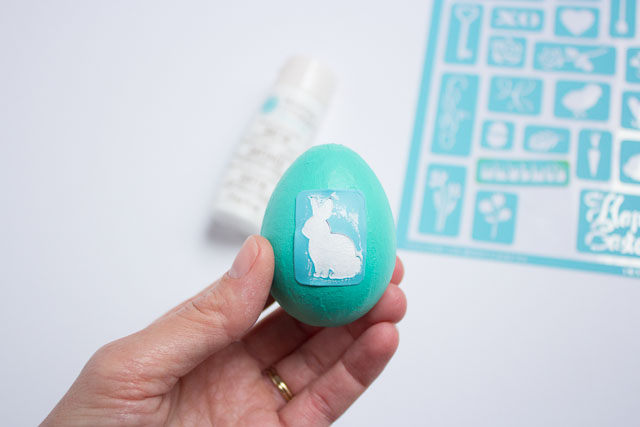
Step 2: Add stencil
Place the adhesive stencil on the front of the egg, pressing with your fingernail around the inside edges to make sure the design is flush against the egg and no paint will seep through. Use your foam brush to apply 1-2 coats of white paint in an up and down blotting motion. Be careful to not get paint outside the stencil!
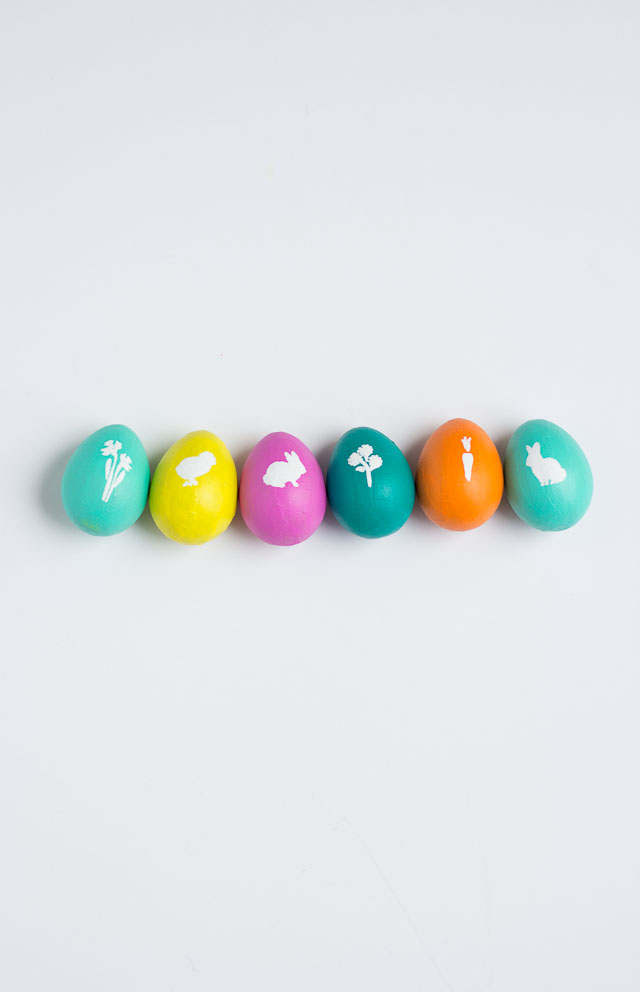
I love these eggs bursting with color! That little carrot one is particularly sweet don’t you think?
Like these stenciled Easter eggs?
Then be sure to get my Ultimate Guide to Easter Egg Decorating!

Don’t miss all my other Easter craft ideas!

This is post is sponsored by Martha Stewart Living Omnimedia as part of the #12MonthsofMartha program. All content and opinions are my own.