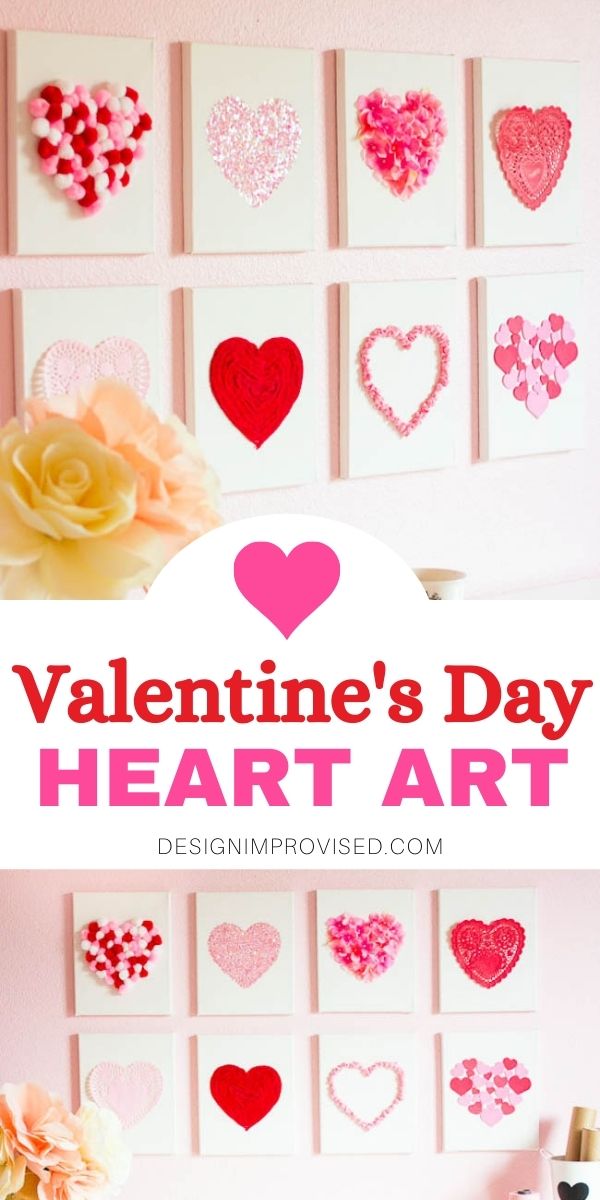
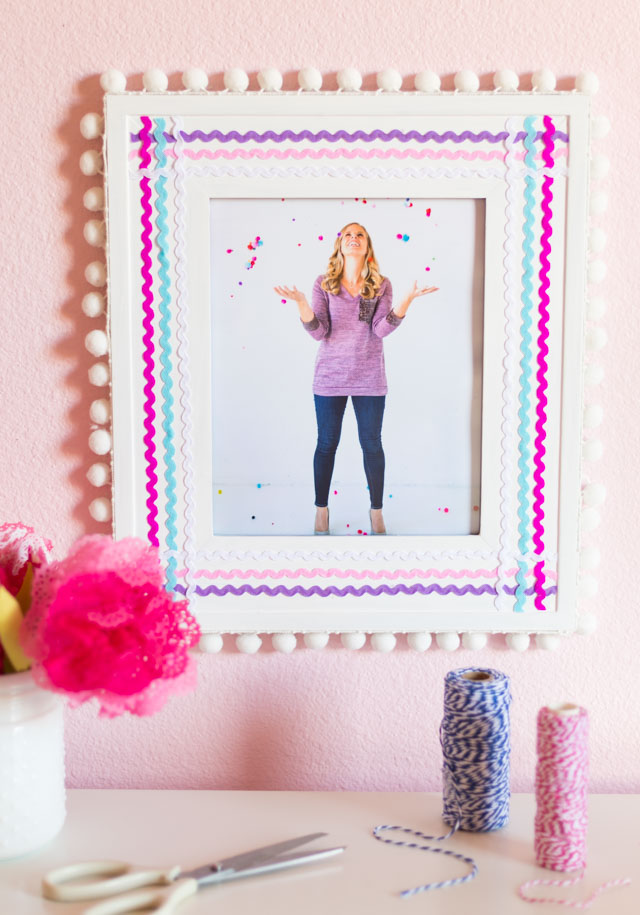
Valentine’s Day DIY Canvas Heart Art
DIY Heart Art for Valentine’s Day
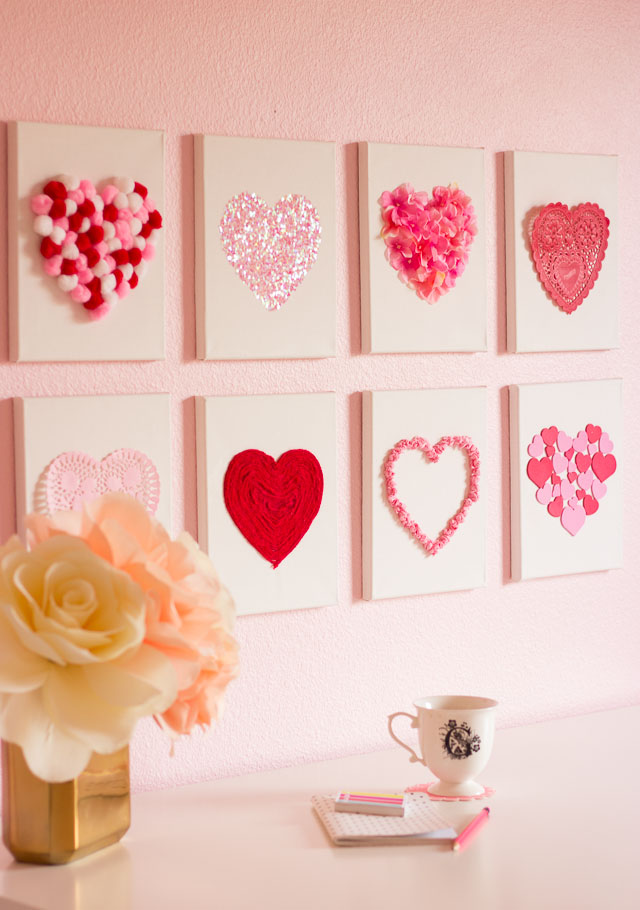
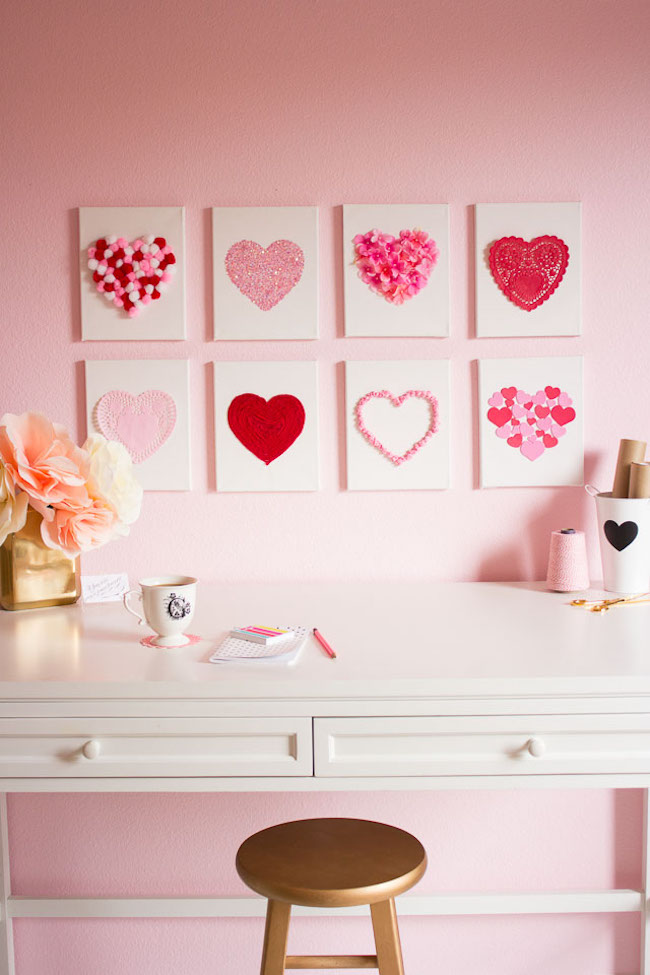
I decided to give my office a little Valentine’s Day makeover, but this DIY heart art turned out so cute, I might have to leave it up all year! What do you think? This project is all about using items you already have on hand and putting them into heart form! Just dig through your craft supplies and pull out anything that is red or pink. The supplies I used included some of my favorites like pom-poms, yarn, and glitter, but you can use whatever you have on hand.
This post contains affiliate links. See my full disclosure.
Then you just need a set of small canvases. I found a pack of ten on sale at Michael’s for $10. Canvases are frequently on sale at the craft stores (or use their coupons).
Supplies for Canvas Heart Art
- 8×10 canvases
- Heart doilies
- Pom poms
- Foam heart stickers
- Small artificial flowers
- Yarn
- Tissue paper streamers
- Heart confetti
How to Make Canvas Heart Art
Pom-Pom Heart Art
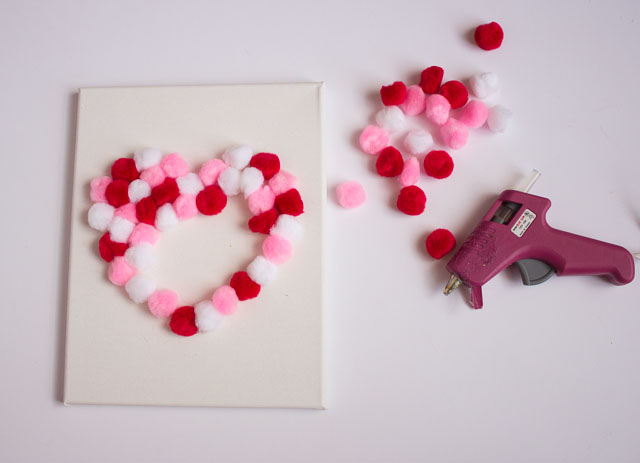
Step 1: Trace a heart
Trace a heart template to ensure all your hearts are the same size. I used a cardboard heart I had, but you can print out a template from the internet. Measure where you want it on the canvas and trace lightly with a pencil.

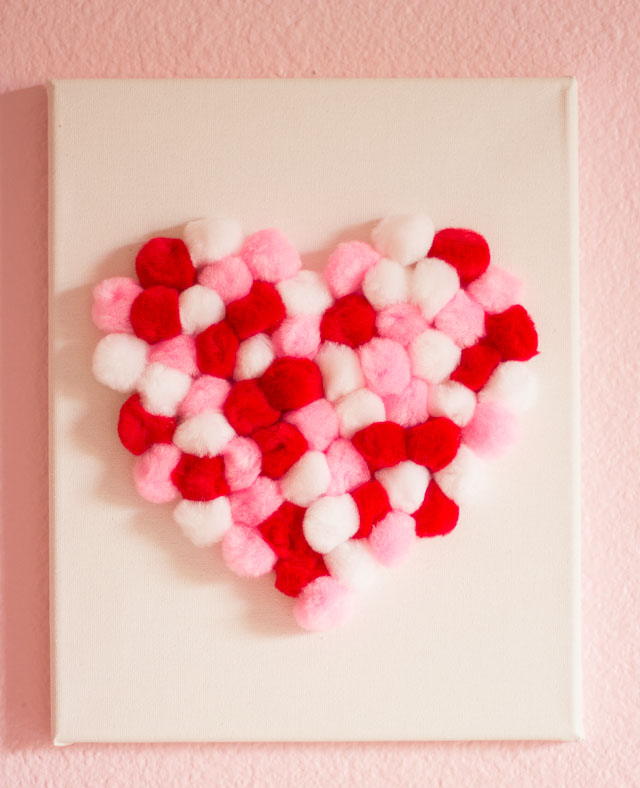
Step 2: Fill heart with pom-poms
Start filling your outline with any material you want! I used a glue gun to affix pom-poms to the canvas. I started by working around the outline, and then filling in the heart while randomly scattering the different colors.
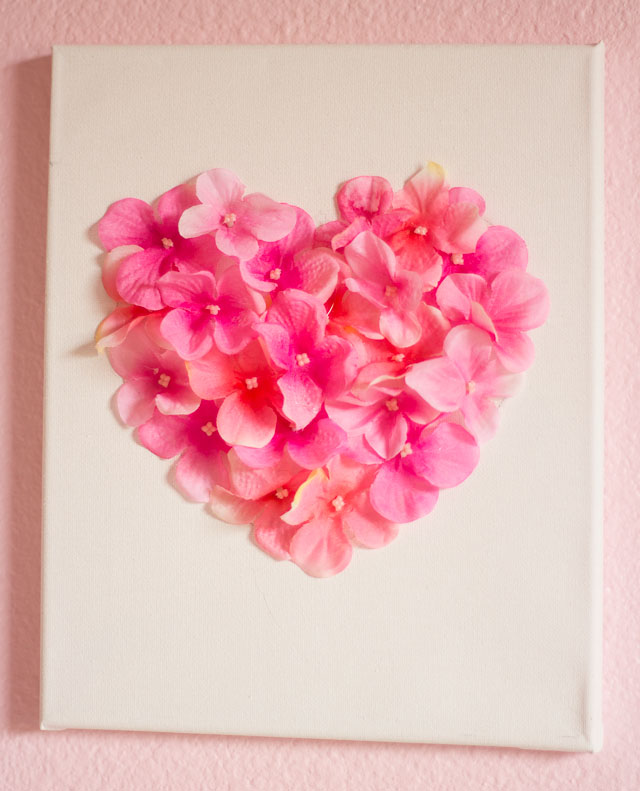
Flower Heart Art
For the flowers, I used a similar approach as the pom-poms. I clipped them off their stem and then hot glued them around the heart, starting with the outside and then working into the middle.
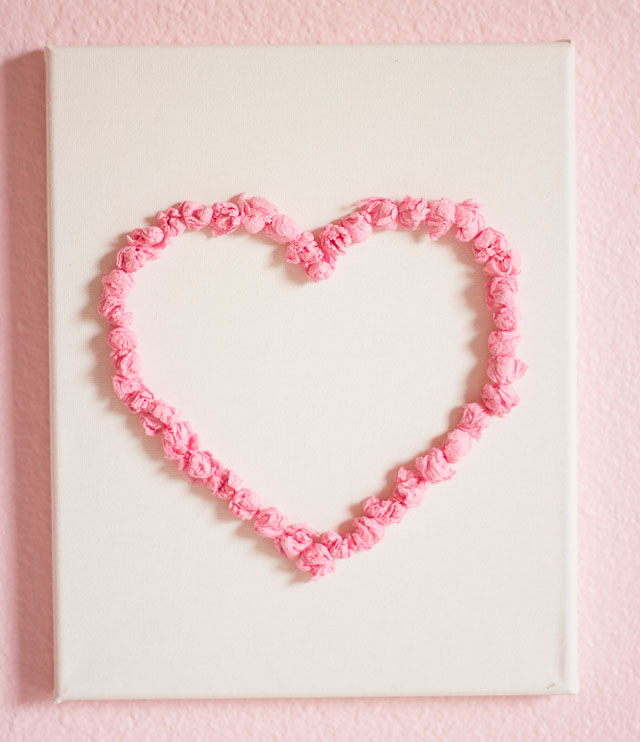
Tissue Paper Heart Art
For the tissue paper heart, I cut 2 inch strips of crepe paper and then scrunched into little balls with my fingers. Then I ran a bead of craft glue around the heart outline and stuck them on. You can fill in the whole heart if you want, but your fingers might start hurting from making all the little balls!
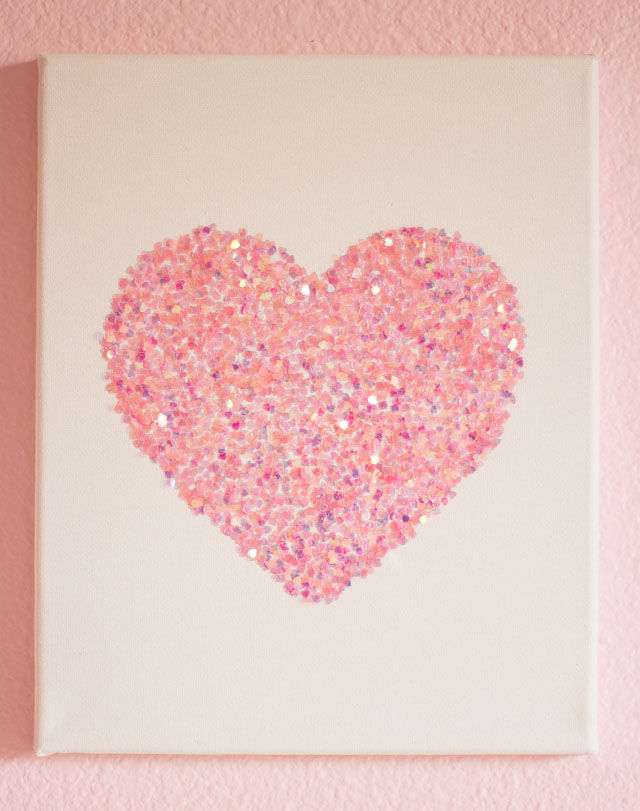
Glitter Heart Art
For the glitter heart, I spread an even layer of Mod Podge within the heart outline using a small brush and then sprinkled on heart glitter.
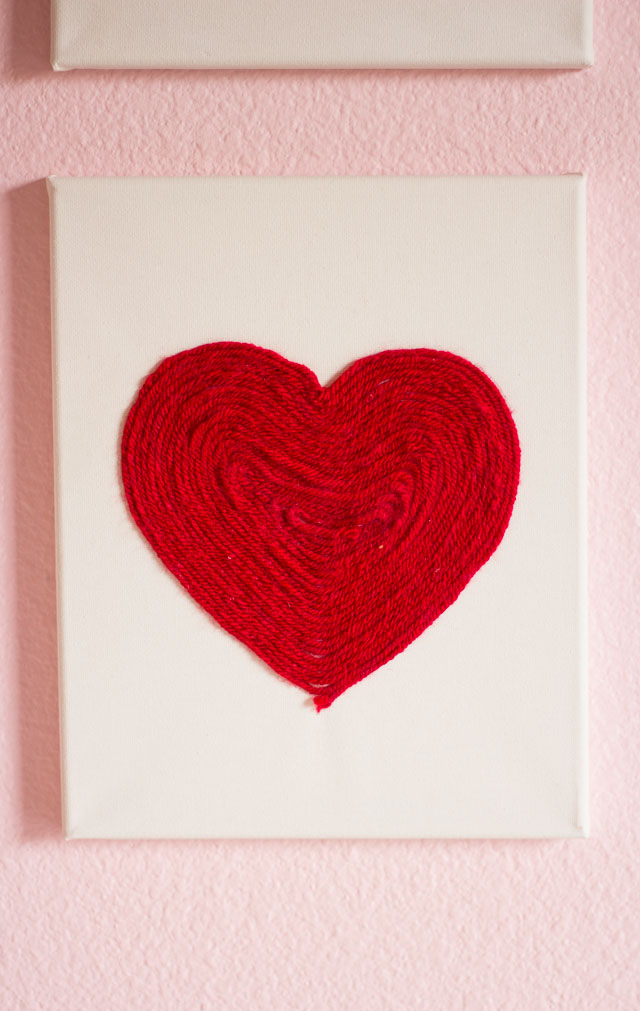
Yarn Heart Art
The yarn heart took the longest amount of time. To make it, I ran a bead of Elmer’s glue around the outline of the heart and then pressed the yarn into it. I kept adding more beads of glue and pressed the yarn into it, working towards the middle of the heart. It is a little tricky to keep it all in place, but the results are pretty cool!
I also used a couple heart doilies (just tape or glue onto the canvas) and I used foam heart stickers to make the heart at the bottom right. Once I had finished making the canvases, I laid out them on the floor and moved them around until I had the order I liked. I hung them on the wall using a small nail. Be careful to measure out their placement so they are evenly spaced and straight!
Like this heart art?
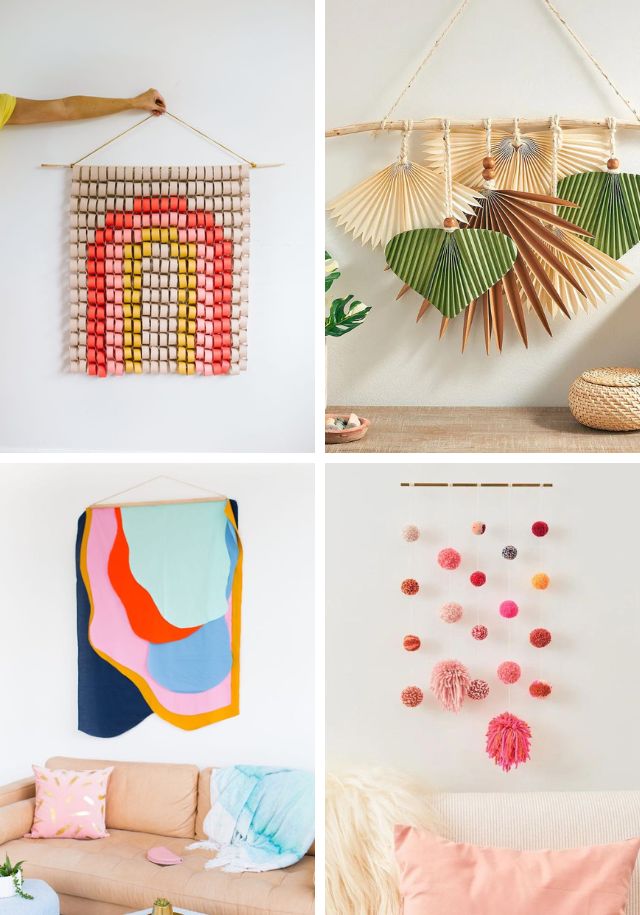
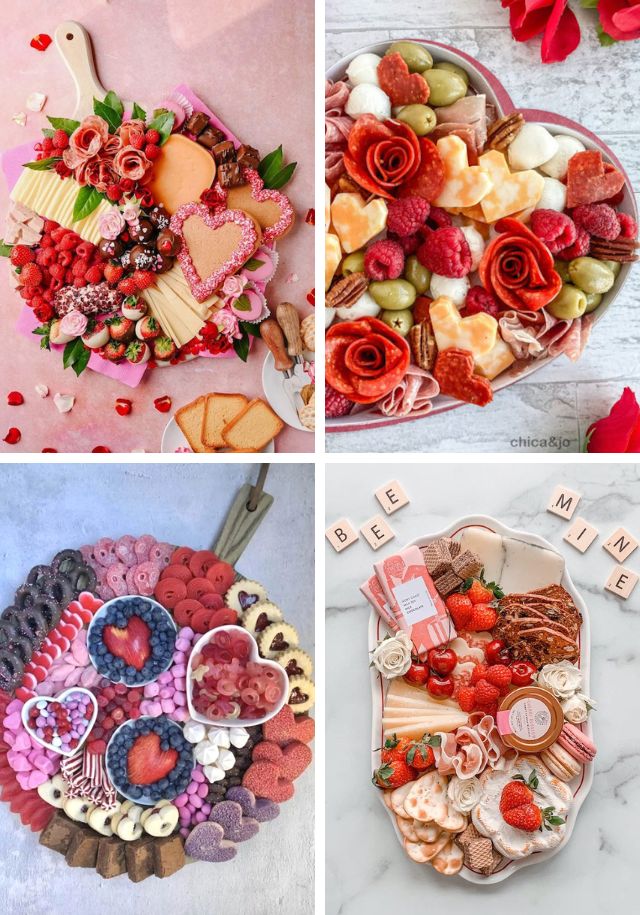
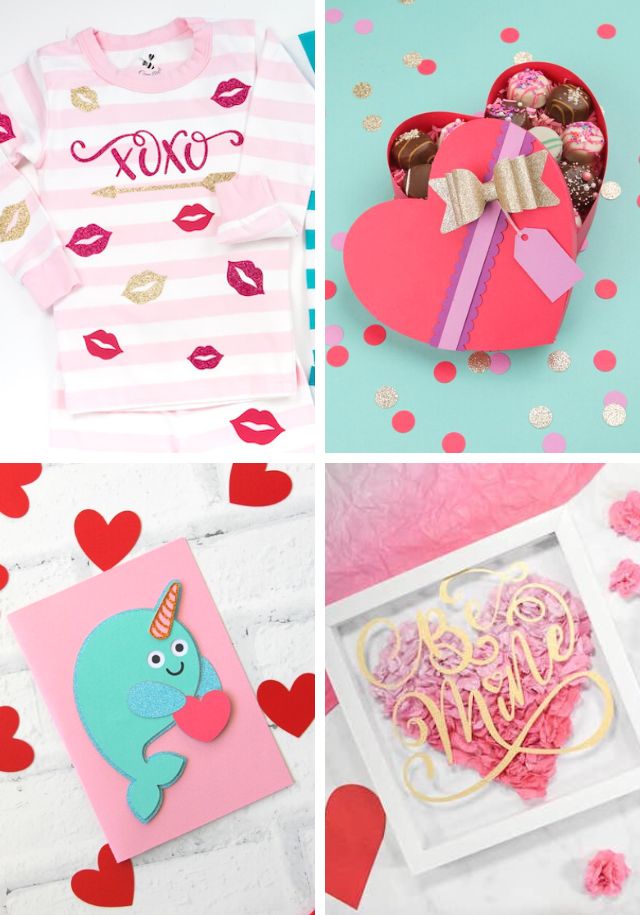
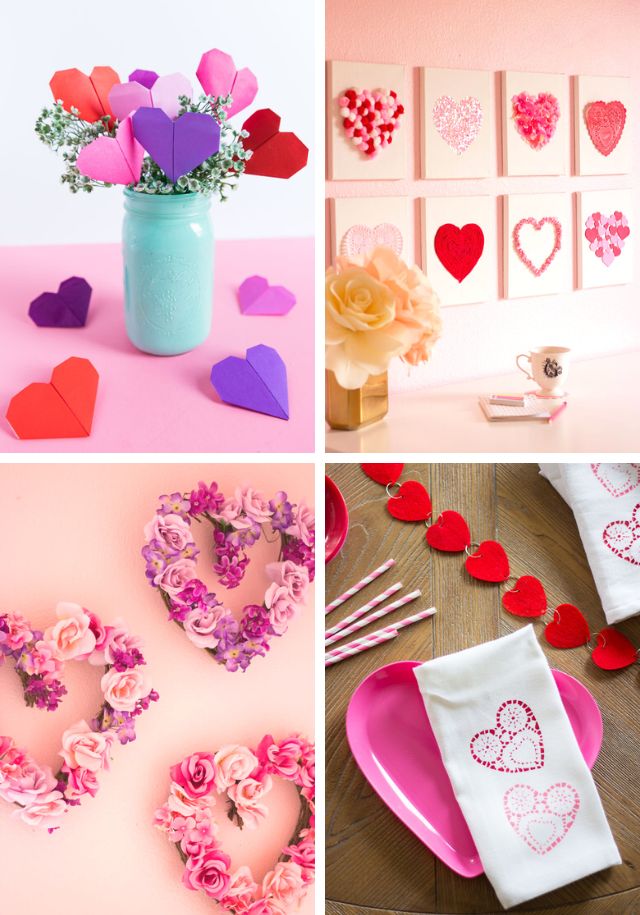
Then be sure to check out these Valentine’s Day projects!
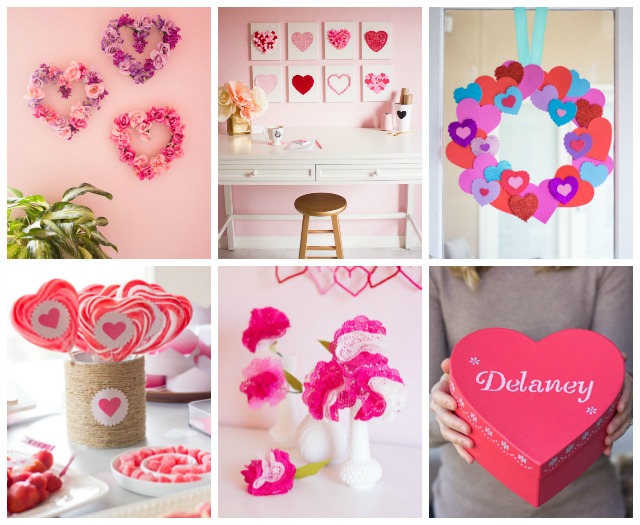
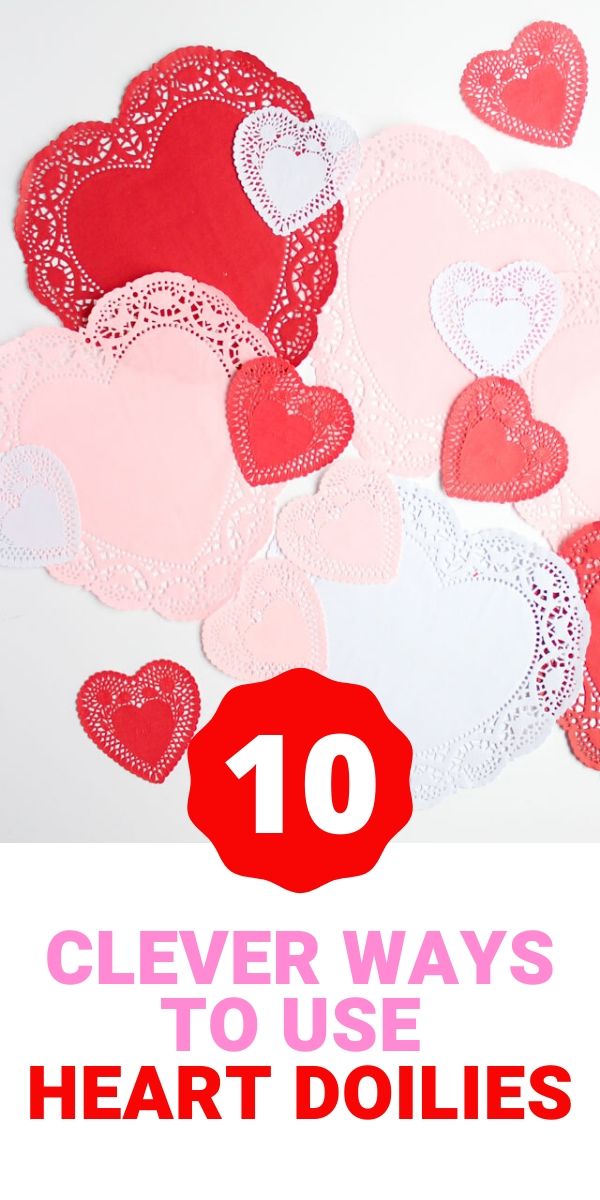
Have heart doilies on hand?
Check out these 10 clever ways to use doilies!

I love this idea and especially the price! What a great design using what you have and thanks so much for sharing!
These are just the cutest thing ever! They make my heart happy – I plan to finally make them this year. Thanks for the inspiration!
These ideas are adorable and inexpensive, and easy enough for anyone. I love collages, and I intend to start making someof these NOW and save them for next year. I also make crafts and donate them to thrift stores who use their proceeds to help community charities (hospice, women’s shelters, etc.) Thanks for sharing these affordable and cute ideas!
Barbara, thanks for taking the time to leave such a kind comment! I’m so glad you like my ideas. How wonderful that you donate your crafts to charity thrift stores. I do the same thing with many of my projects!
This is an adorable idea. At Christmas I always try to come up with something that all of my (10) grandchildren can do to make a picture of sorts for me to hang on the wall. It’s gotten harder over the years but this is it!! I can get them to do their own canvas decorated how they want. And at Christmas do the same with a Christmas tree, a wreath, or an ornament, etc. Even for all the other holidays. An egg at Easter, or a Cross. A pumpkin for Fall/Halloween. A flag for the Fourth of July, etc. It will be so easy to swap out for each holiday as the placement will already be there! Thank you for the inspiration of this craft! I’m so excited that I can’t wait to get started!!
Alicia – thanks so much for your comment. I LOVE that idea for your grandchildren, and how you thought to switch it up by holiday. So sweet!!