DIY Christmas Tree Holiday Card Display
DIY Christmas Tree Holiday Card Display
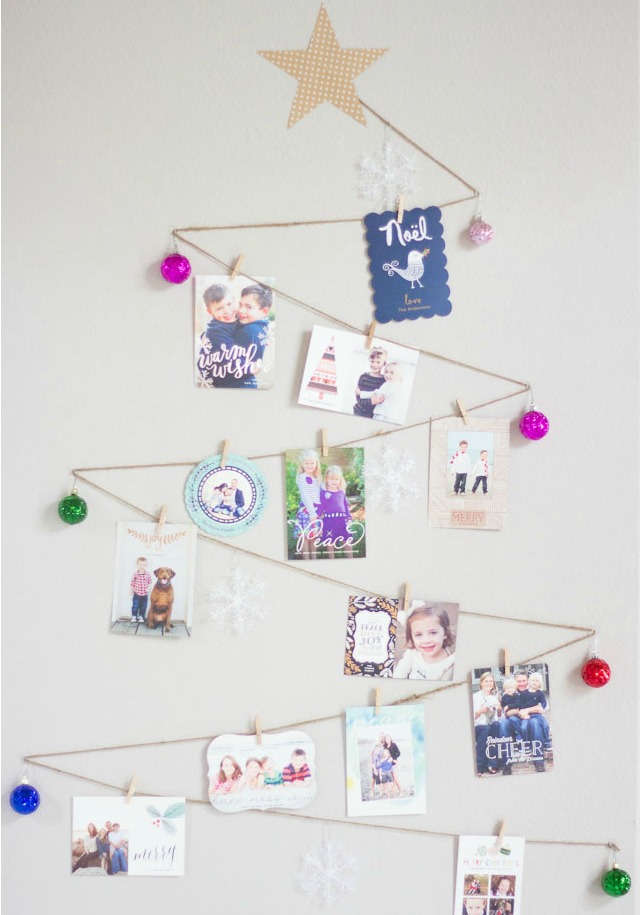
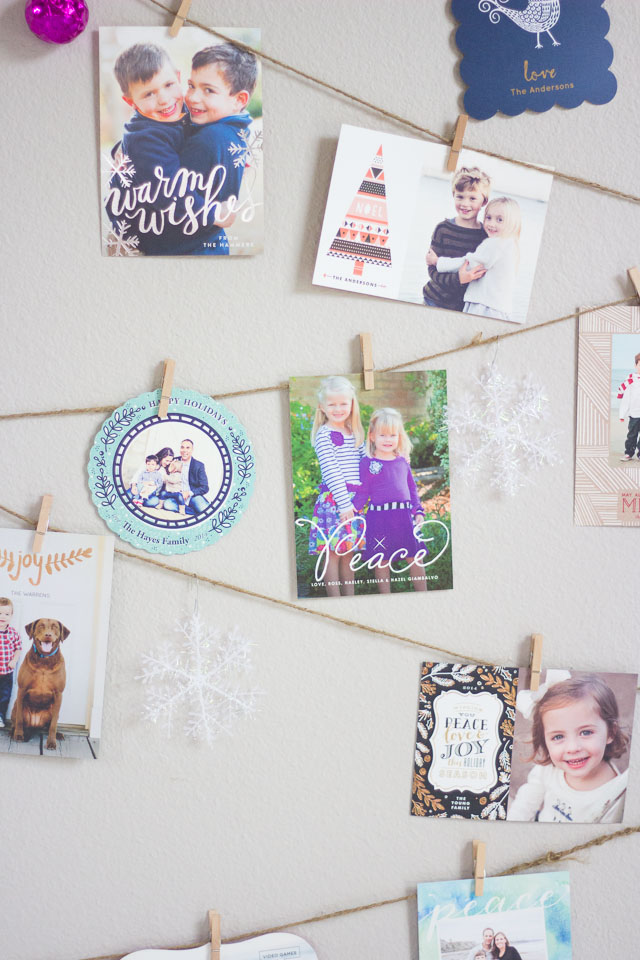
Have a blank wall? Have a roll of twine? Then you can whip up this Christmas tree holiday card display in minutes!
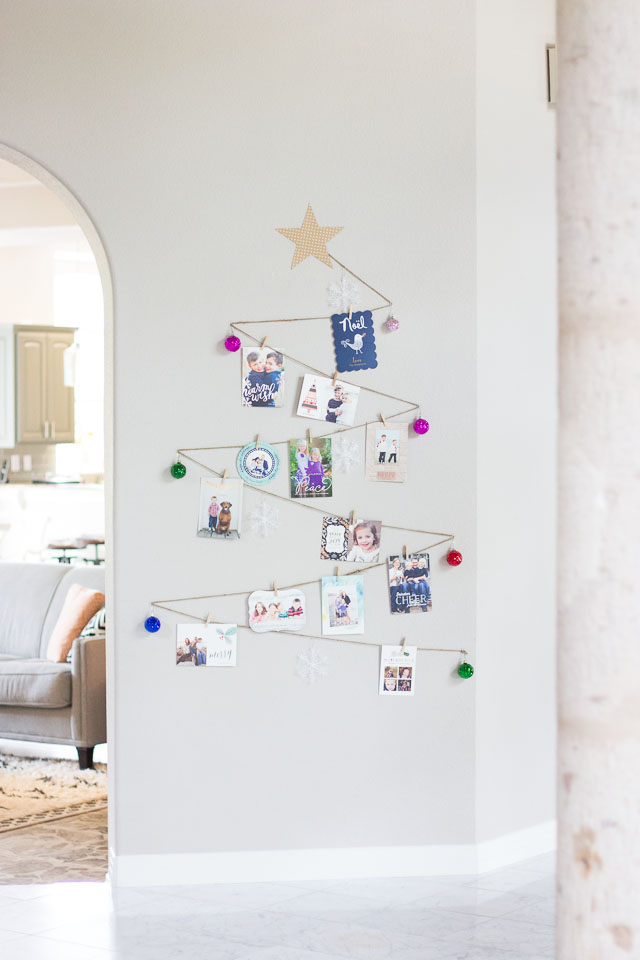
Holiday cards get more display worthy every year – especially these gorgeous photo cards from Minted. Don’t just stuff them away on the counter, show them off! I put our card display in our foyer. Seeing the faces of family and friends when you walk through the front door is much more welcoming than a blank wall. 😉 If you look closely you can spy our family’s holiday card among the other pretty card examples from Minted.
This post contains affiliate links. See my full disclosure.
You can create one of these displays in 20 minutes and have fun adding to it throughout the season. The trick is using some handy 3M Command decorating clips. They hold the tree up great and keep your walls damage free. You can make the tree as big as you want and adorn it with a few pretty ornaments. Here is all you’ll need:
Supplies for Christmas Tree Holiday Card Display
- 3M Command clear decorating clips
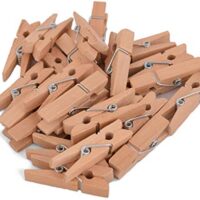
- Small clothespins (mine were 2″)
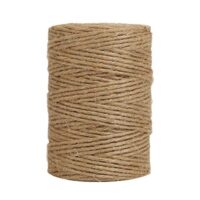
- Jute twine
- Painter’s tape
- Cardstock (for star)
- Holiday cards
- Shatter-proof ornaments (similar to shown)

How to Make Christmas Tree Card Holder
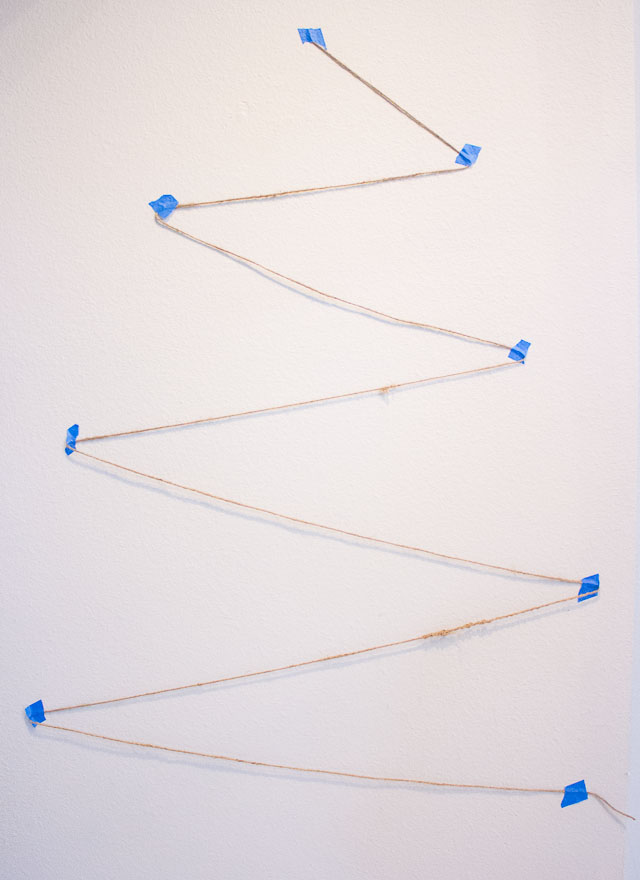
Step 1. Create tree shape with twine
Take your length of twine and start taping off a Christmas tree design on your wall with painter’s tape. You can adjust it by moving the tape around until you have the look you want. You can make the tree as little or as big as you want, just leave plenty of room between each row for cards to hang.
Step 2: Add 3M Command Decorating Clips
Leave the top piece of tape on your tree as is. Start with the piece of tape on the second level of the tree and replace it with a decorating clip. To do so, you first add an adhesive strip like this:
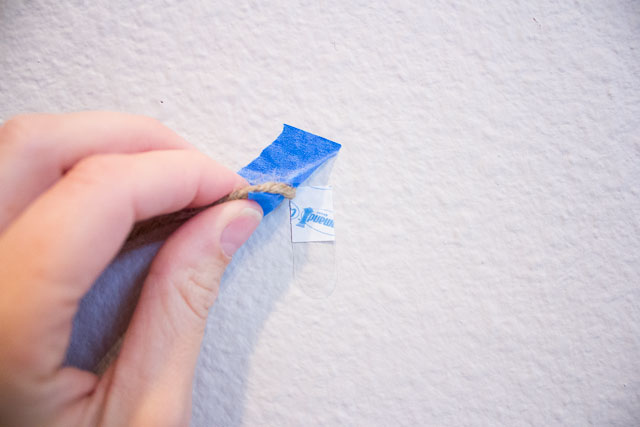
Step 3: Thread twine through hooks
Remove the backing from the strip and press the clip onto it for 30 seconds or so. Then thread the twine through the hook. You’ll want the twine to be taut as the cards will put it down some. Repeat this process for the remaining pieces of tape.

Step 4: Add a paper star and ornaments
To finish the tree, cut a star out of card stock and tape it over the top piece of tape on your tree. Trim the end of the twine at the bottom of the tree by tying a knot around the decorating clip and trimming. You can then start to add a few ornaments and cards using the mini clothespins!
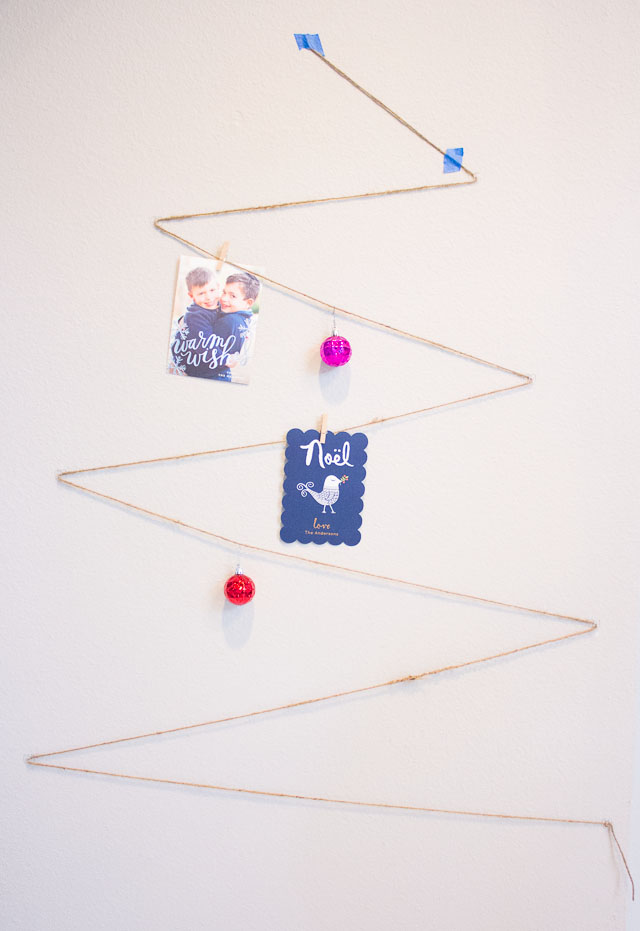
I put a sparkly ornament on each point of the tree, hanging it from the decorating clip. I scattered a few soft snowflake ornaments among the cards on the tree. So simple!

Like this Christmas tree card display?
Then don’t miss these other holiday card display ideas!
Love Christmas crafting?
Then don’t miss my other easy Christmas craft ideas!

This post is sponsored by Minted. All content and opinions are my own.
Simple DIY Holiday Card Display (PRINTABLE INSTRUCTIONS)
This is such a simple and fun way to display your holiday cards. Add twine to a blank wall in the shape of a Christmas tree!
Instructions
- Use the twine to create the zigzag outline of a Christmas tree. Hold each corner in place as you go with a piece of painter's tape or masking tape.
- Once you have the shape you like, secure each edge of the tree by removing the tape and adding a 3M Command Decorating Clip in its place. Follow the directions on the packaging to secure the clips in place.
- Create a paper star to put at the the top of your tree.
- Add small clothespins and shatterproof ornaments to the tree.
- Finish by adding your holiday cards!
Notes
Such a great use for a wall in your foyer or kitchen!
Recommended Products
As an Amazon Associate and member of other affiliate programs, I earn from qualifying purchases.