How to Embroider Baskets with Yarn!
I’m excited to be back with a new DIY for you today! I’m showing you how to embroider with yarn on any woven baskets you have on hand! This month I’ve stepped back from blogging a bit to savor summer with my kiddos, and have some free time to play around in my craft room and see what I come up with. These yarn embroidered baskets are a result of some of my experimenting!

The baskets remind me of a modern take on a summer camp craft. It’s a simple project that anyone can do but the addition of the yarn takes these plain-jane baskets and even old-school paper plate holders to a whole new level! You probably already have a few of these baskets lying around your house, but if not, you can find tons of them for $1 a piece at a Goodwill or Salvation Army. All it takes is a little bit of yarn and some creativity and you have a stylish new piece of home decor.

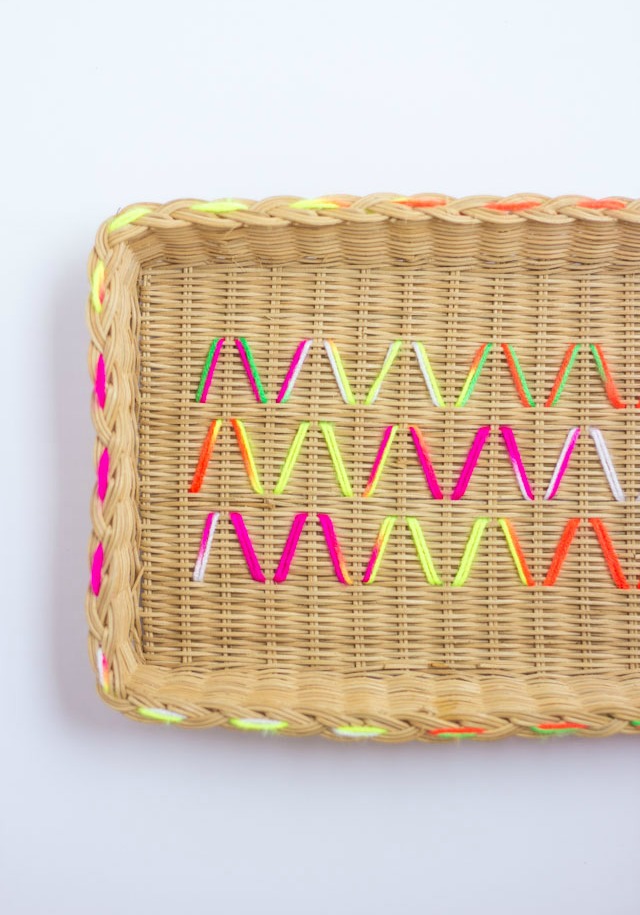
In addition to serving as pretty catch-alls for all kinds of things, I think these baskets would make for cool wall art!

This rectangular basket is the perfect size for corralling my phone, sunglasses, and keys.

Supplies for Yarn Embroidered Baskets
- Woven baskets and paper plate holders
- Look for ones with a circular or grid weave with spaces large enough for a darning needle to fit through. Some baskets may be too rigid to work well.
- Head to your local thrift store for some great options for $1 a piece.
- Yarn (I love using variegated yarn, but any color will work)
- Darning needle
- Scissors
How to Embroider with Yarn
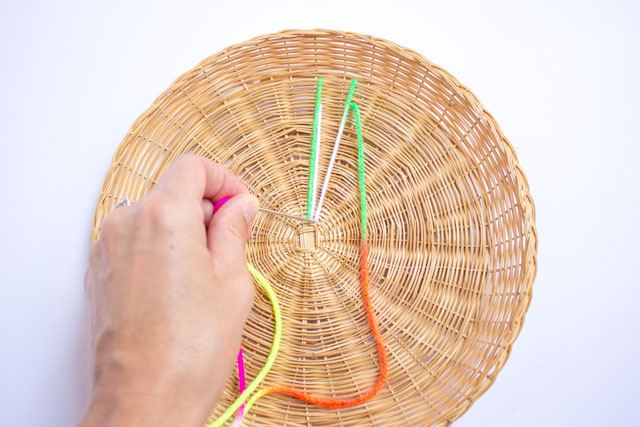
Step 1: Determine Your Design
Cut a length of yarn, thread your needle, and tie a knot on the end. Determine where you want to start embroidering on your basket. For this circular basket I started in the middle by inserting my needle through one of the spaces and pulling the yarn through. (The backside of the basket is shown here). If you want, you can also double up your yarn for a thicker embroidered look, like I did for my rectangular basket above.

Step 2: Start Stitching
Start embroidering whatever pattern you want on your basket. For this one I created a starburst design by making a long stitch and a slightly shorter stitch next to each other and then moving over a “rung” in the basket for the next two stitches.
Step 3: Trim Your Excess Yarn
Once you have gone all around the basket, tie off your yarn and trim any excess. Here is what the bottom of my completed basket looked like.

You can try all sorts of designs depending on the weave of your basket. In addition to the sunburst I made cross-stitch and zig-zag versions of the baskets. Have fun getting creative!

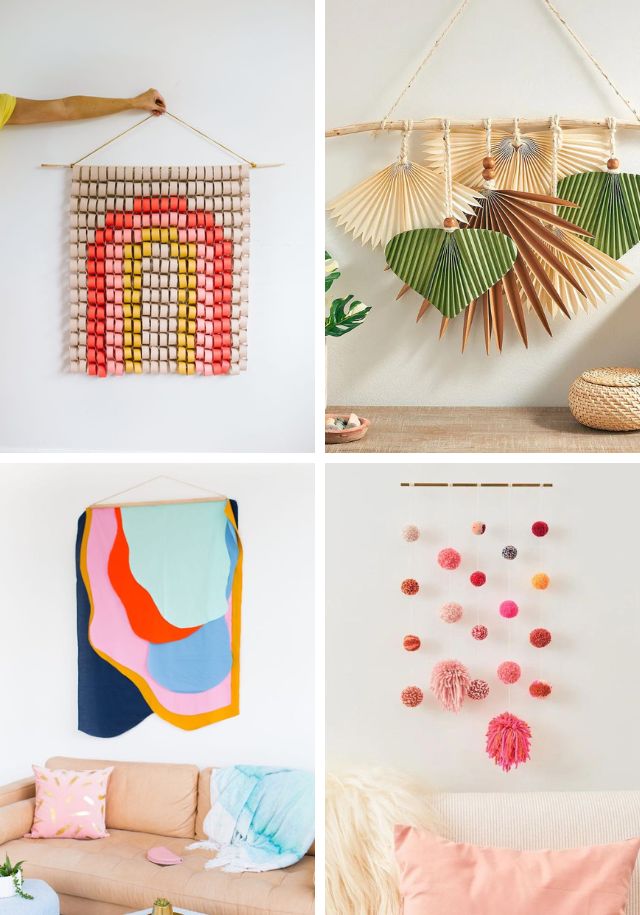
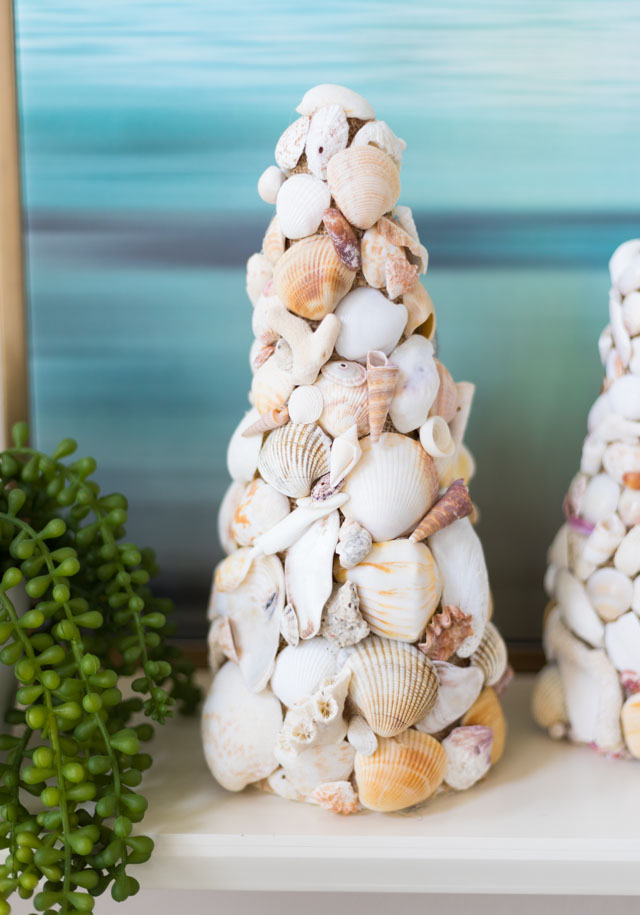
Like this thrifty DIY? Then, don’t miss these other 10 awesome thrift store makeover projects!


3 Comments