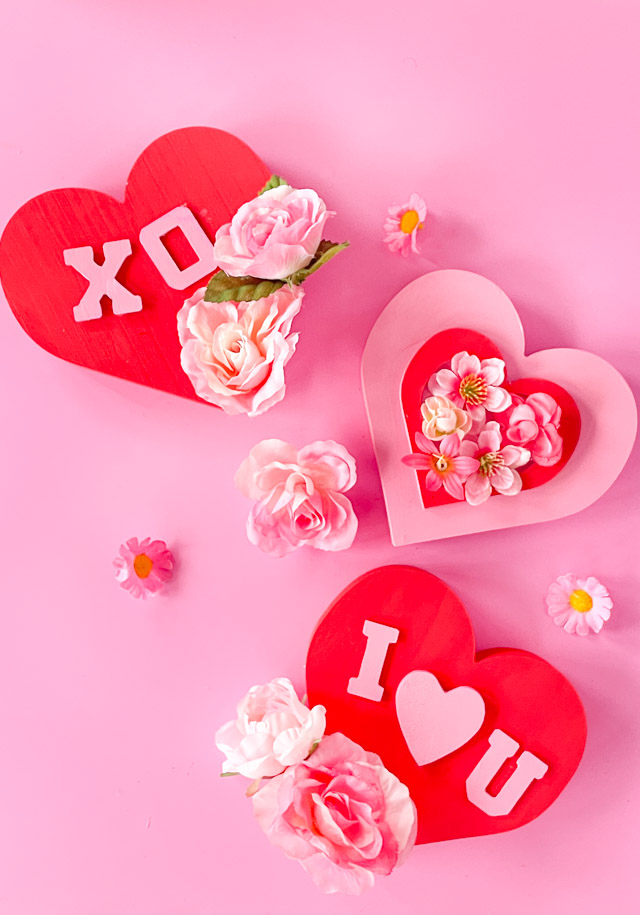
Personalized Valentine Gift Box

Personalized Valentine Gift Box

Want to make a personalized Valentine gift box for someone special? It is easy to do! I guess I can’t get enough of these paper mache heart boxes. I gave mini heart boxes a glittery makeover for my first 12 Months of Martha project, and this time around I turned the larger hearts into personalized keepsake boxes.

Similar to my glittered boxes, I wanted to create a Valentine’s gift that would last long past Feb. 14. While these can hold treats as a gift box, they can be repurposed to hold so many different things after Valentine’s Day. I used Martha Stewart craft paints and stencils to give them the personalized look.

I made a box for my little niece Delaney and nephew Oliver, and filled each with a heart-shaped sugar cookie cut to just fit inside of the box. This was an extra special project for me, because it carries on a tradition started by my Grandma Vera. Every year she would make the grandkids a giant heart cookie with our names on it. She made this special cinnamon frosting (made by melting red hots candies in water and mixing with powdered sugar – oh so good!). The cookies were out of this world, and as a kid the giant size of them made them amazing!
I want to keep the tradition going by making them for the little ones in my family each Valentine’s Day. I thought these personalized boxes would be the perfect thing to hold them.

Stenciling is a type of project that requires a little more time and a careful touch than I tend to give projects. It takes a couple hours to complete a box to accommodate drying time. However, the results are so special! These boxes aren’t just for Valentine’s Day – you can make them as a one-of-a-kind gift any time of the year. Here’s how:
Supplies for DIY Valentine Gift Box
- Martha Stewart acrylic craft paint

- Paper mache heart box
- Martha Stewart foam pouncers or foam brush
- Martha Stewart adhesive stencils

How to Personalize a Valentine Gift Box
Step 1. Paint the box
Paint the box a solid color. You can paint the lid a different color from the base if you want to get creative!

I did three coats of paint for my boxes, waiting at least 15 minutes between coats.

Step 2. Trace name
Lightly trace out your letters with your stencil and a pencil. This prevents that “oops!” moment when you are halfway done stenciling out the name and realize you’ve run out of room (I’ve learned from my mistakes!).

3. Apply paint to stencil
Using a foam pouncer or brush, lightly stencil on the letters. You can use painters tape to secure the stencil in place or hold down firmly to prevent it from moving while you are stenciling. Less is more when it comes to the amount of paint you should use when stenciling. Just add a little on your brush and dab off the excess before applying. Make sure to let dry before starting a new letter so you don’t smudge the previous letter.

I used the Martha Stewart adhesive stencils for the borders on the side of the heart box. They are so cool because they are flexible around a curved surface like this heart and they stick! You can peel them off and use them again and again.

Step 4. Make a border around lid
If making a border, start the next section by overlapping the stencil over the last stenciled part of your previous section (in this case, it was the final dot in my scalloped edge).

Add any little details and flourishes you want and let dry. If you make a mistake, you can usually “erase” it by acting quickly with a little dab of water on a paper towel!

Oliver and Delaney, your boxes are on their way – I hope you like them!

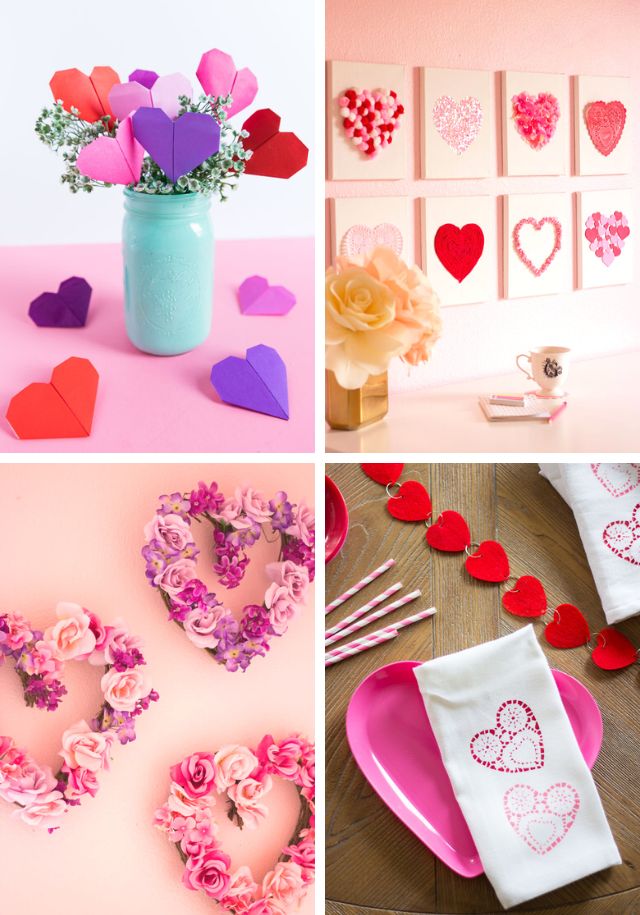
Looking for creative Valentine box ideas? Check these out!

This is post is sponsored by Martha Stewart Living Omnimedia as part of the #12MonthsofMartha program.