DIY Painted Cinder Block Planters
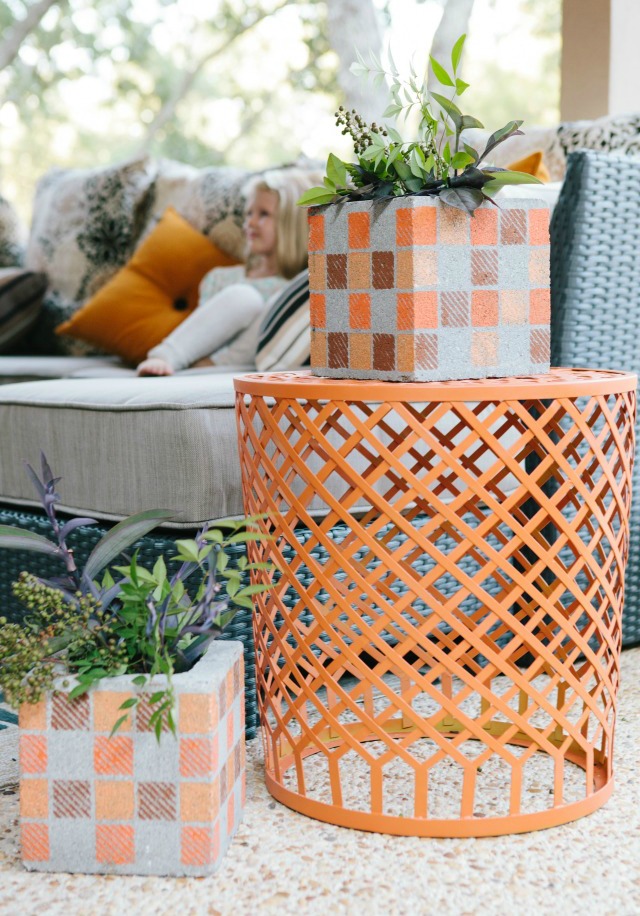
I dreamed up these DIY cinder block planters after a recent visit to my local Habitat for Humanity Home Center, which was selling used cinder blocks for 75 cents a piece. On their own, cinder blocks aren’t necessarily attractive, but if you pair them with a fun stencil like this plaid stencil from Stencil 1 then you can completely transform them into something beautiful for your patio this fall!
 |
| Photo by Candice Stringham |
Even if the rest of your garden is starting to fade, these vases are the perfect way to show off some fall foliage cut from your yard. These are just a few sprigs cut from our bushes. The best part about these vases is they won’t blow over in a breeze!
You can customize these however you like based on the stencil you use. I am a big fan of the selection of unique stencils you can buy online from Stencil 1.
These are quick and simple to make. Here’s how:
Supplies for Concrete DIY Cinder Block Planters
- Cinder blocks – you can get recycled cinder blocks from a Habitat for Humanity ReStore near you for only 75 cents each, or new from hardware stores like Home Depot (although I do like the patina the used ones have, plus you are helping the environment!)
- Stencils – ideally a stencil that covers the surface of the cinder block works best – you can cut down to size if needed. I used this plaid stencil.
- Multi-surface craft paint – I highly recommend using an acrylic craft paint which is UV and weather resistant and made for outdoor use.
- Foam brushes
- Masking or painters tape
- Small cup or mason jar – since a cinder block has a hole in the bottom, you’ll need to put the flowers or foliage in a separate container in the inside. A mason jar is the perfect size for this.
How to Make DIY Cinder Block Planters
Step 1. Position stencil on cinderblock
Tape stencil to cinderblock to hold in place. Pick your favorite fall paint colors and apply with a foam brush. Use an up and down blotting motion with the brush (vs. a painting stroke) and a small amount of paint on the brush to avoid paint seeping under the stencil.

Step 2. Apply paint to stencil
If desired, add other colors until you have filled the stencil. It only needs one coat of paint.

Step 3. Carefully remove stencil
Take off the stencil and voila! Repeat on the other 3 sides of the cinder block.

Step 4: Fill with flowers or greenery
Fill a jar with some fall cuttings and water and insert within the cinder block. Enjoy the new pop of fall color on your patio!


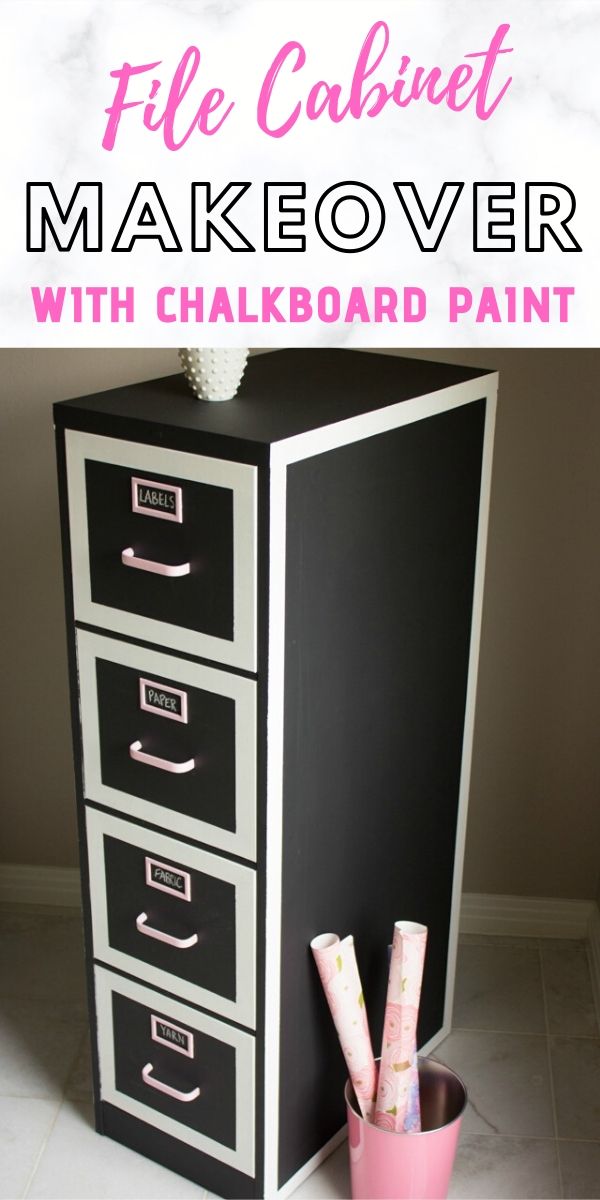
Like this thrifty project? Then check out my file cabinet makeover!
Thanks to Stencil 1 for providing the stencils for this post.


Where do you find the cinder blocks that have been cut in half ?
Hi Regina, so sorry for the delay! I found mine at my local Habitat for Humanity Re-store. Home Depot or Lowes may carry them as well!
These are so cool I’m gonna try an make a few
Love the crafty ideas!
Thanks so much Patsy. Happy National Craft Month!