DIY Memory Boards
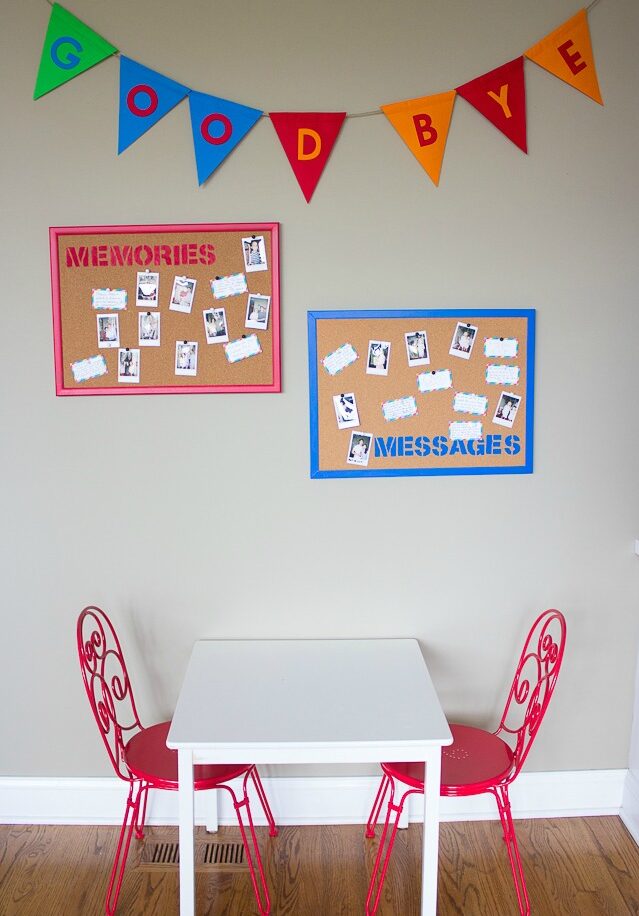
Today I wanted to give a tutorial for how I made these memory / message boards for our party:
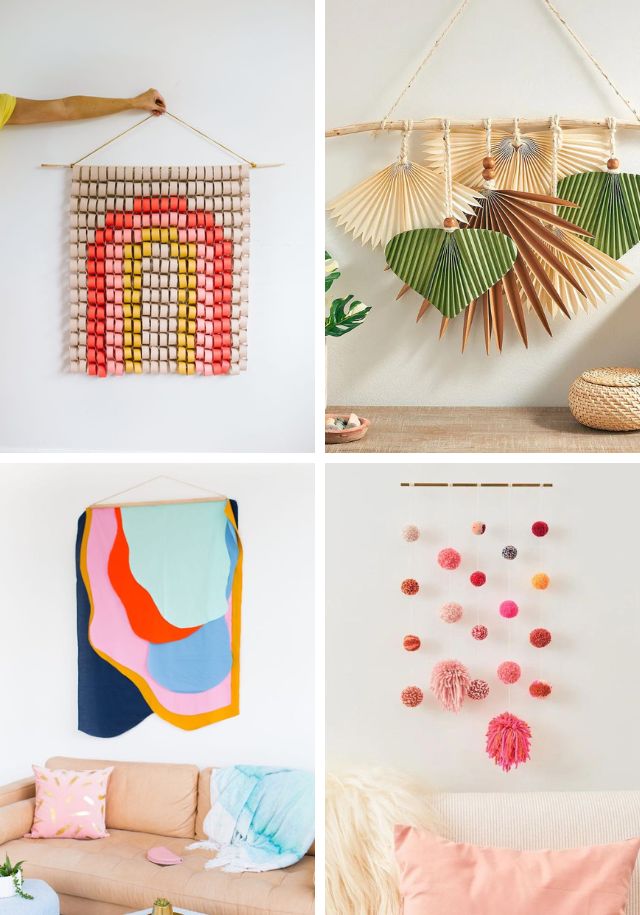
I think they would make a fun addition to lots of different types of parties. They could be adapted for birthdays, graduation parties, baby showers, weddings – you name it! It gives guests something fun to do during the party and you’re left with some special mementos afterwards.

Supplies for Memory Boards
- Cork boards (here’s a tip, you can easily find them for $1-$3 a piece at thrift stores like the Salvation Army. New ones can cost upwards of $20 a piece!)
- Acrylic craft paint (I always recommend Martha Stewart multi-surface paints)
- Stencils
- Painters / masking tape
- 3M Command strips (if the cork boards have hangers on the back you could also use those, but the Command strips allow you to avoid putting holes in your wall)
- Note cards and pens
- Instant Polarid camera and film
- Push pins
How to Make Memory Boards
1. Paint the outside frame with craft paint and stencil on whatever words you want – it’s as simple as that!
You can use the painters tape to line the inside of the corkboard when you are painting the edges of the frame to prevent any from seeping onto the cork. If the frame has a glossy wood surface you may want to sand it before painting to make sure the paint adheres well.

2. Hang up the boards and set out the camera and film as well as some notecards, pens, and pushpins for guests to write messages with.

3. Leave a note on one of the boards so guests know what they are supposed to do!


4. Watch the boards start to fill up over the course of the party!

How priceless is this note from my little friend Cole?!