Easy DIY Giant Rose from Crepe Paper
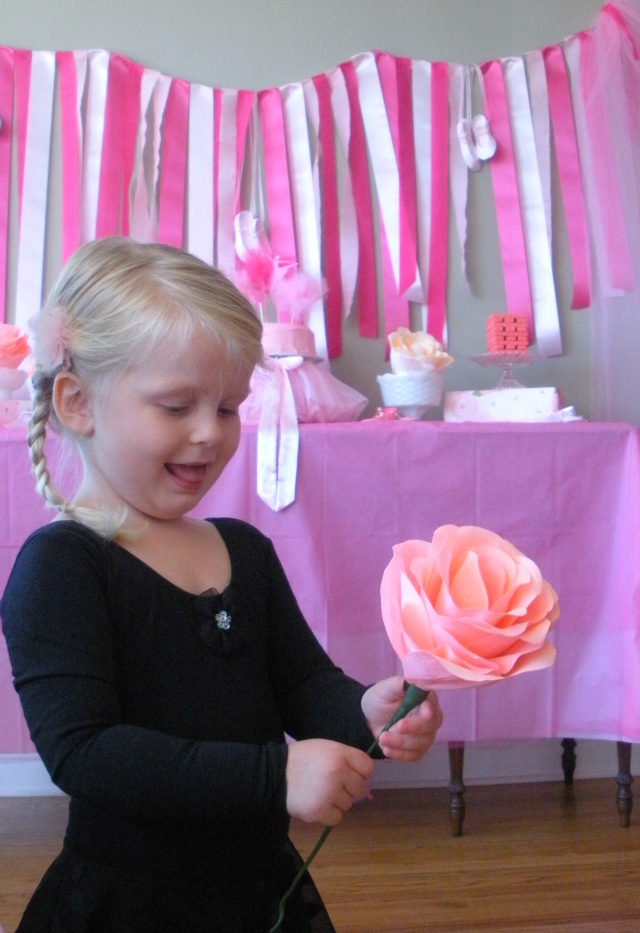
These DIY giant roses made from crepe paper were my favorite DIY project for my daughter’s ballerina birthday party. They were time consuming to be sure, but totally worth the effort. I had a lot of fun experimenting with some new materials I’d never used before like floral tape and double-sided crepe paper. The roses turned out beautiful and so realistic looking. Plus, they will keep forever!

I initially based these flowers off a tutorial from Martha Stewart and another great step-by-step tutorial I found from Green Wedding Shoes, which shows how to make a giant rose for a wedding bouquet. My tutorial below focuses on some additional tips and tricks I figured out along the way. However, be sure to check out these sources if you want some more step-by-step photos and variations on my approach.
Supplies for DIY Giant Crepe Paper Roses
- Flower template (I used this one)
- Sheets of double-sided crepe paper
- Floral wire
- Floral tape
- Pencil
- Scissors
Total Time: About 1 hour per rose
Total Cost: About $5 per rose
How to Make a DIY Giant Rose
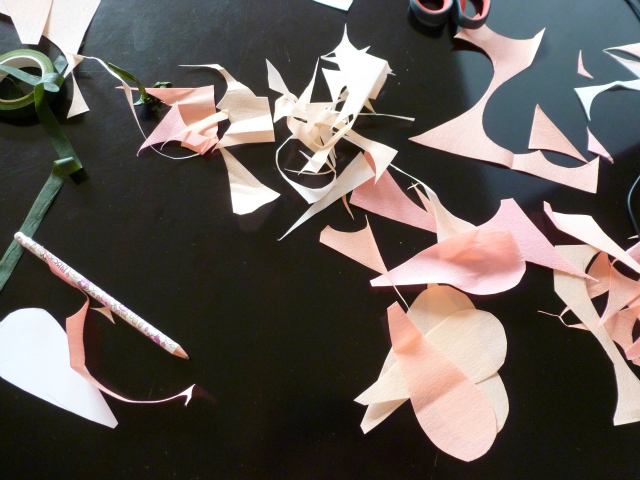
Step 1: Cut out template
Print out the flower template and cut out the small petal (which will form the bud) and the large petal (which will form the rest of the flower petals).
- Tip: you can enlarge the flower template depending on how large you want your roses to be (200% would make for a huge rose. For my large roses, I enlarged the template roughly 150%, and for my smaller roses, I didn’t enlarge the template at all). Both worked great.
- Tip: you can also cut out a calyx and leaf from the template. I chose to skip that step to save on time and materials. I think the roses look just fine without them, but totally up to you!
Step 2: Trace template onto crepe paper
Trace the templates onto a sheet of the double-sided crepe paper (you’ll need 6 small petals and 15 large petals).
- Tip: If you space them closely like I did below, you can make a large flower out of less than 2 sheets of paper (at $2.50 a sheet, it’s worth it if you want to make several flowers!)
- Tip: When you are tracing, make sure that the grain of the crepe paper runs vertically to the flower. You will see there is a clear grain (ridges) in the paper and you don’t want to cut out a petal with them going horizontally along it, as it will make the forming of them difficult (read next step to see what I mean!).

Step 3: Form the petals
Once you have all your small and large petals cut out, it is time to form them into a true rose petal shape. To do so, you’ll want to hold each side of the petal with a hand and then gently pull out on the sides of petal while pushing in the center a bit with your thumbs to “cup” the petals. This is why it is important for the grain to be running vertically along the petal. Otherwise the petal won’t stretch like you want it to. Use your pencil to curl the top of the large petals under:

Step 4: Make the rose bud
Grab your floral wire and tape to start assembling the flower! Make the rose bud by taking one of your six smaller petals wrapping it tightly around the stem, securing with floral tape. Repeat with the remaining small petals, wrapping with plenty of floral tape each time.
- Tip: Depending on the size of your flower and thickness of your floral wire, you may want to wrap several pieces of floral wire together using the floral tape to make a stronger, thicker stem. For my large flowers, I used 2 pieces of floral wire, and for my small flowers I used just one.
- Tip: Buy the floral wire that is already green (and looks like a stem!), so you don’t have to cover the whole thing in green floral tape.

Step 5: Add larger petals
Now that you have a bud, it is time to start adding the larger petals to create your DIY giant rose. You do so the same way, making sure to layering them evenly around the bud (i.e., you want to rotate the stem each time you add a new petal, not keep adding them in the same place!).


Another tip is to make sure you pull the petal taut around the stem and really wrap the floral tape tightly around it (multiple times). Otherwise, you’ll make the mistake I did with my first rose and the petals will be slipping up and down the step vs. secured tightly in place.


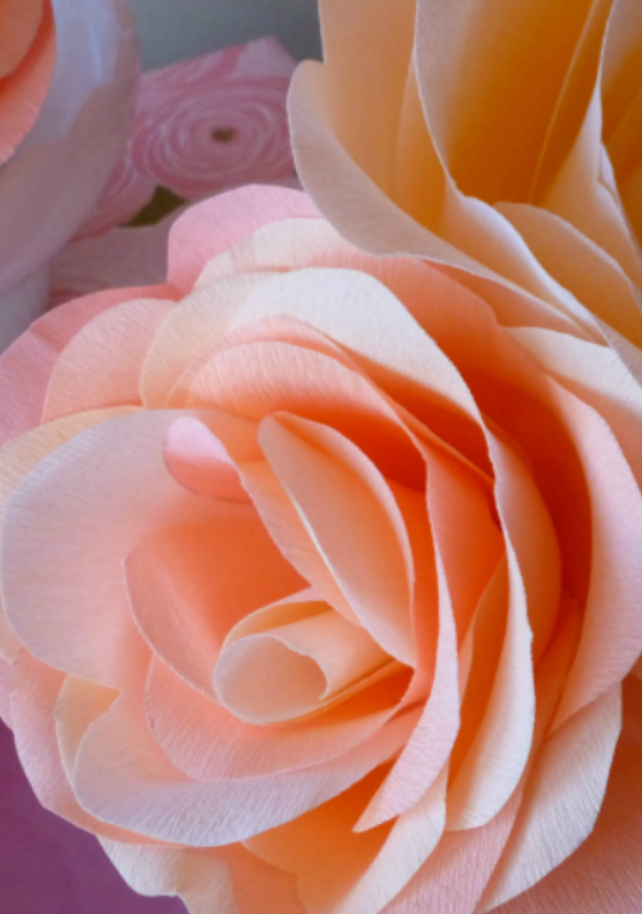
Repeat the process with all 15 petals and you will be left with a beautiful rose! Once you’ve tried one out you can get creative and try multi-colored petals like this DIY giant rose that uses two shades of pink:
It might be a messy process and take a good hour to make a rose, but I promise you won’t be disappointed (and you’ll get faster after your first attempt)!