DIY Toilet Paper Storage Using a Glass Vase
DIY Toilet Paper Storage
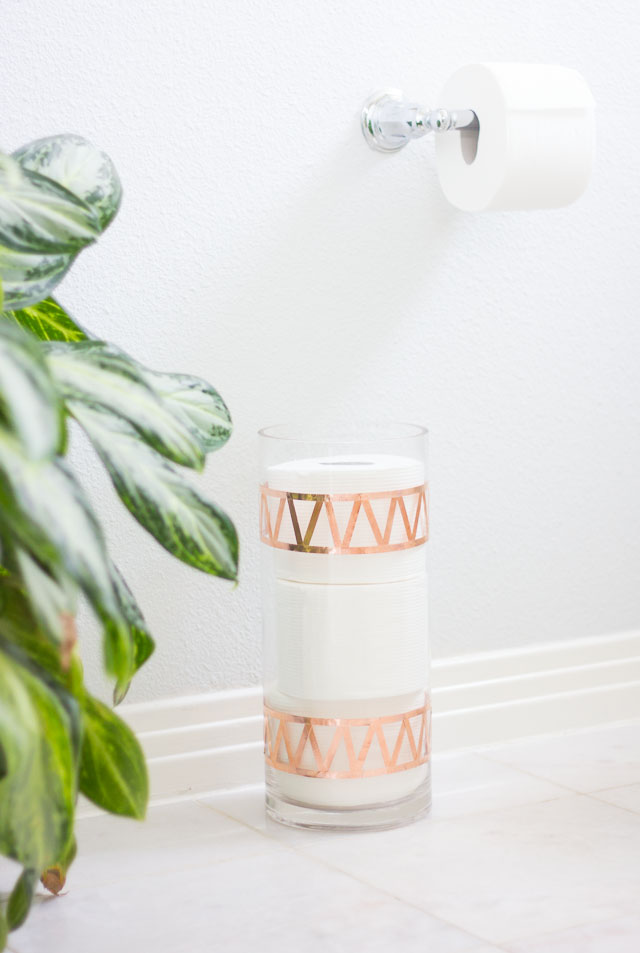
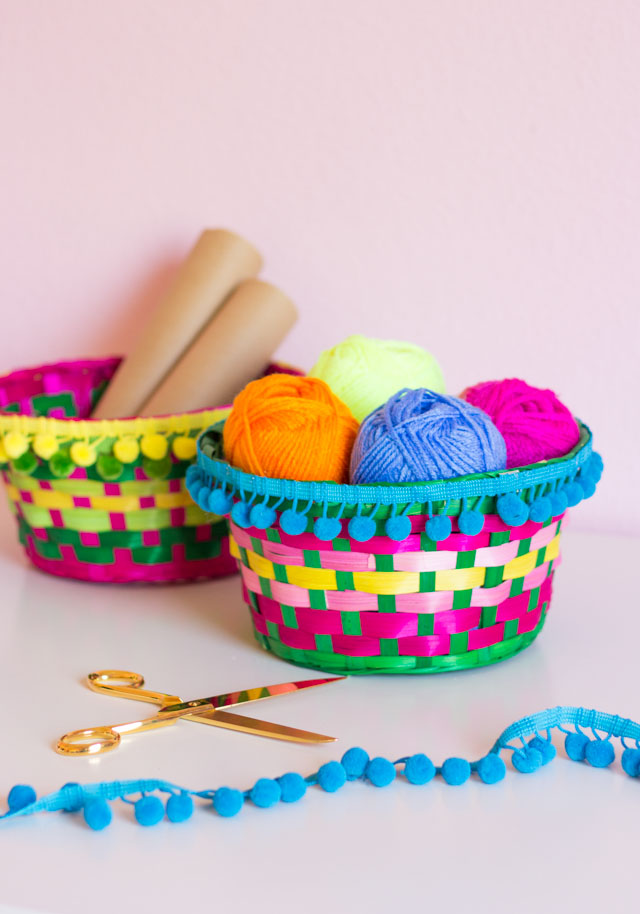
I’m back with another fun DIY toilet paper storage for you in partnership with Cottonelle! In my last post, I made a pom-pom fringe basket to store our supply of bath tissue in the linen closet. Today, I’ve got an idea to help you keep a couple extra rolls always within reach. I turned a glass cylinder vase into a pretty copper decorated storage piece. Consider it a classy upgrade to stashing an extra roll on top of the toilet!

This post contains affiliate links. See my full disclosure.
The glass cylinder fits three Cottonelle Mega Rolls perfectly (each of them is 4 rolls in one!), and is narrow enough to fit easily on the side of the toilet. I added copper foil tape (typically used for electrical work, you can find it here on Amazon) to give it a little metallic bling. Who says bathroom storage has to be boring?!

I love when a storage piece can be both super functional and super cute. I think this bath tissue holder fits the bill, don’t you?
This DIY toilet paper storage would be a great way to repurpose a glass vase you already have on hand. Or you can frequently find these at thrift stores like the Goodwill. I found mine in the floral department of Hobby Lobby on sale for $12 (always be sure to use your coupon or wait for a sale!)

Supplies for DIY Toilet Paper Holder
- Tall glass cylinder vase wide enough to fit toilet paper rolls (mine was 13″ high and 6″ wide)
- .25″ width copper foil tape
- Thin masking or washi tape
- Scissors

How to Make a DIY Toilet Paper Holder
Step 1: Plant out design
To determine where to start my copper tape, I measured from the top of the vase and then ran a piece of paper around the vase to help me create a straight line, making sure it was the same distance from the top all the way around.
I then used the paper as a guide and ran a piece of thin masking tape above its top of edge before removing the paper. This method just helped me create a straight line around the vase. I found that if I just went straight to wrapping around the tape, it got crooked easily!

Step 2: Make a pattern with copper foil tape
You can see the orange tape line below. I used that as a guide to line up my copper tape pieces. I cut similar lengths of copper tape and adhered them in a zigzag pattern below the tape line, smoothing down with my finger nail as I went along.

Step 3: Add a tape border
I finished off the design by removing the orange masking tape and covering the raw ends of the zig zag tape pattern by wrapping a single piece of copper tape around the top and bottom of the pattern.

Step 4: Repeat design on the bottom
I repeated the same design on the bottom of the vase to complete it! You could make any design you want with the copper tape. This is just one idea!

If you have an extra glass vase gathering dust in a cabinet somewhere, pull it out and give it a new life as some creative bathroom storage!

Want to make your bathroom even more chic?
Try this medicine cabinet makeover!
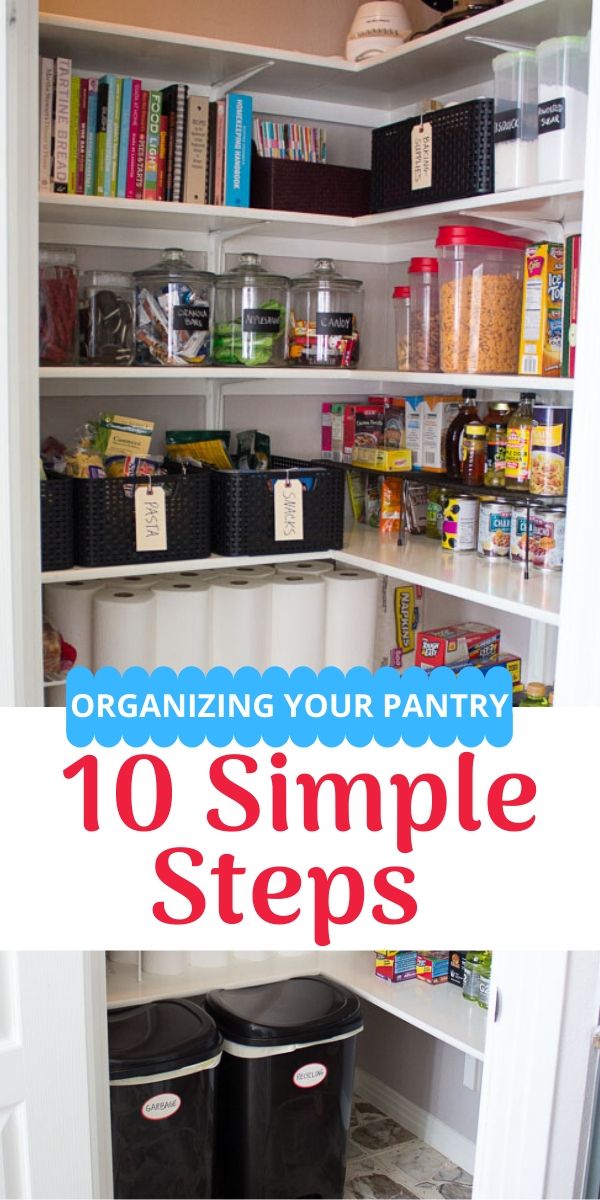
In the organizing mood?
Then don’t miss my top 10 pantry organizing tips!
Great idea and it looks so nice.
Thanks so much!
Very neat idea! 🙂
I love this idea!! It could even be used to recycle smaller jars with lids for pony tail holders or Q tips on the bathroom counter. I have glass jars all over as they don’t recycle them here, but I craft with them because I can! I do love the blingy way you did this!! Happy Crafting 🙂
So glad you liked the idea, Sage. And your idea of smaller jars would be super cute! Love it!
Fabulous! I would have to find a plactic one because of the cat.