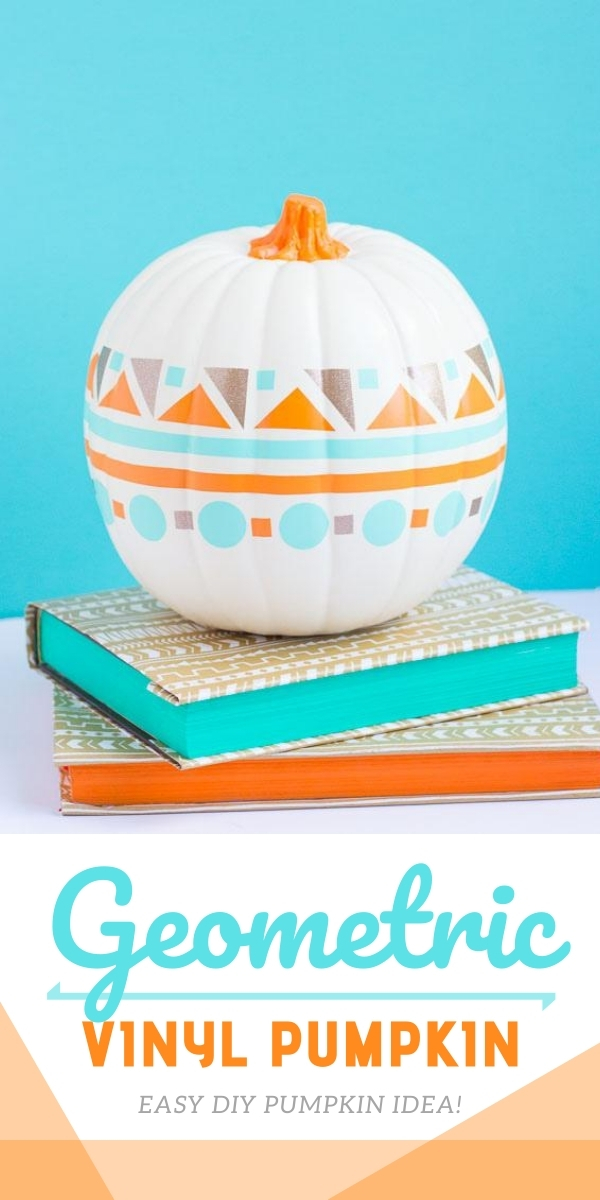
How to Decorate a Pumpkin with Vinyl
How to Decorate a Pumpkin with Vinyl
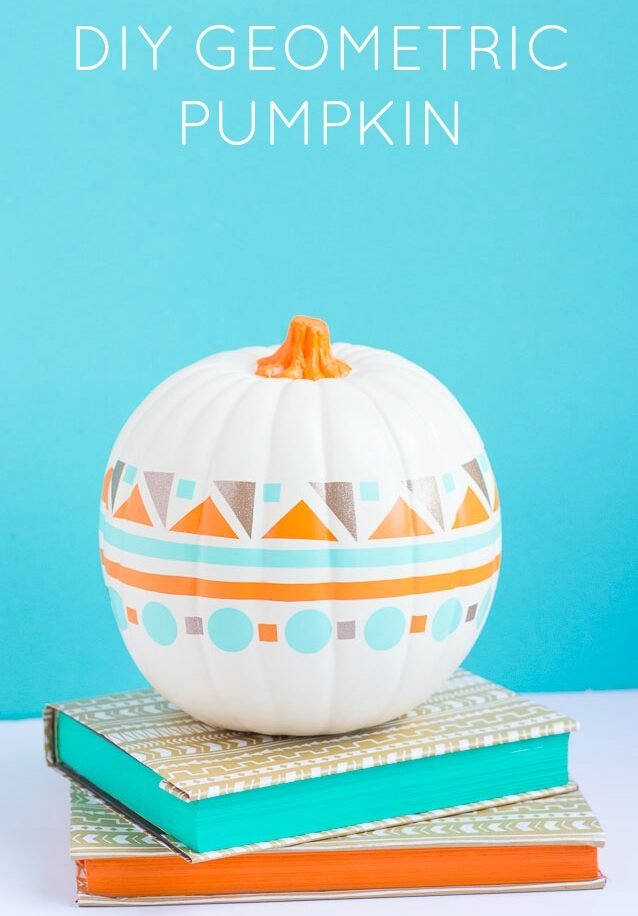
Introducing my vinyl geometric pumpkins! I love a good crafting challenge, and that’s what I got when the folks at Martha Stewart sent me a faux pumpkin to decorate. Talk about a blank canvas! With so many creative no-carve pumpkin decorating ideas already out there, it is hard to come up with something new. I toyed around with a few different ideas – fake flowers, stencils, pretty tape before I found the “thing” – vinyl!

Using Vinyl on Pumpkins
I love how the vinyl adheres to the faux pumpkin so smoothly it looks like a complicated paint treatment. However, all I did was freehand cut out little shapes of vinyl and stick them on like stickers. The vinyl makes it super easy to reposition your shapes as needed to make your pumpkin look just right! This is a great use for vinyl scraps left over from your Cricut or Silhouette projects. You can always use a cutting machine to create the shapes if you don’t want to freehand cut them!

This post includes affiliate links. See our full disclosure.
I love the fresh take on a fall palette with the mix of turquoise, orange, and metallic gold. I made this pumpkin in about an hour with my trusty scissors and a circle punch. Here’s how!
Supplies for Vinyl Geometric Pumpkin
- White foam craft pumpkin
- Removable vinyl in assorted colors
- Scissors
- Circle punch (optional)
- Craft paint and small brush (optional)

How to Decorate a Pumpkin with Vinyl
Step 1: Cut out geometric shapes
This is a total freestyle craft! Just start cutting out triangles and squares (I like to use the gridlines on the vinyl backing as a guide), and use a punch to create circles. I also cut long strips of vinyl to wrap around the center of the pumpkin. But really with this craft anything goes. In fact, all you Cricut and Silhouette users can create all sorts of fancy shapes to put on your pumpkin!

Step 2: Plan your design
I started my design on the front of the pumpkin and worked my way around. Most faux pumpkins have a seam running down them on one side, so make that the back. Use your fingernail to make sure the vinyl is completely smooth against the pumpkin. You can always peel it off a piece and reposition it if needed.

Step 3: Paint the stem
If you want, you can even paint the stem a bright color to match the vinyl. I taped off the base of the stem with masking tape and painted it a bright orange.

I am already loving this pumpkin on our kitchen table as some of my first decor of the season. This pumpkin will look good as part of your fall decor all the way through Thanksgiving!

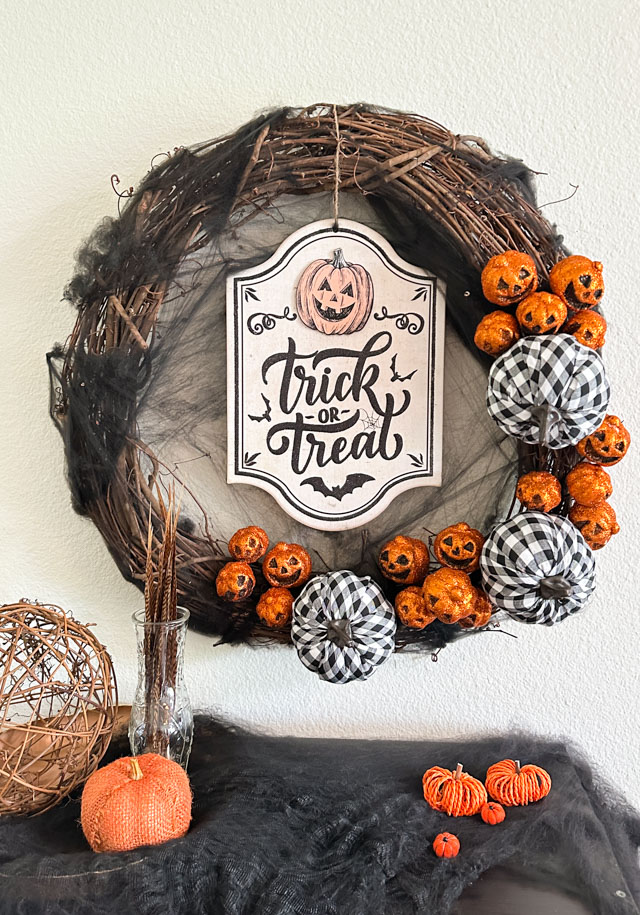
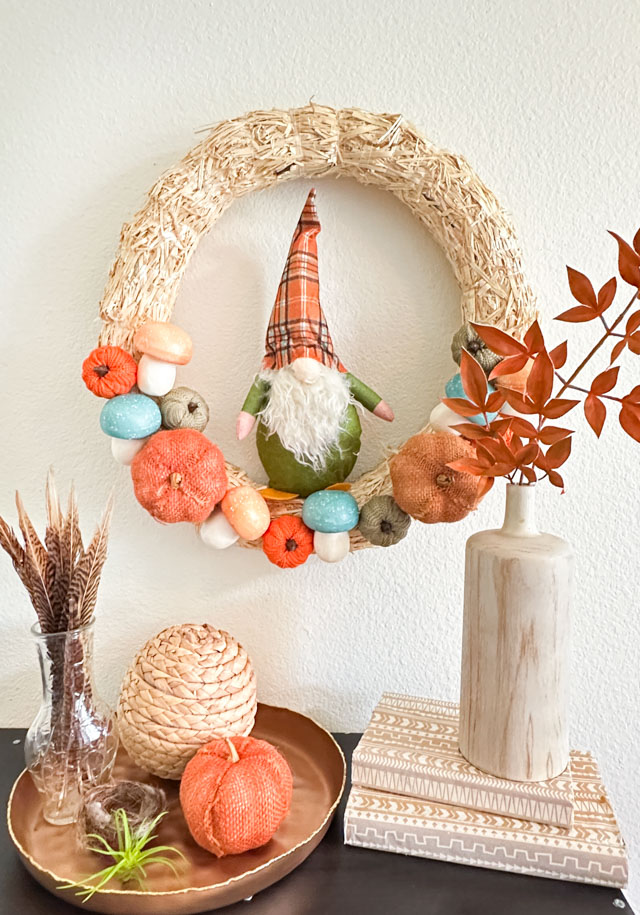
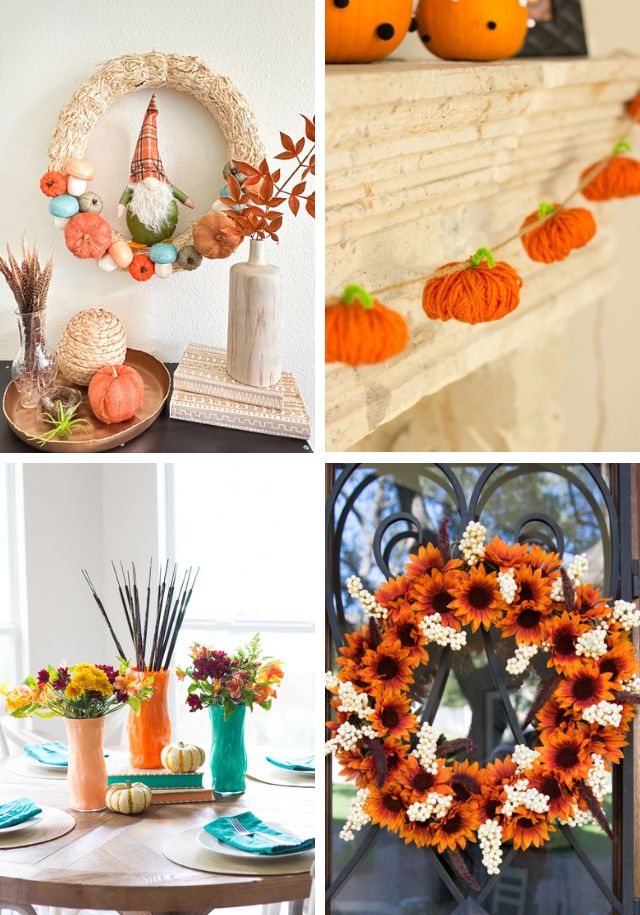
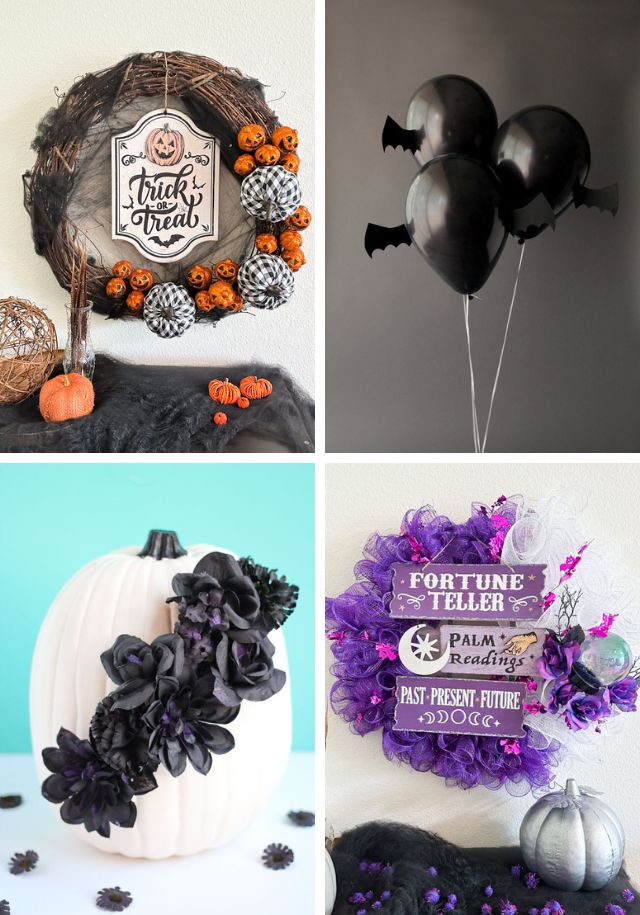
Like this geometric pumpkin?
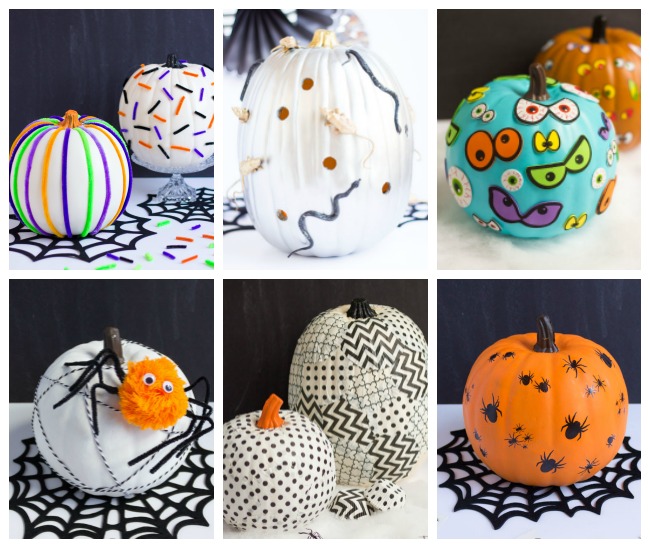
Then check out these other pumpkin decorating ideas!
This post was sponsored by Martha Stewart Omnimedia as part of the 12 Months of Martha program. All content and opinions are my own.

I love all of your pumpkin ideas. Thank you for sharing.
Thanks for your sweet comments Rebecca!