Pom-Pom Filled Shadow Boxes!
Pom-Pom Shadow Boxes
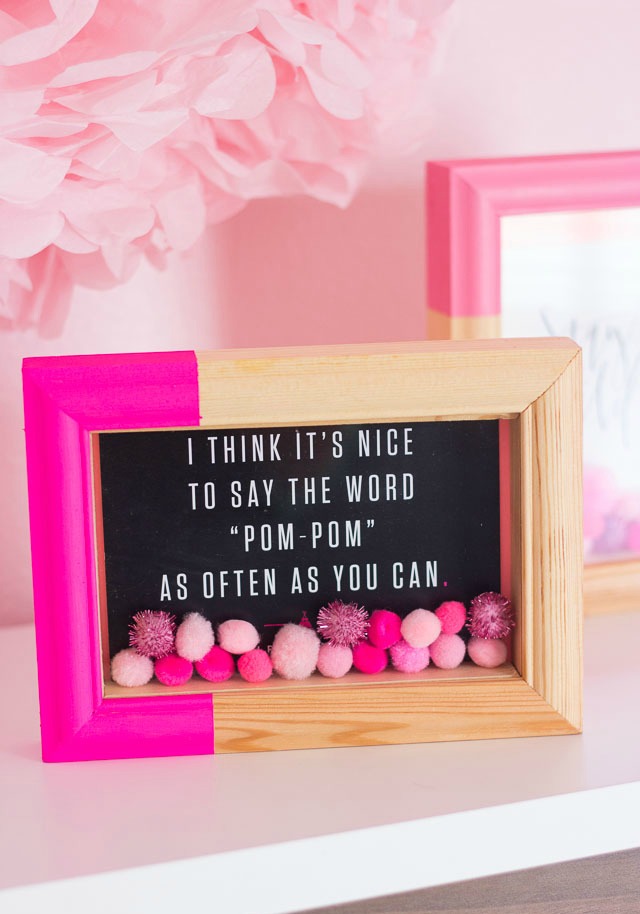
Introducing my pom-pom shadow boxes! My latest project was something I did purely for fun! I had found a couple shadow boxes at Salvation Army for $1 a piece and thought what could I fill these with? Why, pom-poms of course. 😉

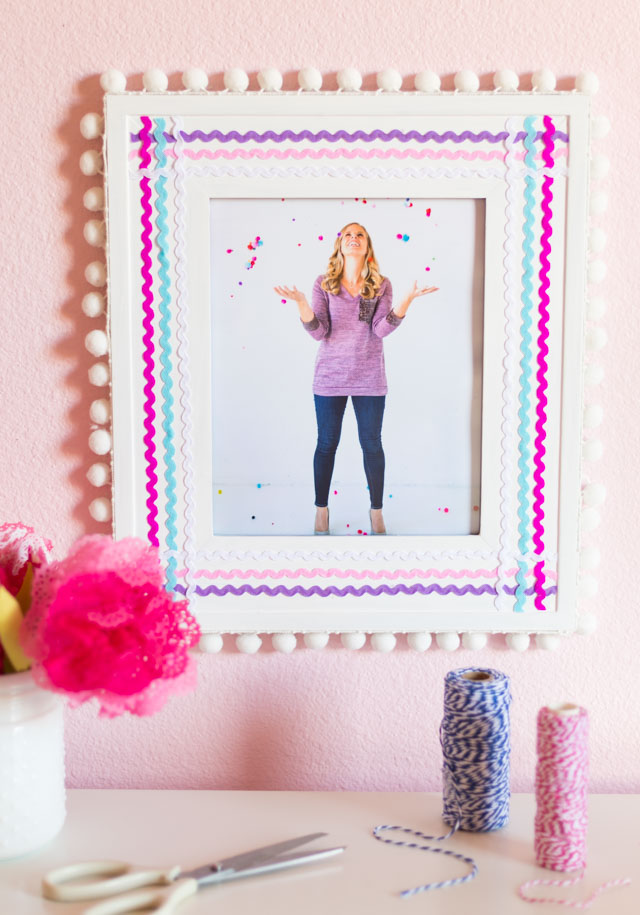
If you follow Design Improvised, you know I’m a pom-pom fanatic. It is only appropriate that I have some pom-pom related office decor! I had a couple fun mementos from Alt Summit last January that I thought would be perfect to frame with the pom-poms.

I gave the raw wood frames a little paint-dipped treatment using craft paints in a couple bright summery pinks from my latest 12 Months of Martha box. Here’s how you can make your own:
Supplies for Pom-Pom Shadow Boxes
- Wood shadow box
- Martha Stewart multi-surface craft paint (I used the colors Party Streamer and Camellia Pink)
- Pom-poms
- Foam brushes
- Painters tape
- Fun print to frame (if you have some fun fonts on your computer or some graphic design skills you can make your own version of these!)

How to Make Pom-Pom Shadow Boxes
Step 1. Paint shadow box frame
Use your painters tape to mark off the area of the frame you want to paint. You can use a ruler to make sure you place the tape at the same position on each side of the frame. Apply 2-3 coats of paint with your foam brush, allowing the paint to dry between coats.

Step 2. Fill box with pom-poms
Once the paint is dry, fill your shadow box with pom-poms. I used just enough to make a row along the bottom. Add your print and you’re done!

I’m displaying my new art in my office along with some of the pretty Martha Stewart tissue pom-poms I saved from my Mother’s Day brunch party. It has definitely added a dose of fun to a previously empty corner of the room!

Love pom-poms?
Then don’t miss all my other pom-pom crafts!
This is post is sponsored by Martha Stewart Living Omnimedia as part of the #12MonthsofMartha program. All content and opinions are my own.