Skip to content
Instagram
Facebook
Twitter
Pinterest
About
Blog
Contact
Home Decor
Expand
Wreaths
Wall Art
Tabletop Decor
Storage Solutions
Accents
Dollar Tree Crafts
Holiday
Expand
valentine’s day
St. Patrick’s Day
Fiesta
Easter
mother’s day
father’s day
4th of July
Summer
Back to School
Fall
Halloween
Thanksgiving
Christmas
New Years
Birthday Parties
Charcuterie Boards
Kids
Expand
Kids Crafts
Holiday Crafts
Room Decor
Fun Activities
Fave Supplies
Expand
Dollar Tree Supplies
Balloons
Paper
Pom-Poms
Flowers
Paint
Yarn
Our Home
Wreath Ebook
Search
Search
Toggle Menu
Summer
Charcuterie Boards
Fiesta
Valentine's Day
St. Patrick's Day
Easter
Mother's Day
Father's Day
4th of July
Summer
Back to School
Fall
Halloween
Thanksgiving
Christmas
New Years
Birthday Parties
Summer
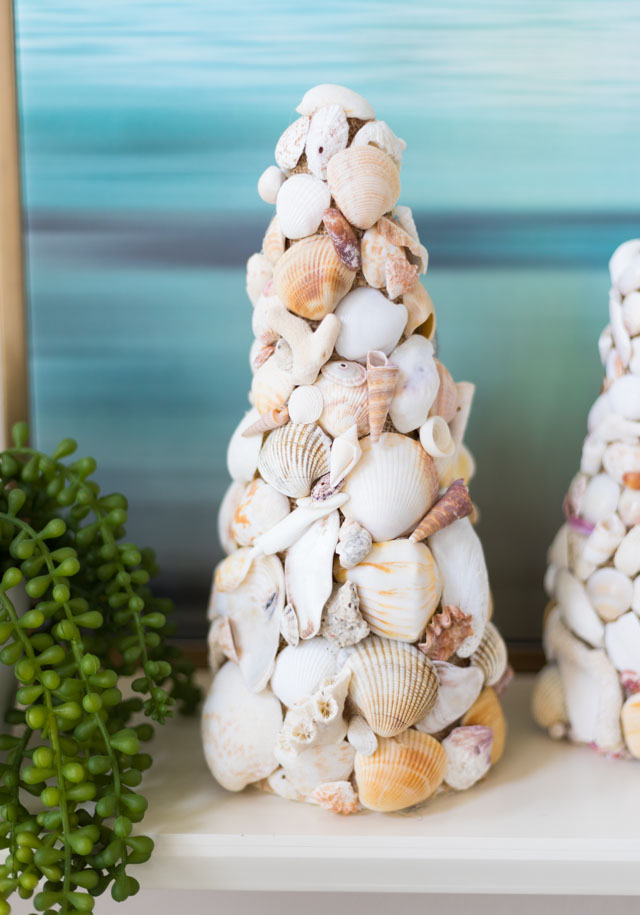
DIY Seashell Decor Cones
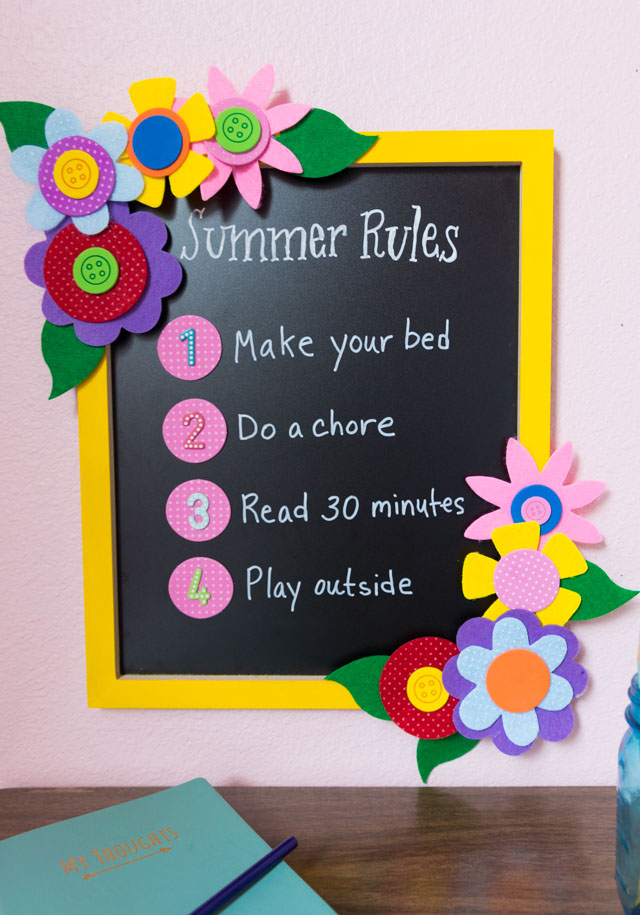
Make a Summer Rules Sign for Kids
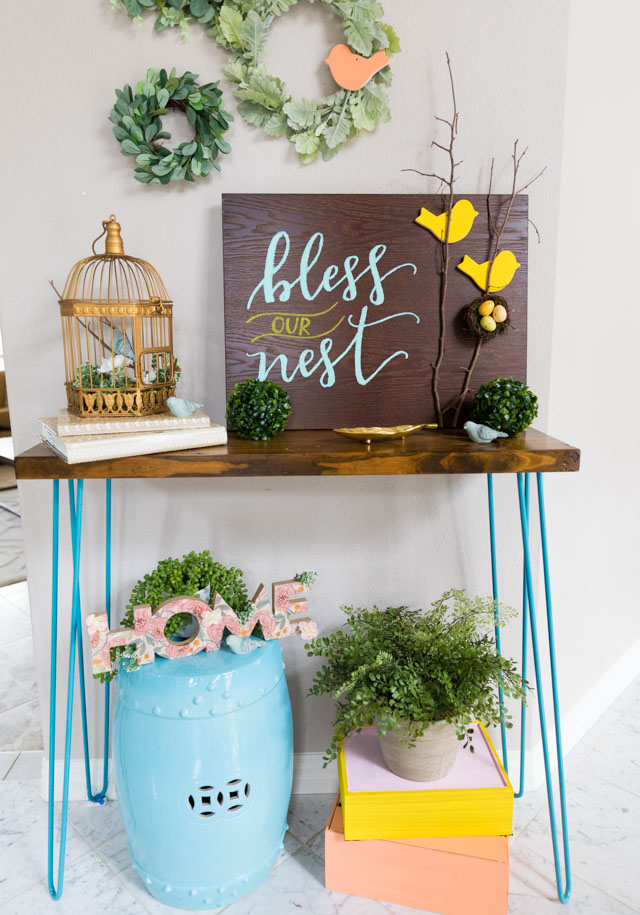
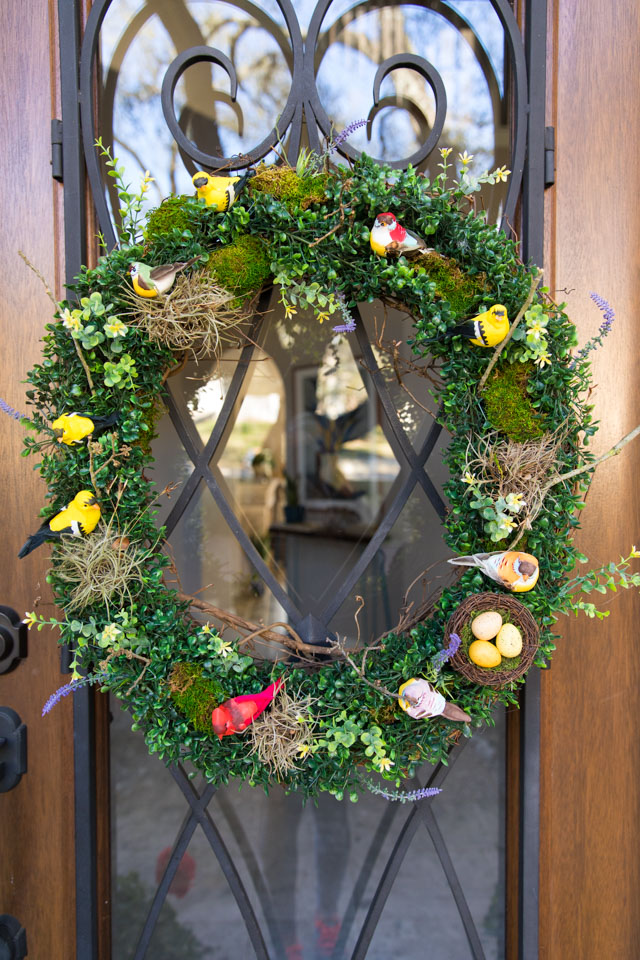
Bless Our Nest: Bird-Inspired Decor Ideas
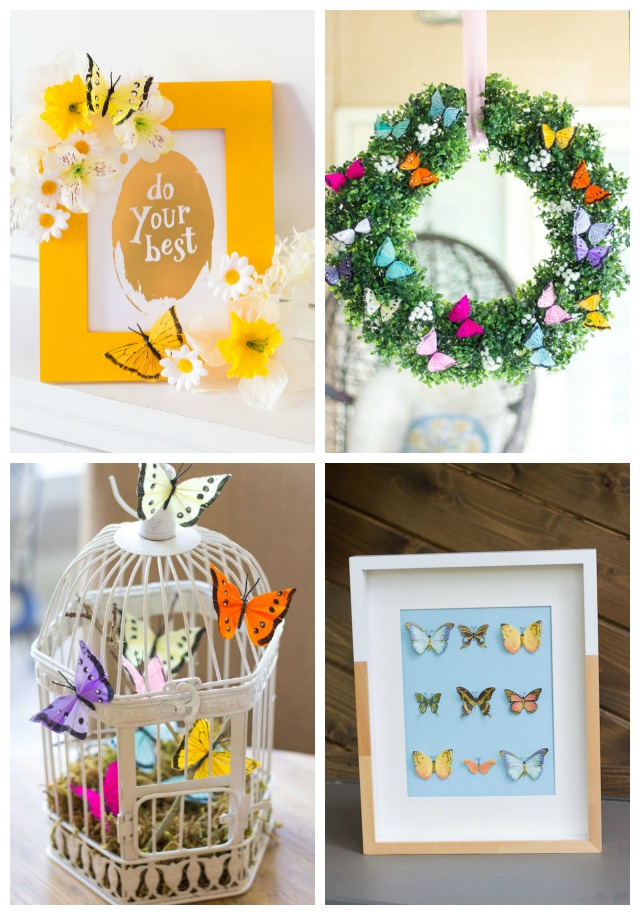
16 DIY Butterfly Decor Ideas for Adults
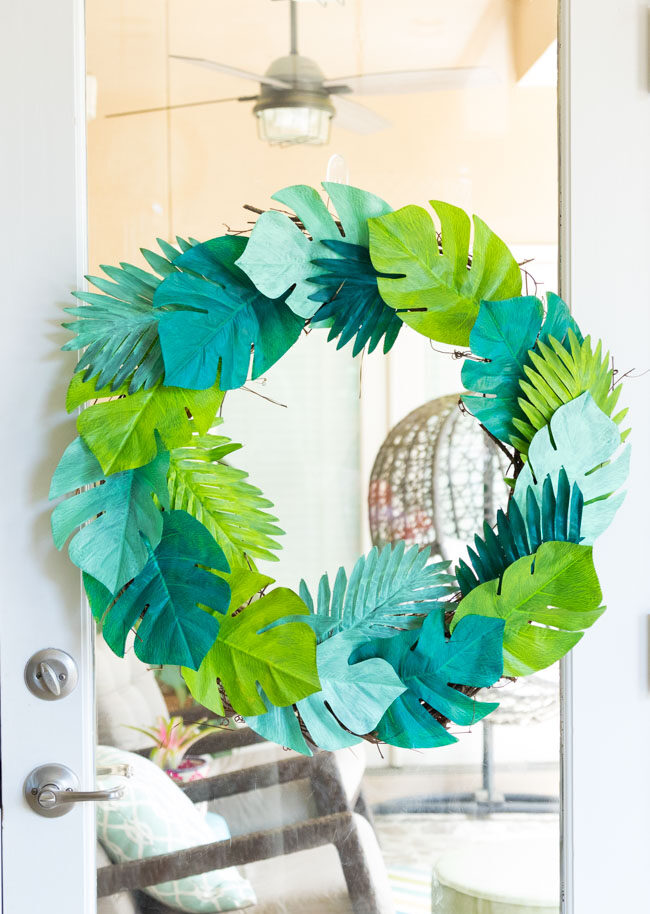
Make a Tropical Leaf Wreath
Design Improvised Launch Party Recap
The Sweetest Bird Wreath for Spring
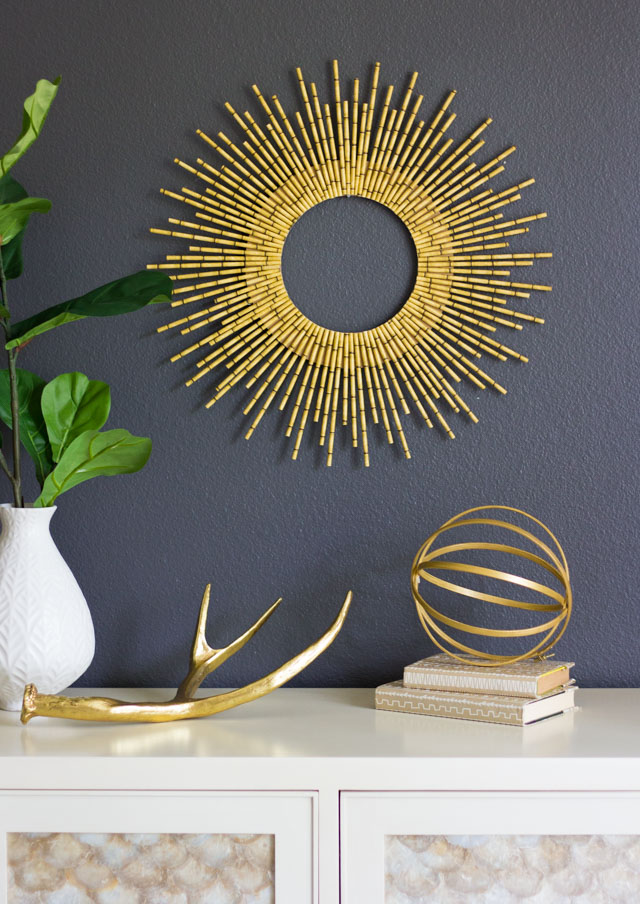
How to Make a Starburst Wreath from Paper Straws
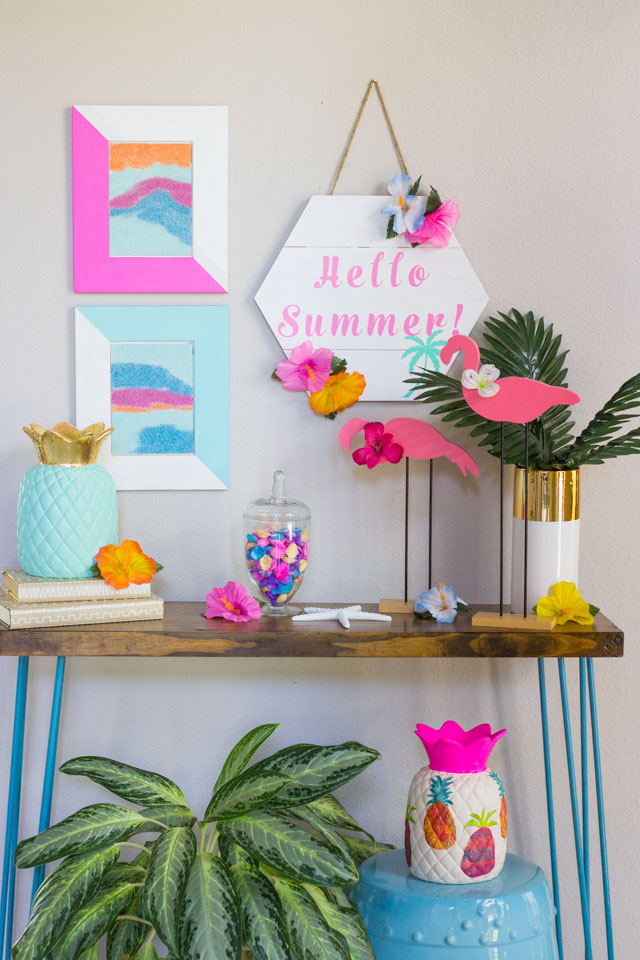
Hello Summer! DIY Tropical Decor Ideas
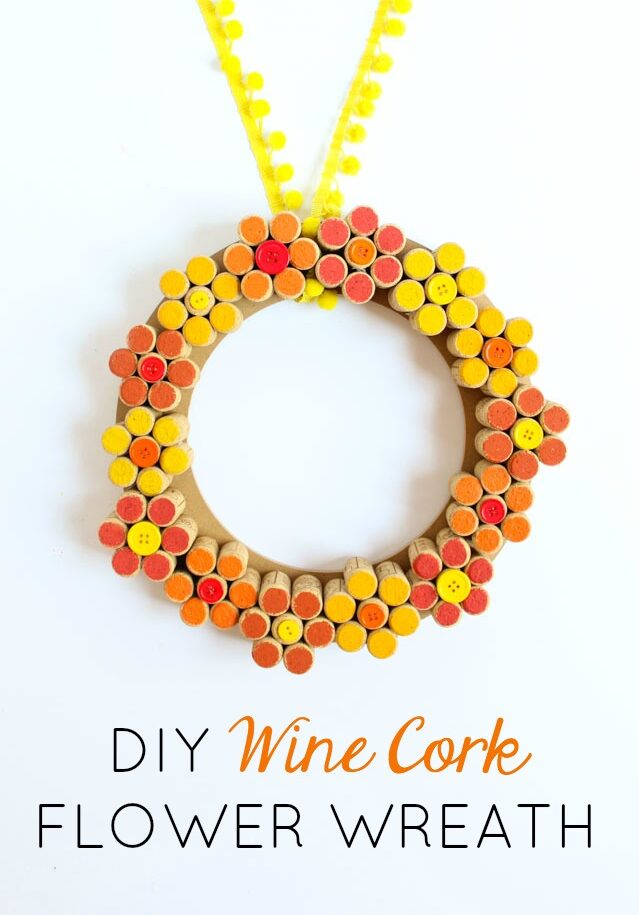
How to Make a Wine Cork Flower Wreath
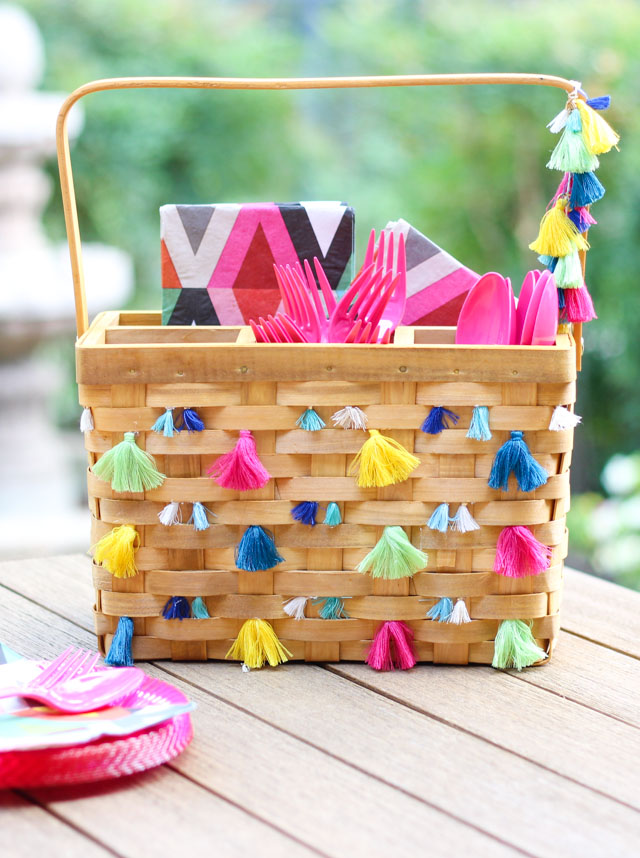
Tassel Decorated DIY Picnic Caddy
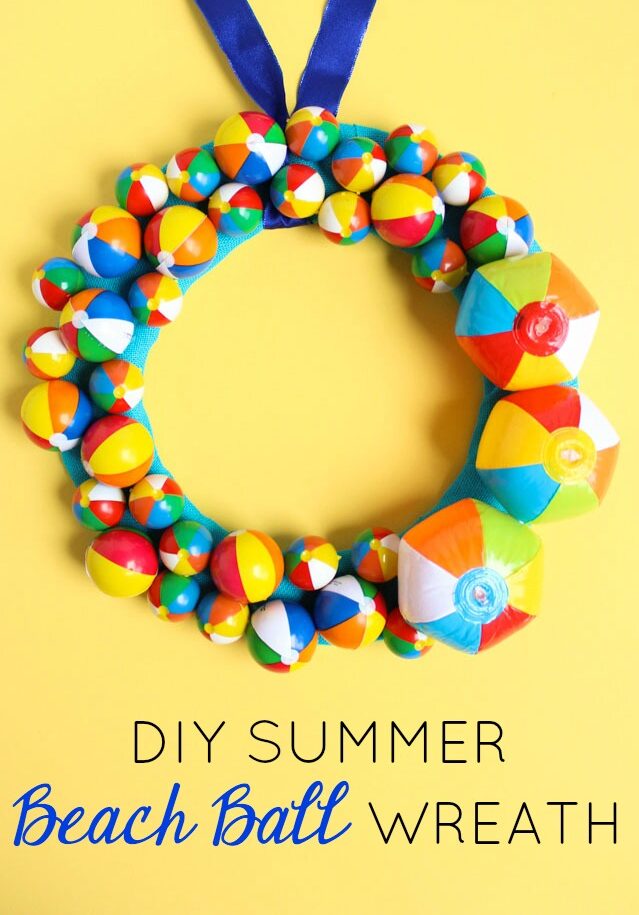
Summer Beach Ball Wreath
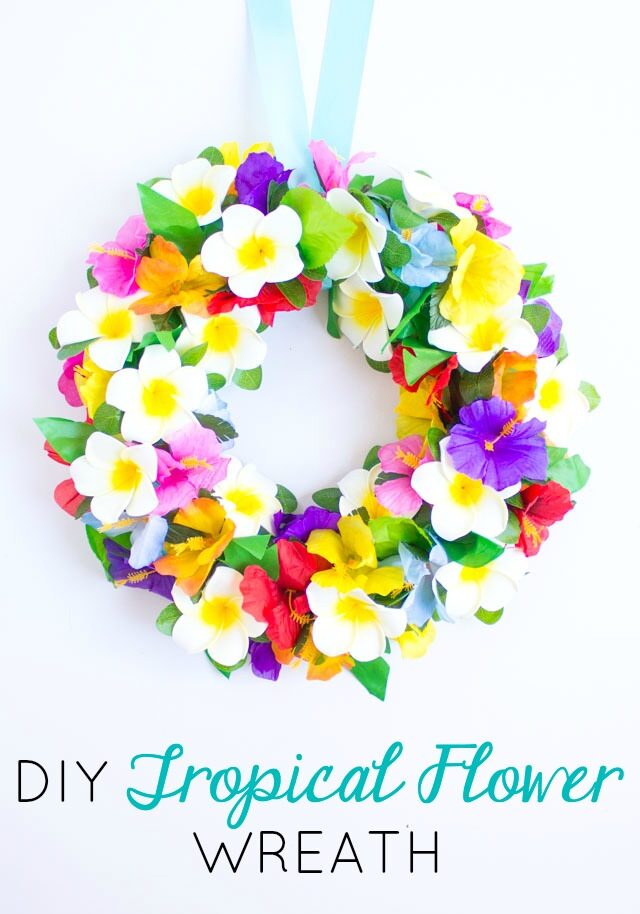
Make a Floral Tropical Wreath
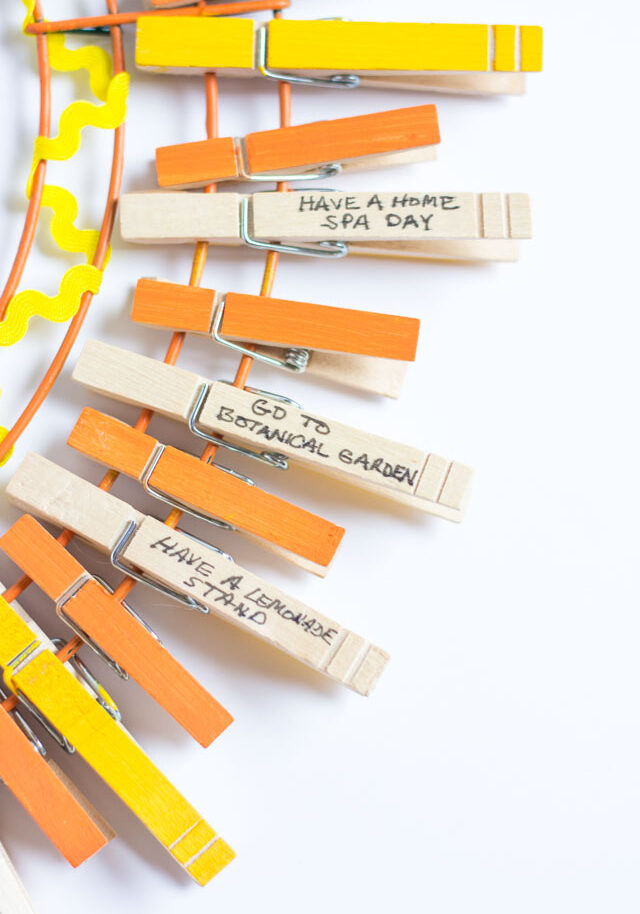
DIY Summer Bucket List Wreath
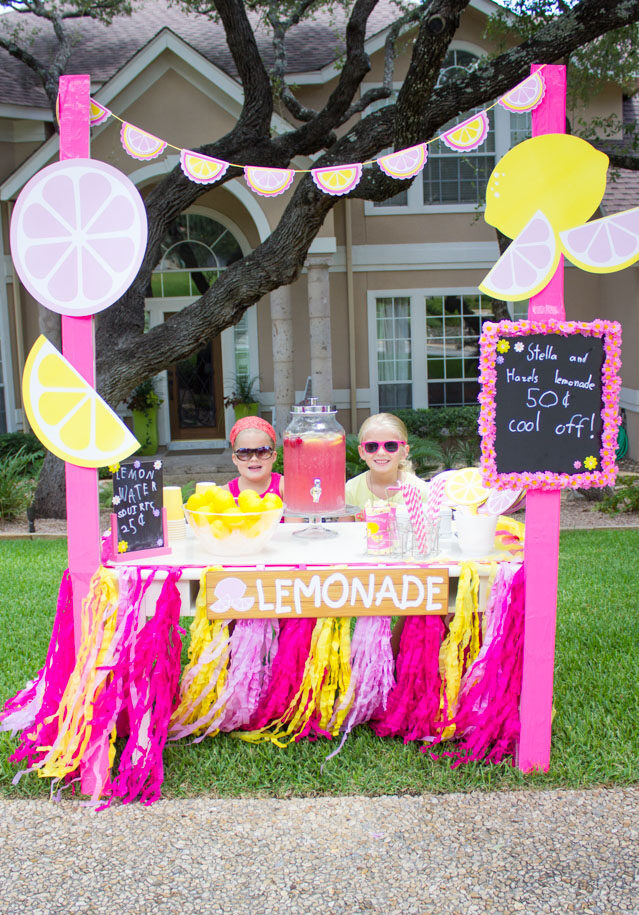
4 Secrets for a Successful Lemonade Stand
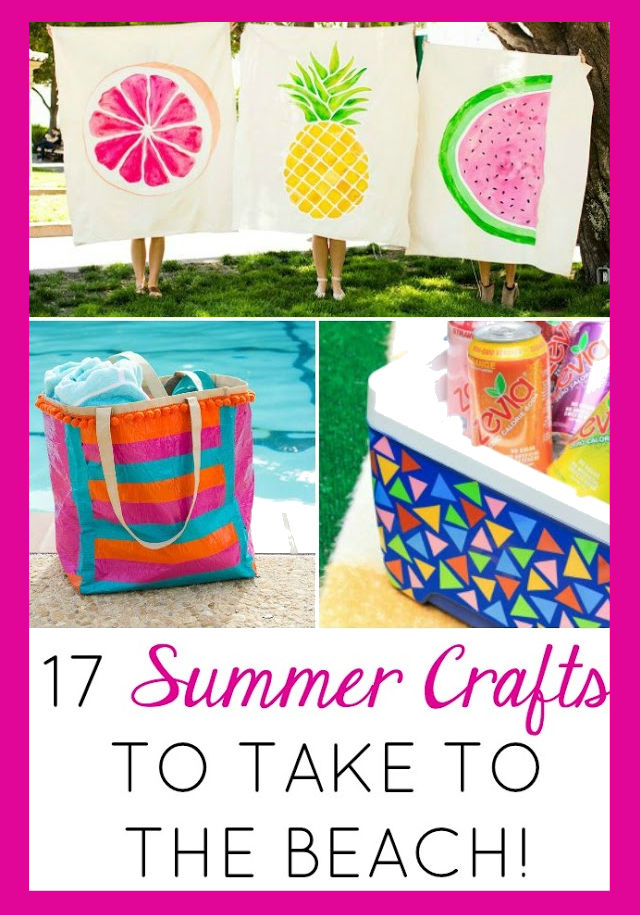
17 Colorful Beach Crafts to Make this Summer!
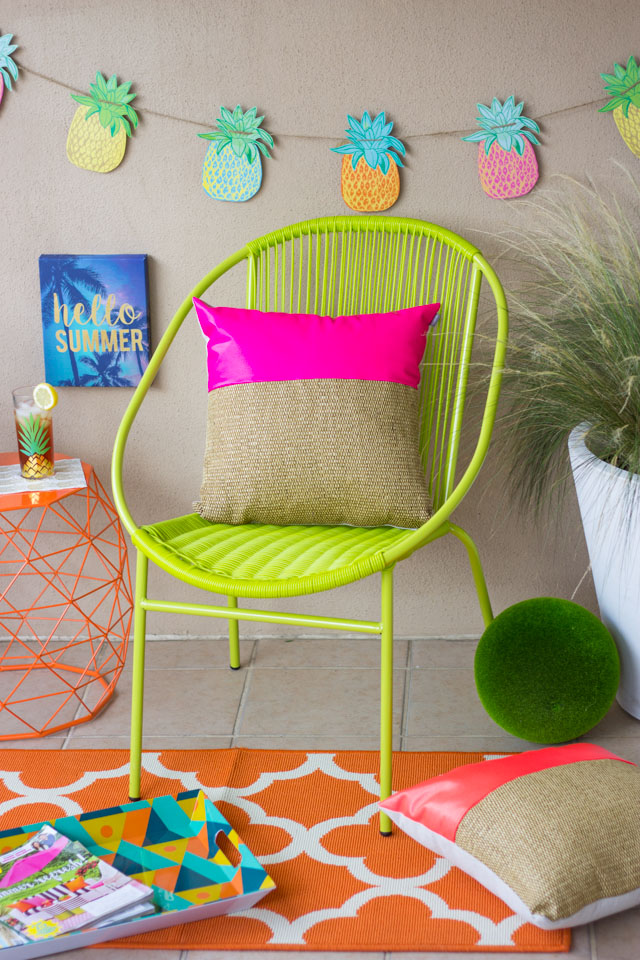
Staycation at Home: My Patio Reading Nook!
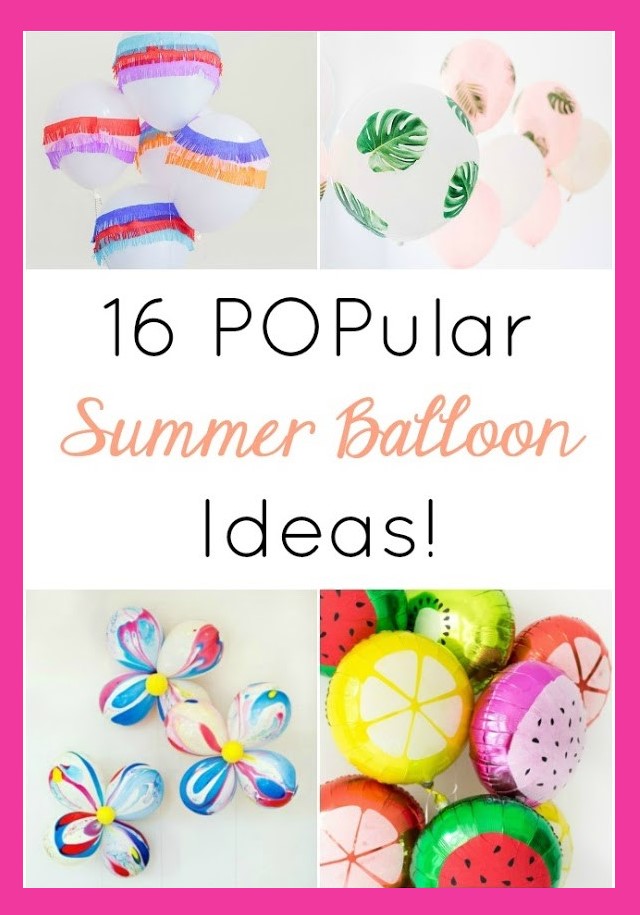
16 DIY Summer Balloon Ideas!
Page navigation
1
2
3
Next Page
Next
Home
About
Blog
Home Decor
Toggle child menu
Expand
Wreaths
Wall Art
Tabletop Decor
Storage Solutions
Accents
Dollar Tree Crafts
Holiday
Toggle child menu
Expand
valentine’s day
St. Patrick’s Day
Fiesta
Easter
mother’s day
father’s day
4th of July
Summer
Back to School
Fall
Halloween
Thanksgiving
Christmas
New Years
Birthday Parties
Charcuterie Boards
Kids
Toggle child menu
Expand
Kids Crafts
Holiday Crafts
Room Decor
Fun Activities
Fave Supplies
Toggle child menu
Expand
Dollar Tree Supplies
Balloons
Paper
Pom-Poms
Flowers
Paint
Yarn
Our Home
Wreath Ebook
Design Improvised Studio
Toggle Menu Close
Search for:
Search