DIY Painted Kids Teepee
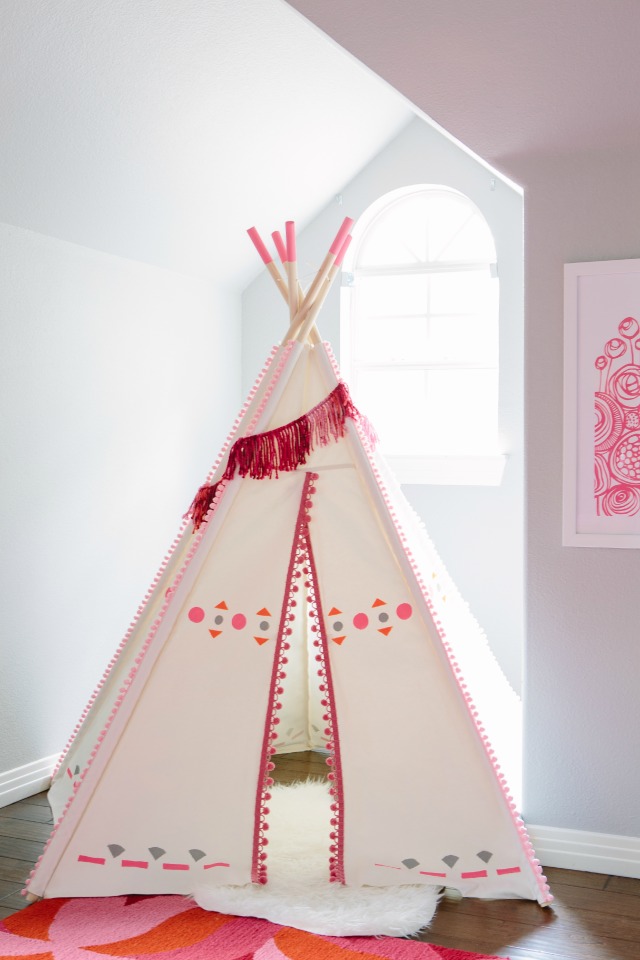
DIY Painted Teepee
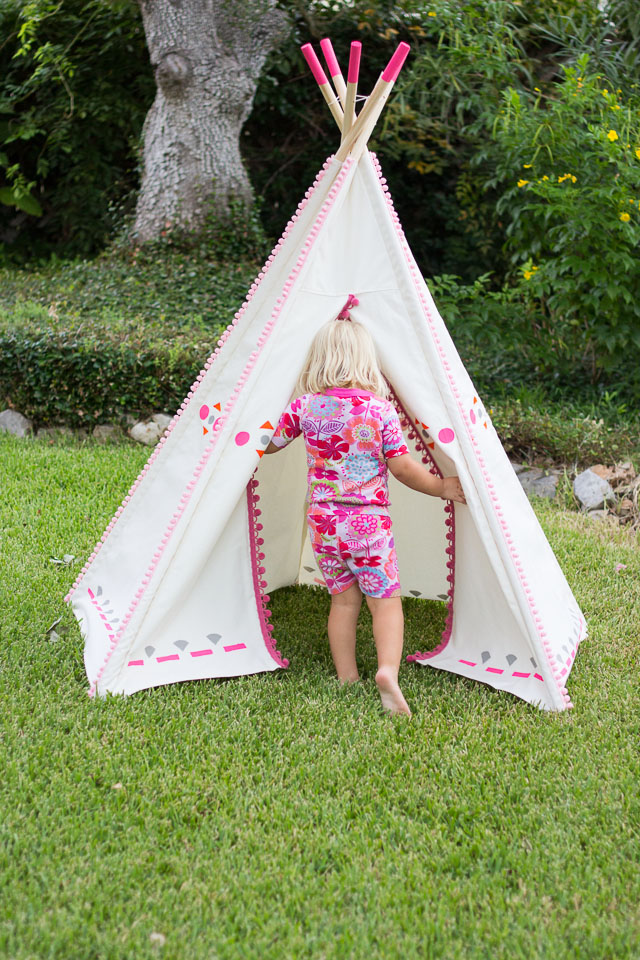
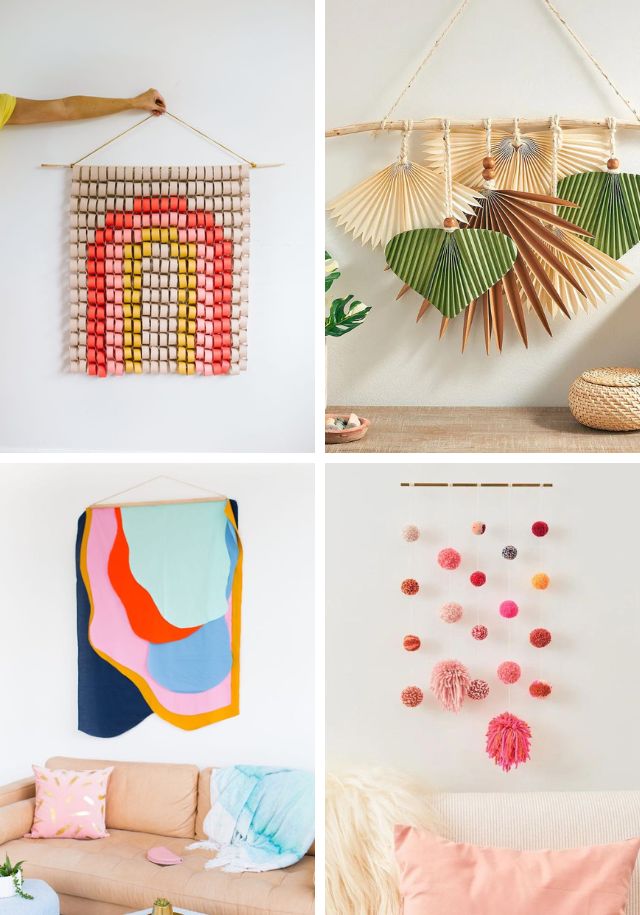
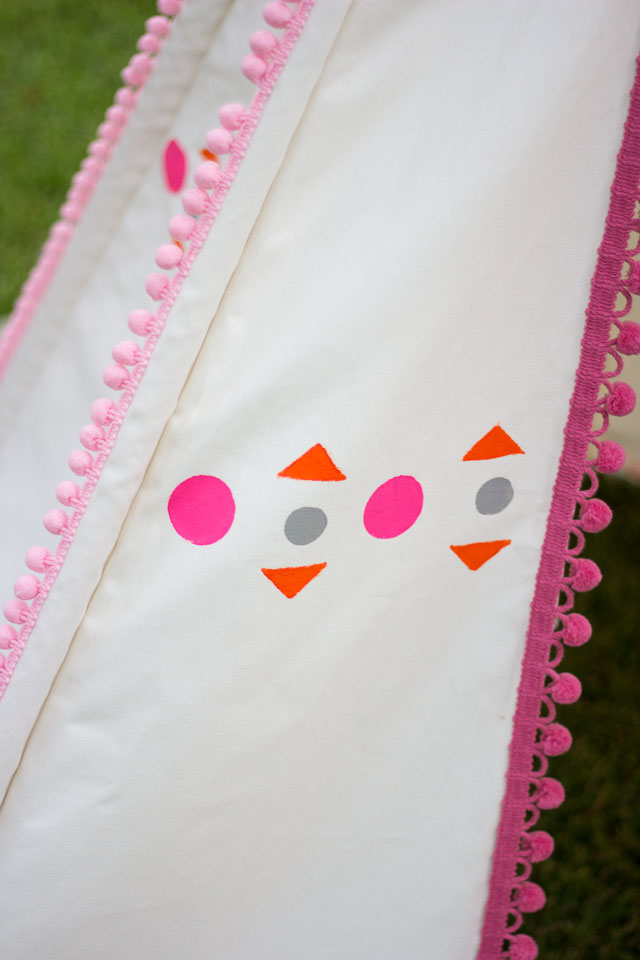
Introducing my DIY painted teepee! Teepees and play tents are having their moment in kids’ decor right now – and I can see why. Not only do they make a fun addition to a room, kids love a special place to hide away!
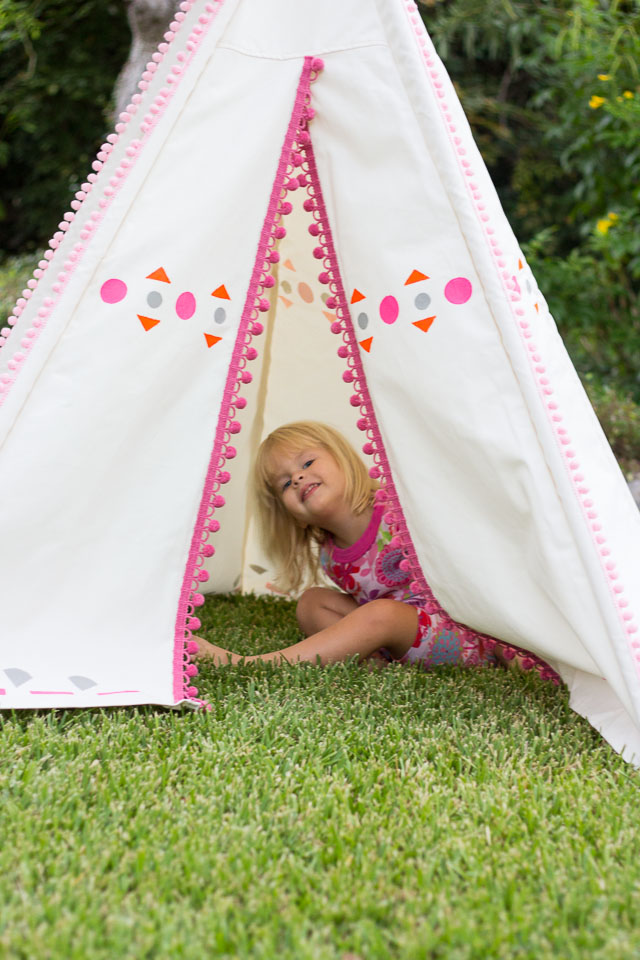
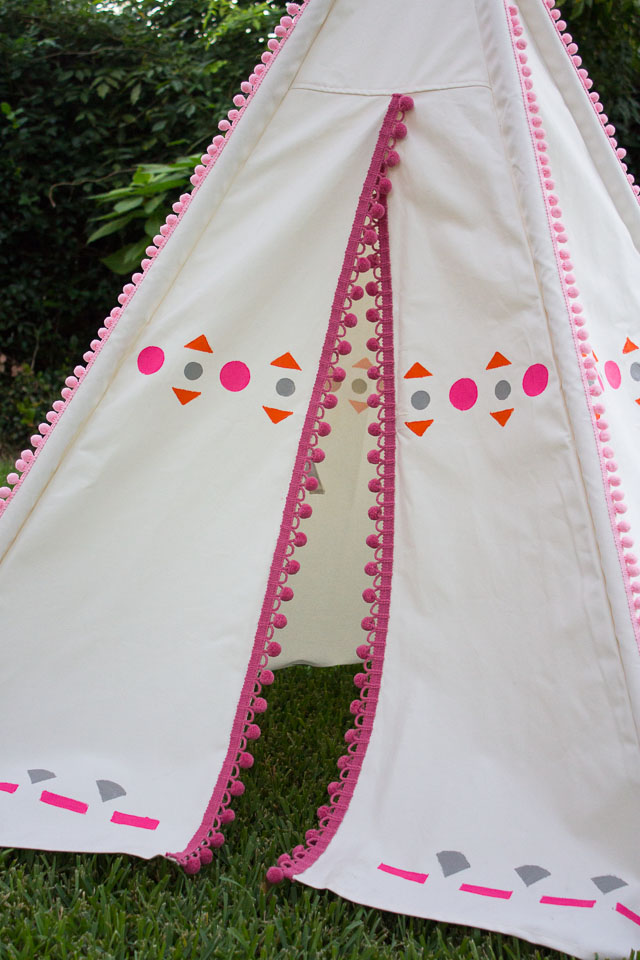
While you can find teepees in a variety of designs, I was drawn to these high-quality plain canvas teepees. The decorating possibilities are endless. It wasn’t long before I was dreaming up a teepee covered in pink pom-pom trim. 😉
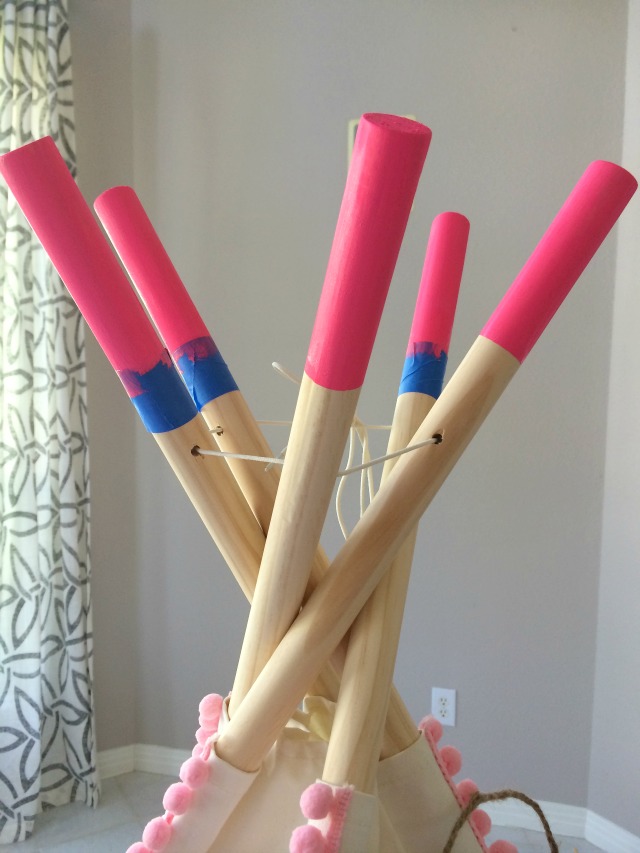
Even the poles were begging to be given a bright shot of pink!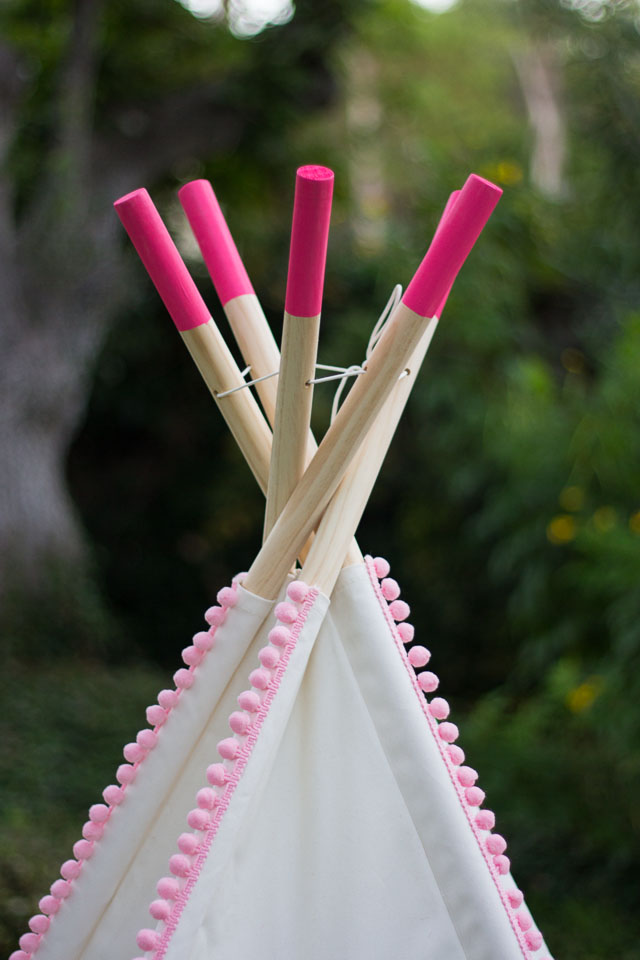
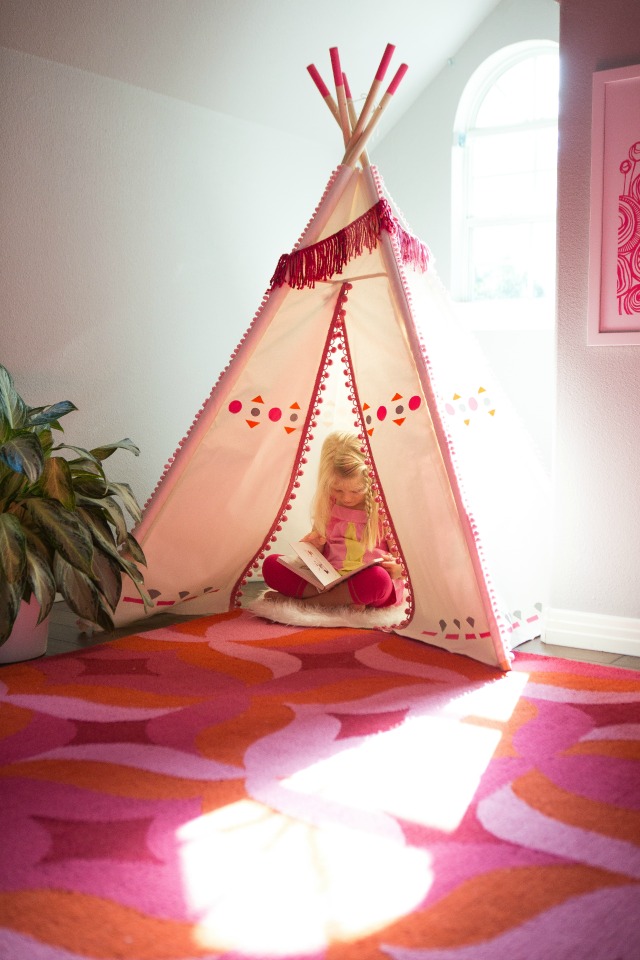
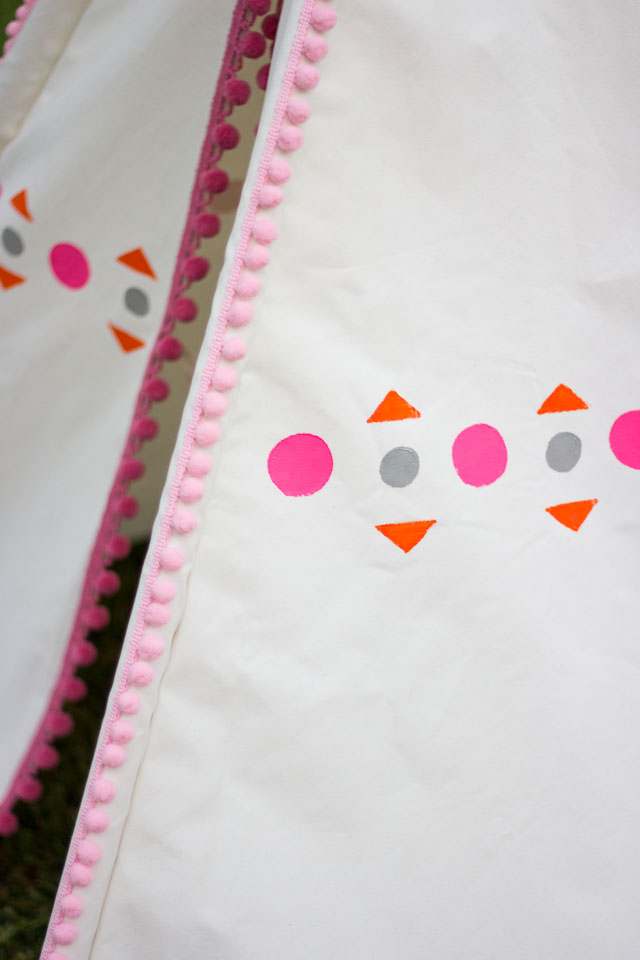
I recently decorated Stella and Hazel’s new bedroom with the help of Hayneedle and chose pinks and oranges for the teepee to match the colors in their new room. I then created the geometric pattern using circle sponge brushes and a couple of the girls’ toy blocks! The teepee was the perfect size to fit in this bare alcove in the girls’ room. A little sheepskin rug on the bottom and a DIY yarn garland draped across the top make it complete.
If you want a teepee for your child’s room and can’t find one that is a great match with their decor – or if you just want to get crafty – this is the project for you! The options are endless when it comes to making it your own. This is a longer project than I usually attempt – expect 3-4 hours to complete:
Supplies for DIY Painted Kids Teepee Project
- High-quality 6 ft. canvas teepee
- Acrylic craft paints
- Circular sponge brushes
- Triangular sponges or blocks
- Small paint brush
- Pom-pom trim (I used around 30 yards – this is a perfect opportunity to use a 50% off coupon at your local craft store to save on costs!)
- Hot glue gun
How to Decorate a Kids Teepee
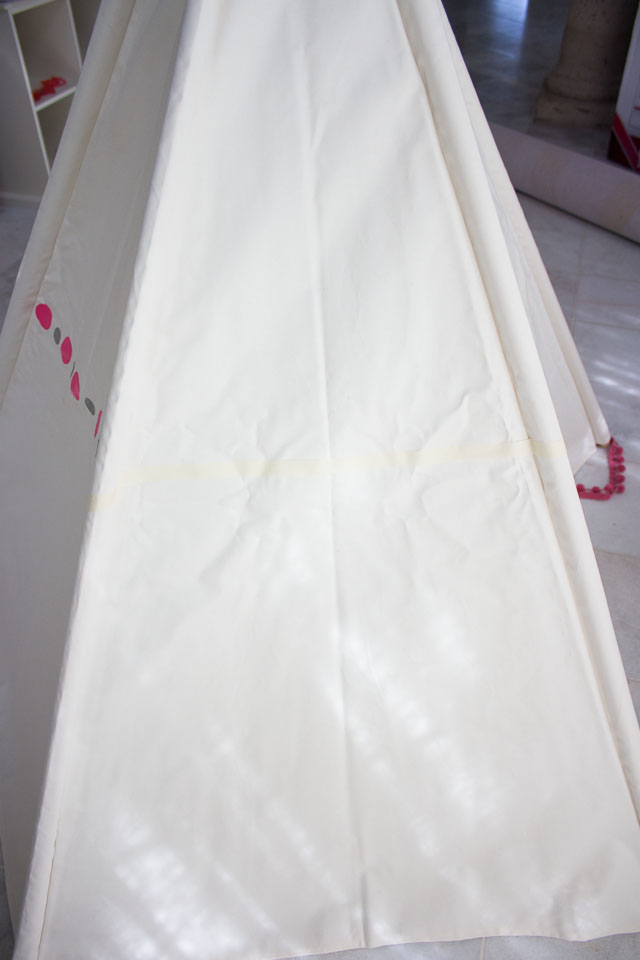
Step 1. Prepare your teepee
I assembled my teepee quickly according to the directions in the package and decided to paint it standing up, as I thought it would help with keeping the pattern straight around the teepee while painting. You could also paint the canvas laying down (before adding the poles). Just make sure you have a piece of cardboard or something between the layers of canvas to prevent any paint from seeping through.
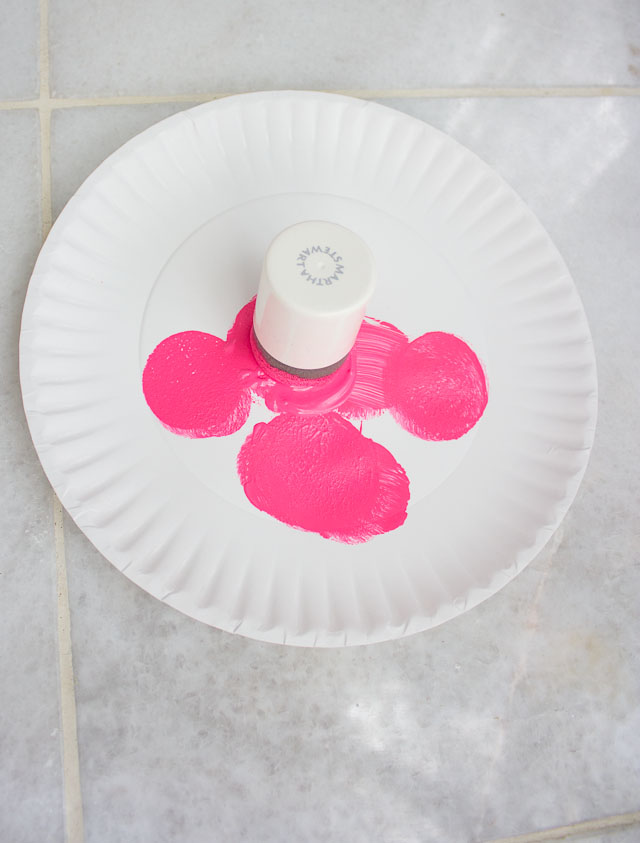
Step 2: Add a thin layer of paint to brush
Squeeze a good dab of craft paint onto a paper plate and blot with the circle sponge brush to pick up an even layer of paint. Practice a little to get the right amount of paint on the brush before trying it on your teepee. One thing about this project is that there is little room for error (the paint doesn’t wash up if you make a mistake!) so work carefully!
Step 3: Tape off the painting area and begin!
You can mark a line on your teepee where you want the pattern to go using a piece of masking tape. From there, I just eyeballed how far apart I wanted the circles on my design and started stamping them on, but if you want to be more precise you can measure and mark them out with a pencil first!
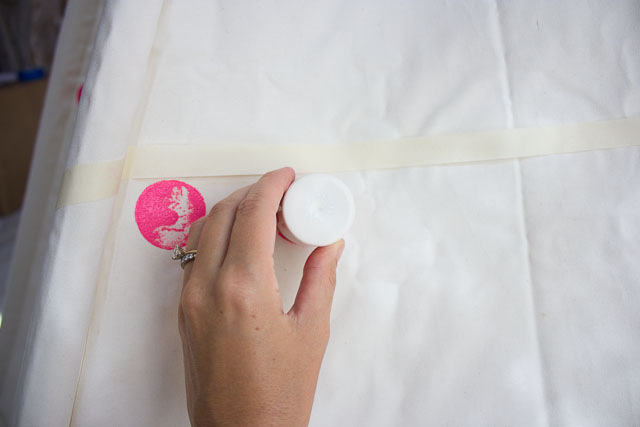
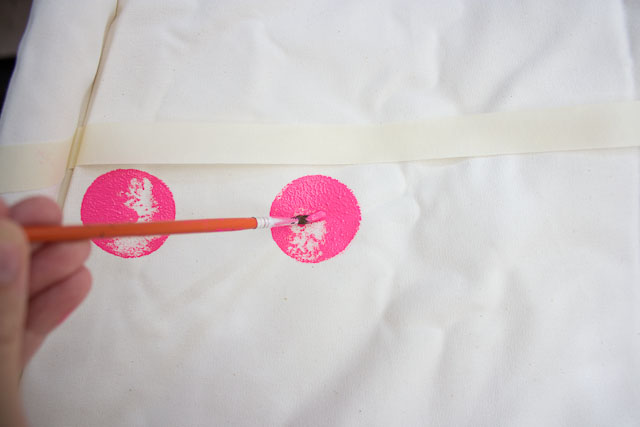
Step 4: Use a small brush to fill in gaps
With the teepee standing up, there isn’t a hard surface to press against to get even paint coverage. Holding the canvas taut with your hands will help, but what I found most helpful was to take a small brush and fill in any gaps where the circle sponge didn’t get to with a little extra paint.
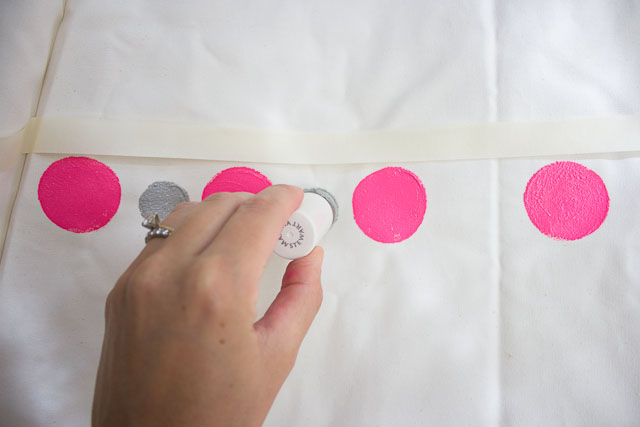
Step 5: Continue adding to the design
I repeated the same process with a smaller circle sponge and different color.
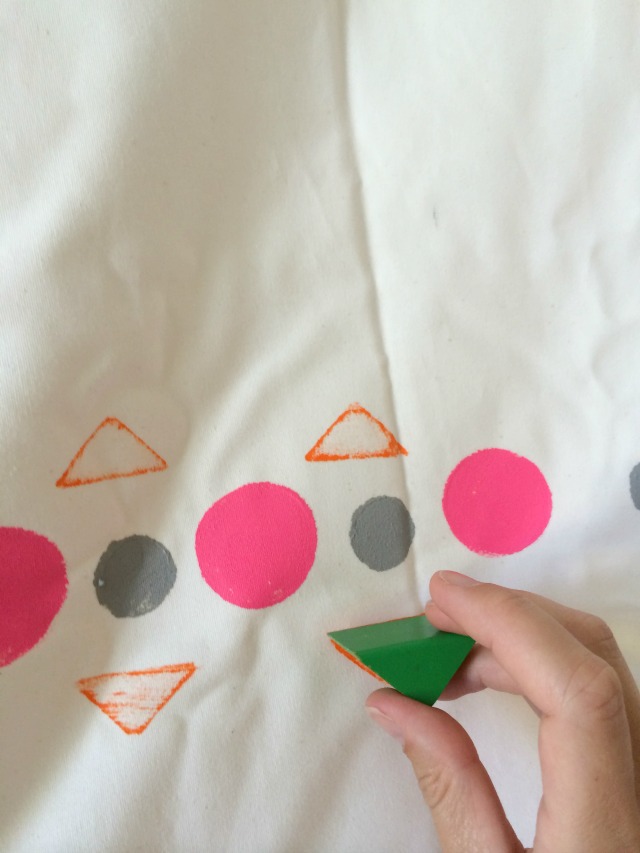
For the other shapes in the design, I stole some blocks from my daughters’ toy bin! Here I am using a triangle block as a stamp, which I then filled in with a small brush and some extra paint.
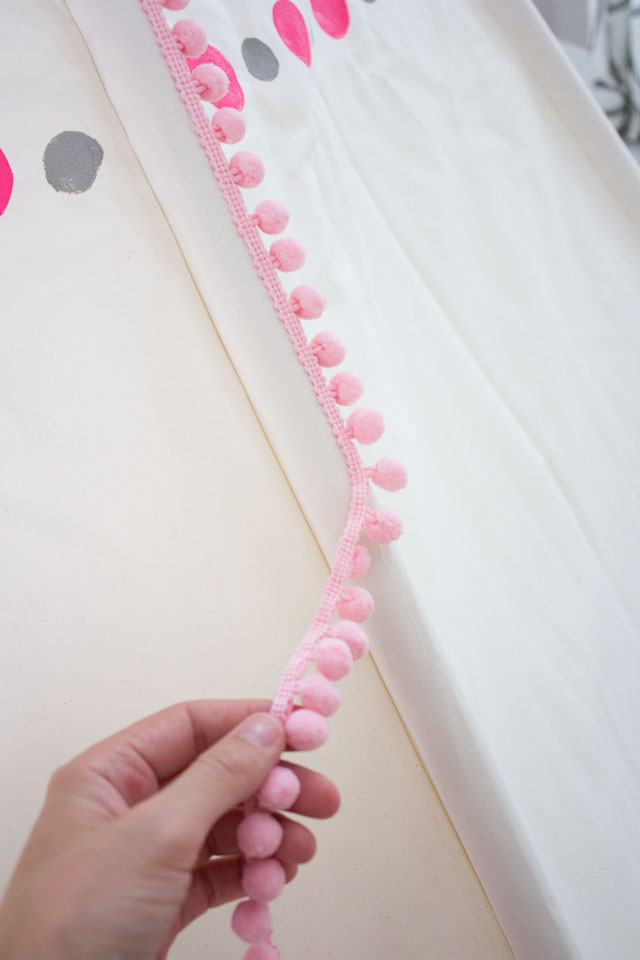
Step 6: Glue on pom-pom trim
Once your painted design is done, you can add the pom-pom trim. I ran it down each pole, by starting at the top of the canvas and then working my way down by adding a bead of hot glue a couple inches long at a time. Don’t add too much hot glue at once as it dries very quickly.
Step 7: Paint teepee poles
For the final finishing touch, I taped off the top of the poles with painter’s tape and painted the top with a couple coats of paint. Use a measuring tape or ruler to make sure they are all taped off at the same spot on the pole.
So that was my approach, but nothing would make me happier than for you to improve on it and make it your own!
I love that the teepee is lightweight and collapsible so we can easily take it out the backyard when we want to!