My Insanely Awesome DIY Outdoor Rug!
How to Paint a DIY Outdoor Rug
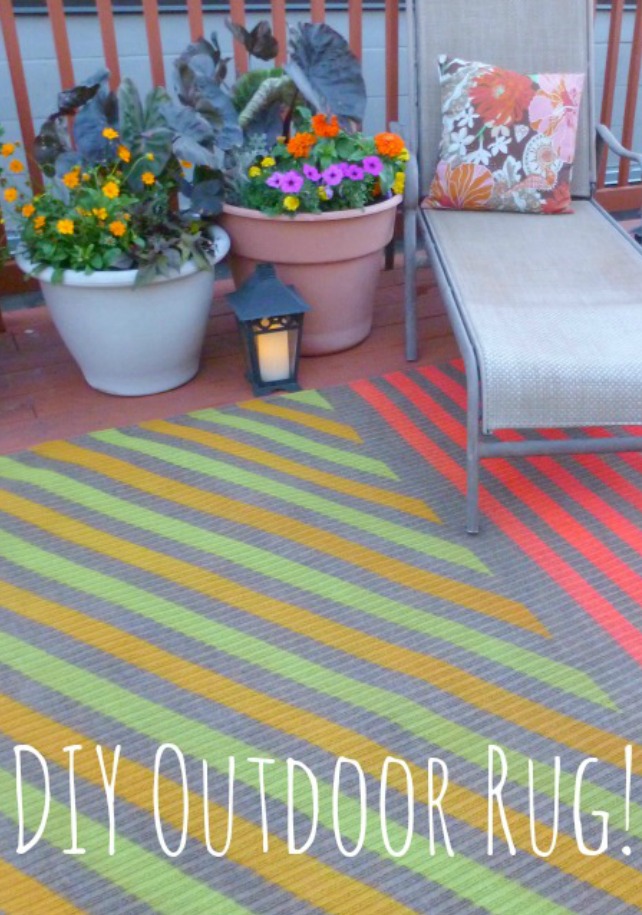
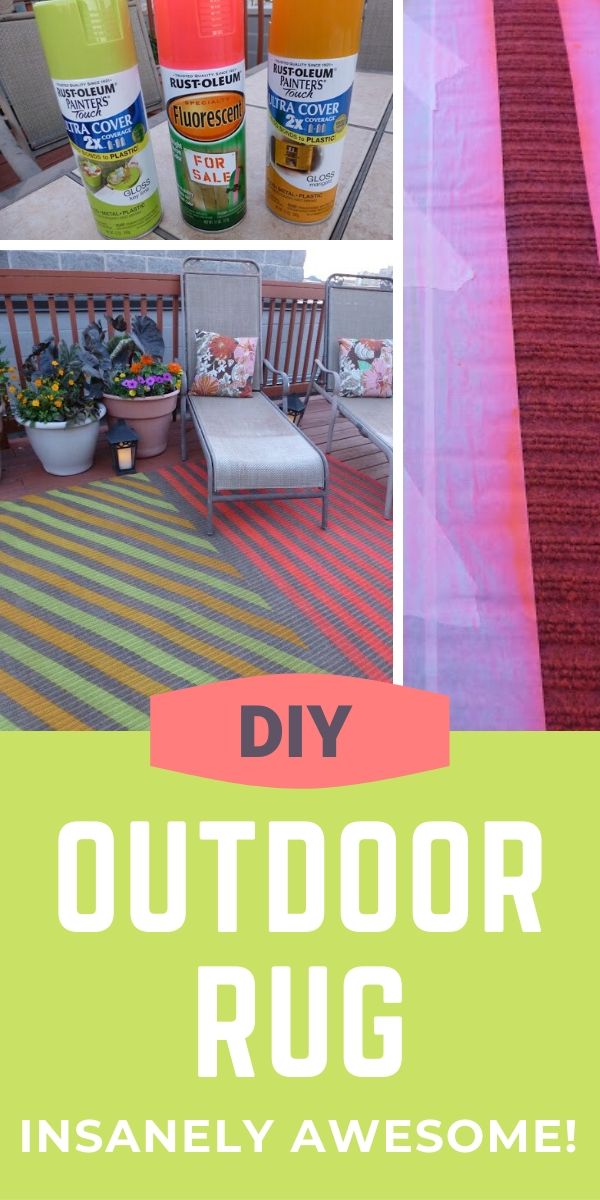
Introducing my DIY outdoor rug! Isn’t it awesome?! Am I insane for making it? I did ask myself that a few times during the process in the midst of running through four cans of spray paint and a roll of masking tape, but I am pretty excited about the end result! With just a few materials you can end up with a one-of-a-kind rug for under $50 and a few hours of work:
I would’ve never come up with this rug if it hadn’t been for the great results we got from our DIY chevron doormats at the last Design Improvised DIY Night. Who knew it would be so easy to transform a rug with just masking tape and spray paint? I figured the same idea could be achieved on a larger scale.

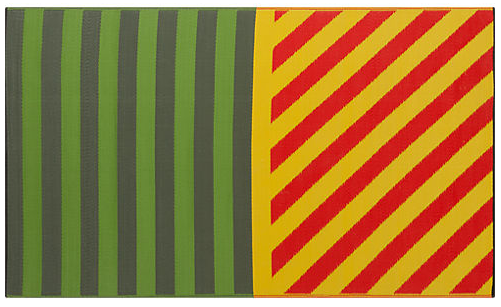
I initially thought I would apply the same chevron pattern as the doormats, but I pretty quickly realized I would indeed be insane to attempt that the taping work would take forever on such a large surface. Then I remembered this CB2 rug that I had featured in a recent roundup of my favorite patio decor of the summer. I decided to use this as my inspiration:
Supplies for DIY Outdoor Rug
- Inexpensive plain outdoor rug (I found a very basic indoor / outdoor rug for only $19.99 at Target)
- 1 roll of 2-inch thick masking tape
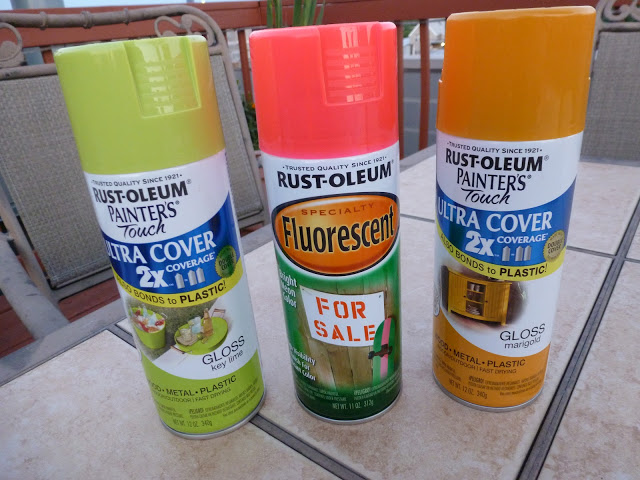
- Outdoor spray paint – I recommend Rust-Oleum Painters Touch (I used about 3.5 cans for my rug, but it will depend on your rug and the design you choose) NOTE: After a few months of having the rug outside, I would NOT recommend the Fluorescent Rust-oleum paint (shown in the middle of the photo below). It started to fade considerably from the sun, while the Rustoleum Painter’s Touch still looks great.
- Drop cloths (I like to use disposable plastic tablecloths – $1 a piece at dollar store)
How to Paint a DIY Outdoor Rug
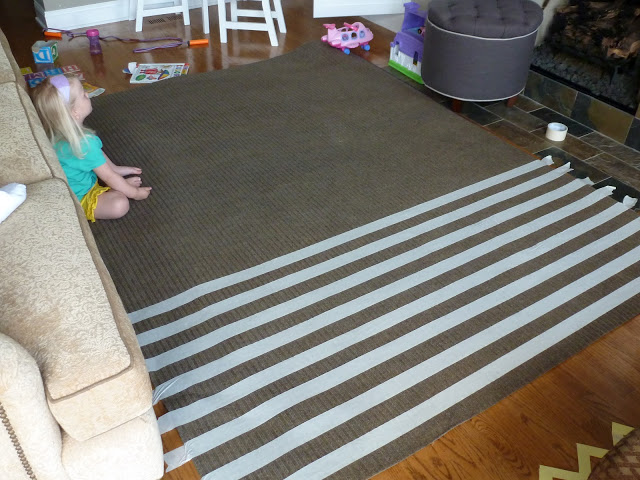
Step 1: Tape off a design
For the taping, I laid the rug out in my living room and started free-handing (no measuring needed!) the design with masking tape, going a little past the edges of the mat. Rather than breaking off long pieces, I held onto the roll as I pulled the tape across the rug.

The total taping process took me one “Little Einsteins” and half a “Curious George” (two of Stella’s favorite shows), so about 45 minutes. 😉
Step 2: Spray paint one section of rug
Now for the fun part, bring on the spray paint! I laid the rug out on my roof, using drop cloths around the edges. I started with the neon pink paint on the vertical stripes side, doing a couple applications a few minutes apart.

Step 3: Spray paint another section
Then I moved to the diagonal striped side, spraying every other stripe green. I let that dry for 15 min. or so then went over the remaining stripes in yellow.


Step 4: Remove tape
If you are impatient like me, you can’t wait the 24 hours or whatever it is for the paint to fully dry to peel off the tape. Seeing the bright colors revealed is the most exciting part! I pulled off the tape about 30 min. of dry time and it was fine. I then left the rug outside overnight for the paint to dry completely.

The total cost of the rug came to about $40 and took around 3 hours from start to finish – not bad. Hopefully it will hold up well under the elements – I will give an update at the end of the summer. In the meantime, I’m loving how much color this has brought to our roof!
Update as of 4/2013: I just put out this rug I made last summer. It still looks pretty good but being in the full sun and elements did fade the rug considerably after a couple months of use . Your best bet to maximize the life of the rug is to use it in a covered patio area or roll it up when not in use!

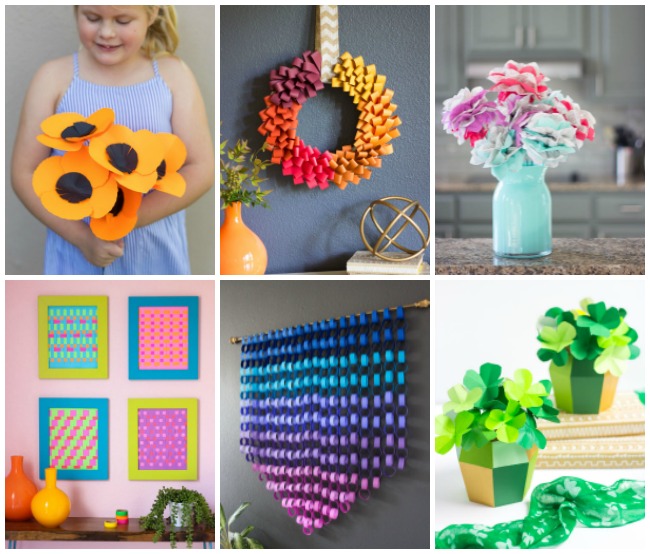
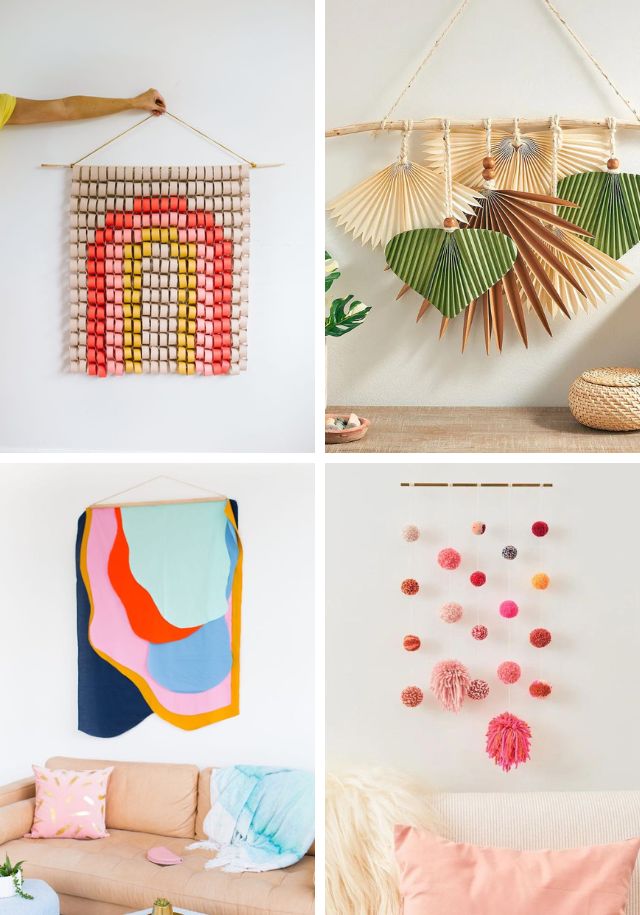
Like this summer patio project?
Then don’t miss these Colorful Paper Craft Ideas!
Need Pinterest templates for your projects?
These are my all-time favorite templates!


It looks amazing!!!
It IS insanely awesome!! Can't wait to sit on your deck and admire it in person!
Thanks guys – it was fun to make!
I'm totally making one of these and nobody can stop me! LOVE this. It's for our kitchen, though. We are in a rental with nasty linoleum, so this would be a great cover. Now, did you make your daughter move when it came time tape where she was sitting, or did you just tape over her? P.S. visiting from the ALT online class.
I think yours looks even better than the one from CB2! Looks great!
That isn't just adorable, it is also AWESOME!
Gorgeous!
How did you keep the wrong colored spray from getting on various colored stripes?
Thanks
Does the paint rub off on your shoes at all? Considering painting a doormat/rug inside our garage entry. Thx!!
Hi Meg! No I didn’t have any paint rub off on my shoes. Good question!
LOVE THIS, but How did you keep each color from spraying onto your already painted lines?
Hi George, my apologies for the delayed response! For the area of the rug with green and yellow stripes, I first did all the green and let it dry and then did all the yellow. I sprayed close enough that there wasn’t much overspray, and if there was any, the colors were complementary enough that it didn’t show.
Thanks for this great idea. Now I know how to refresh my old colour fainted rugs 😃👌👌👌